We are not Martha
Home
Recipes
Appetizers
Breakfast
Desserts
Drinks
Entrees
Lunch
Side Dishes
Snacks
Dog-Friendly
Life
Travels
Gift Guides
About
About Sues
Work With Me
Privacy Policy
Contact
Newsletter
menu icon
Home
Recipes
Life
About
Contact
Where I've Been
subscribe
search icon
Home
Recipes
Life
About
Contact
Where I've Been
×
Search results for: label/Martha Stewart
Sorry, no content matched your criteria.
Stewart
2024 Holiday Gift Guide for Food Lovers
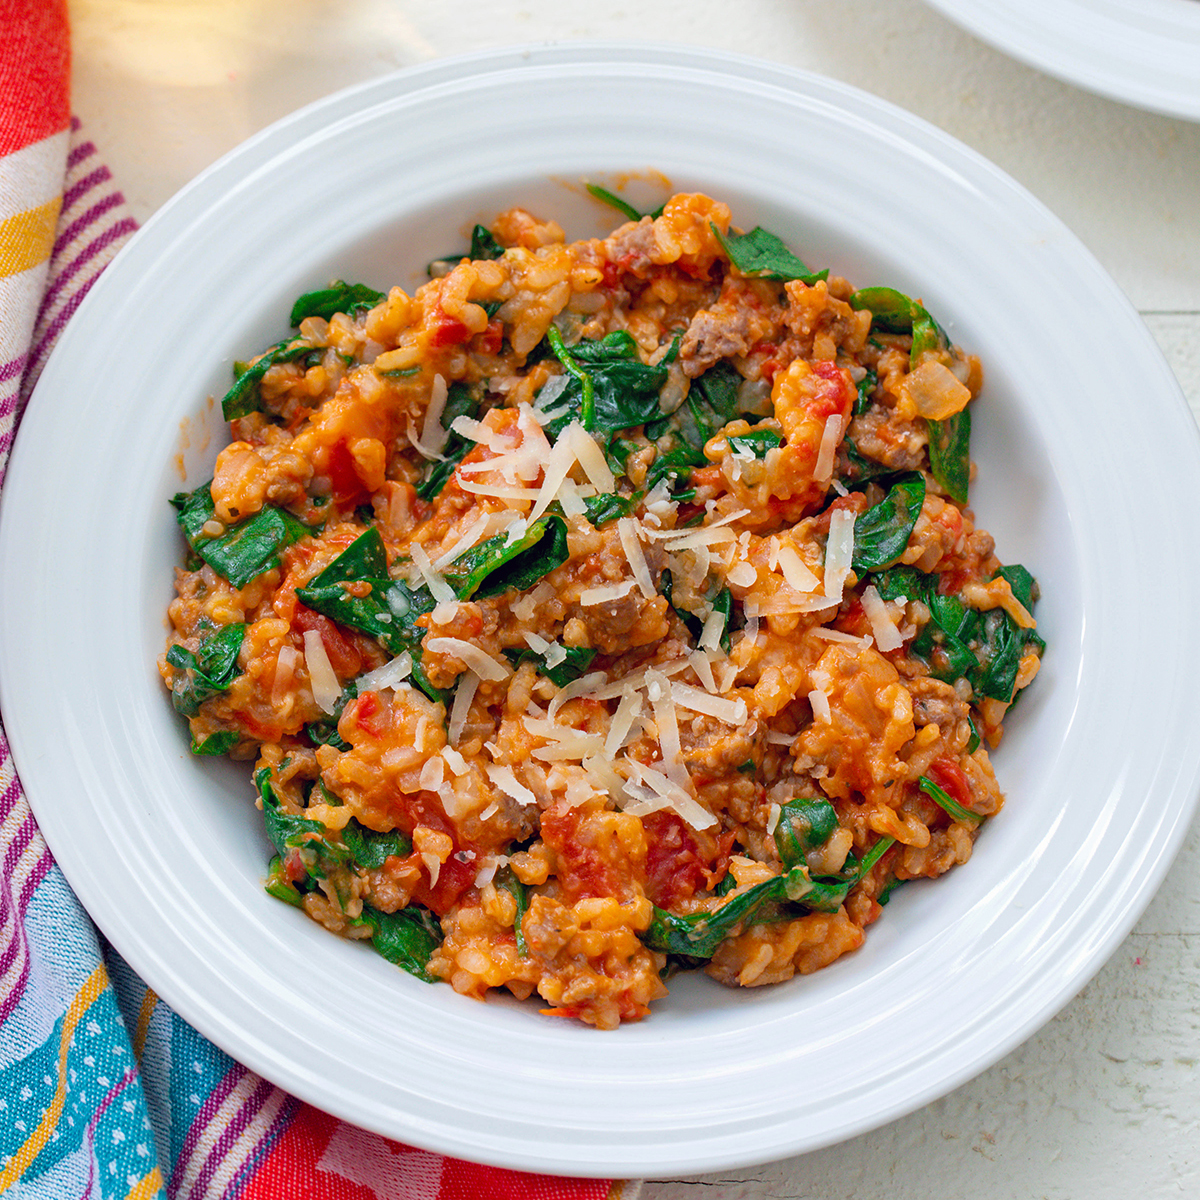
Tomato and Sausage Risotto
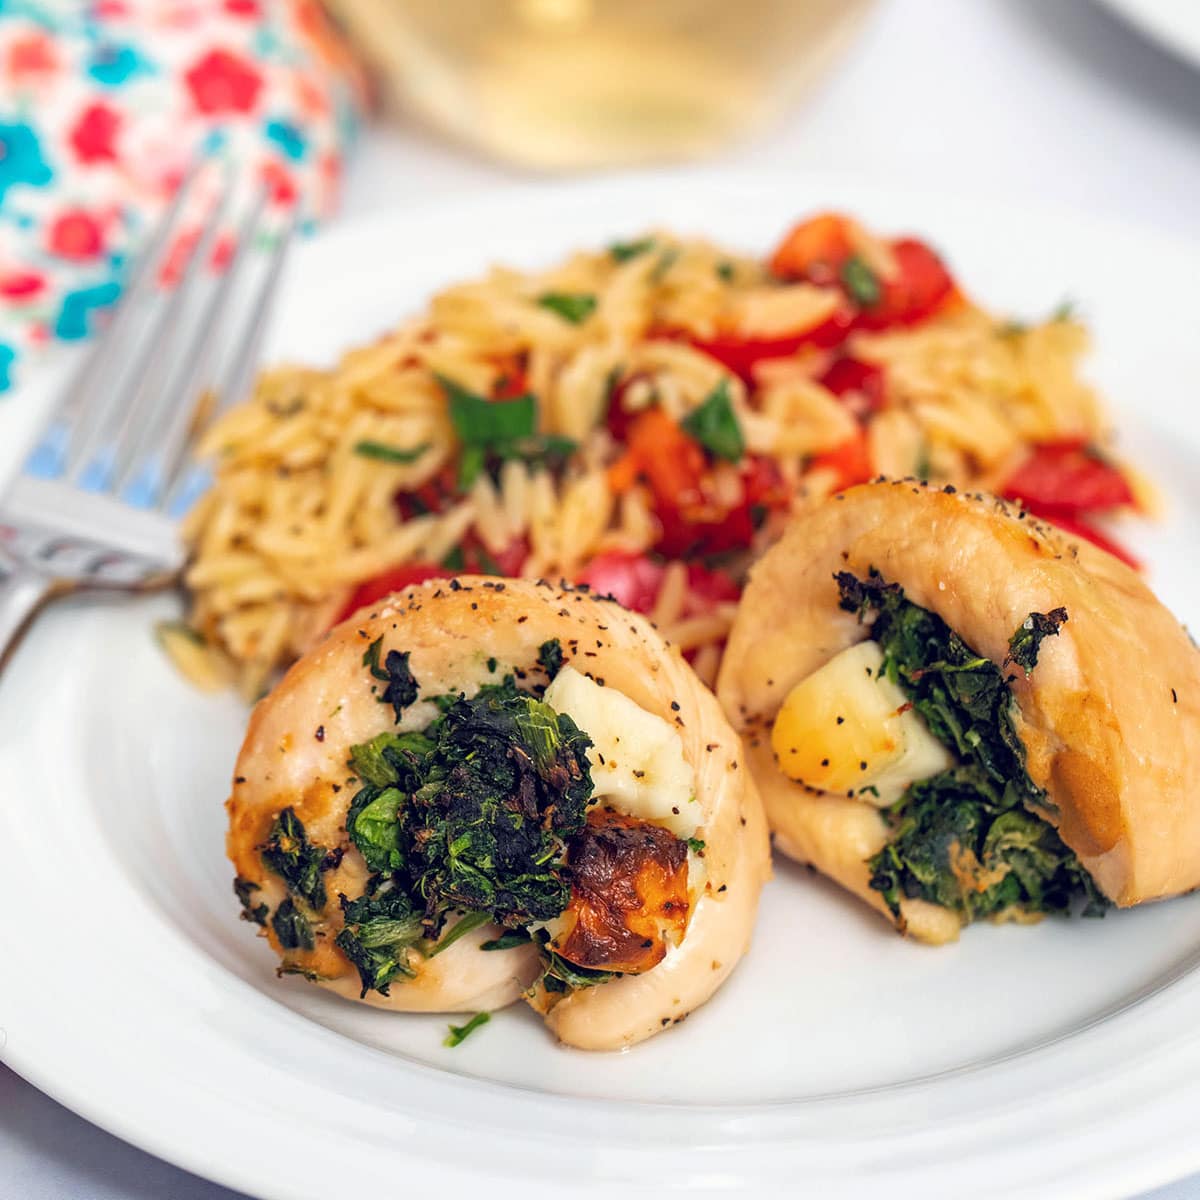
Spinach and Brie-Stuffed Chicken
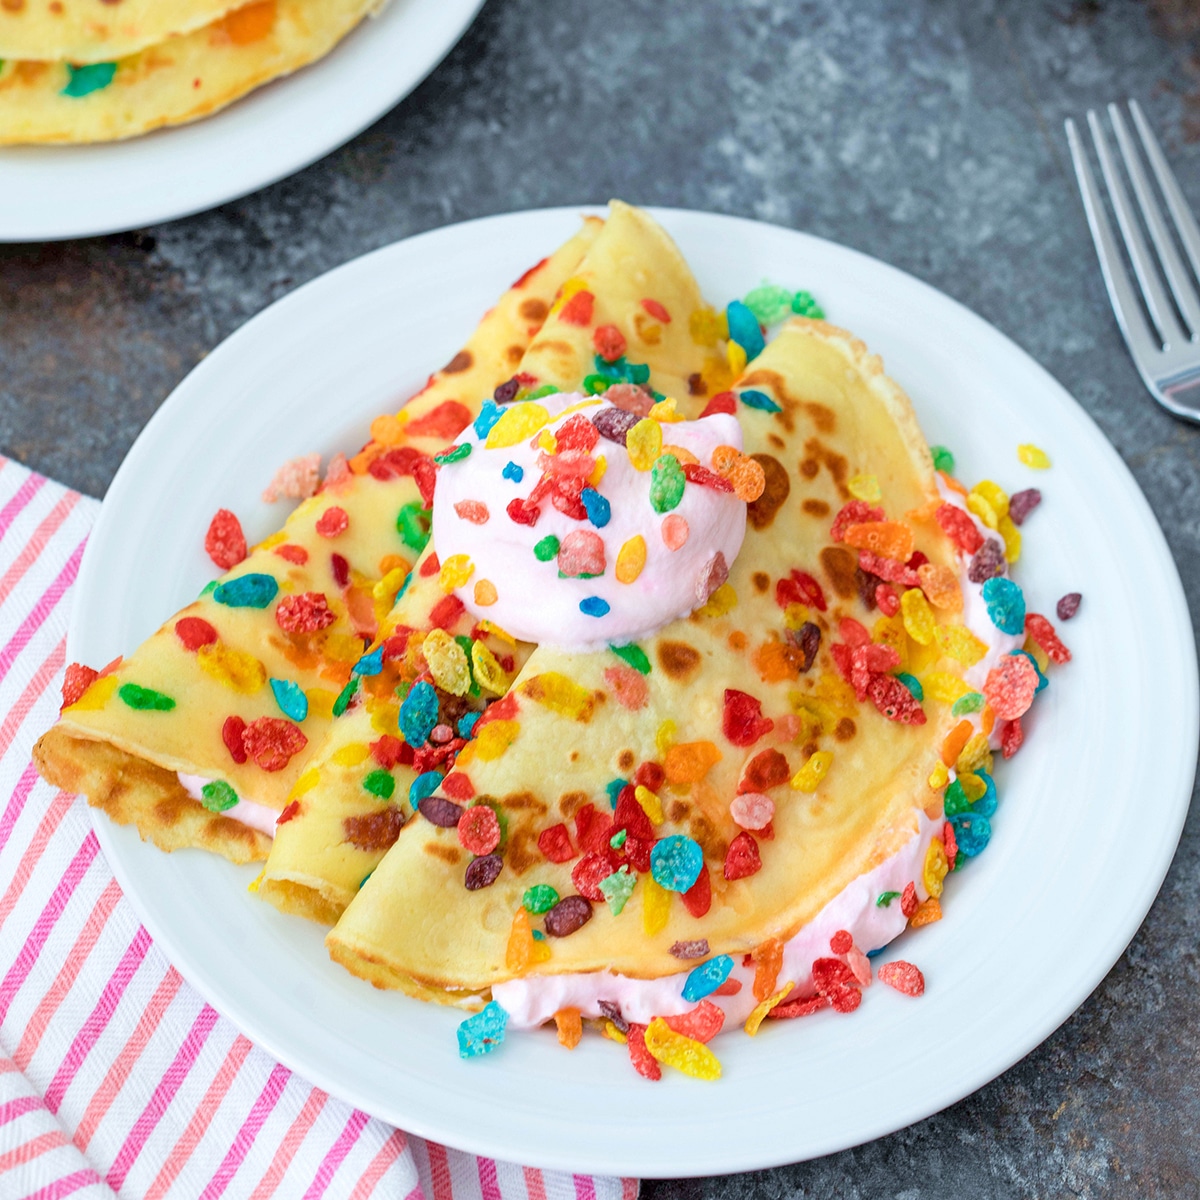
Fruity Pebbles Crepes
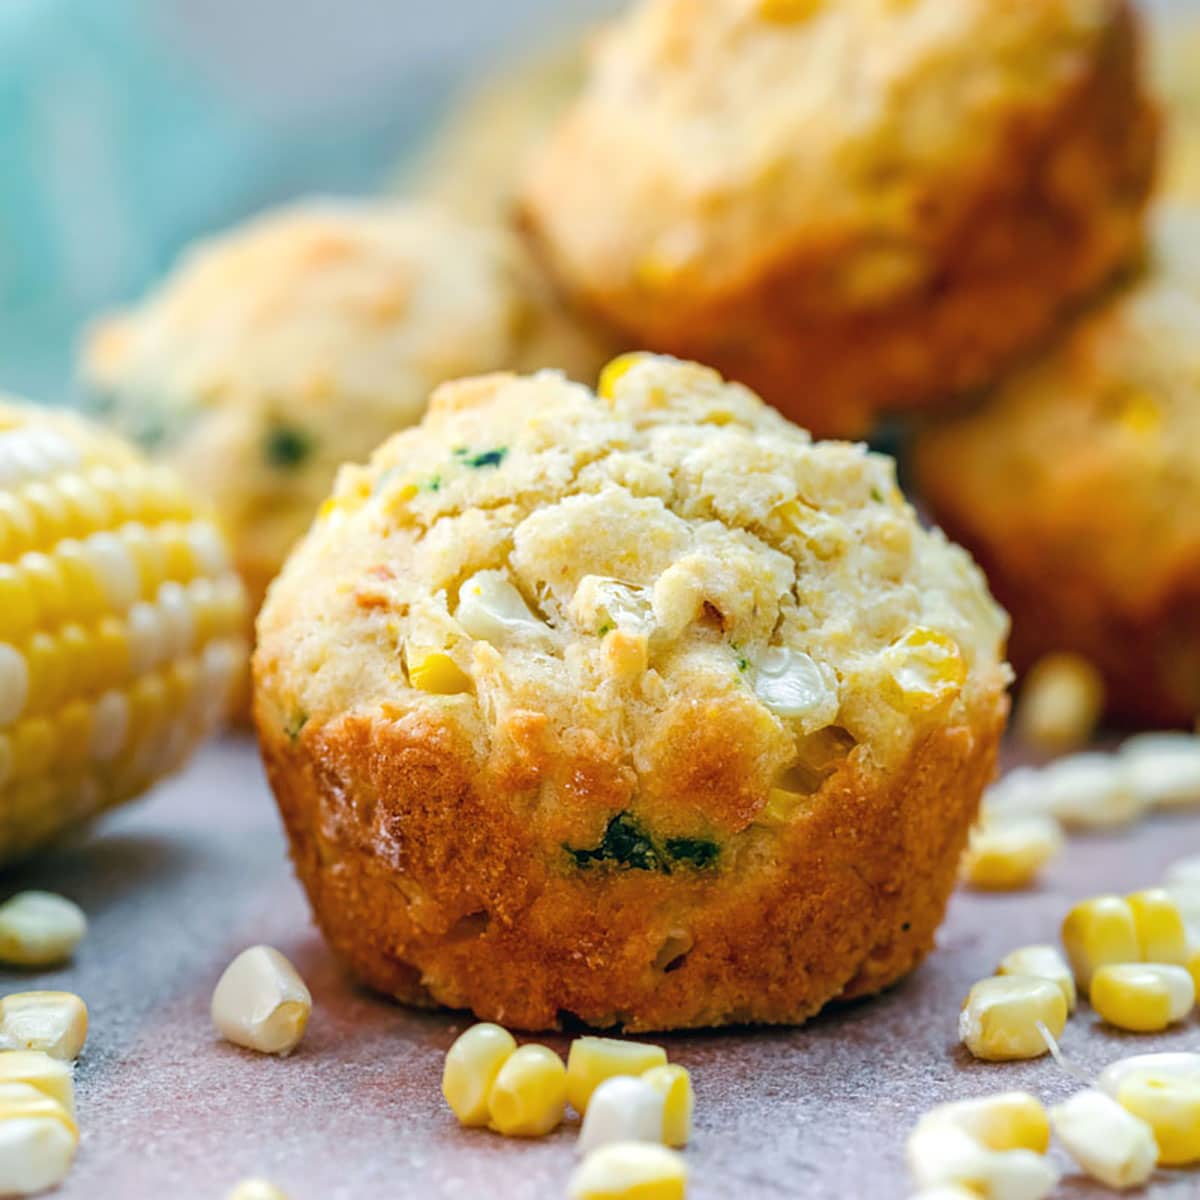
Fresh Corn Muffins with Basil
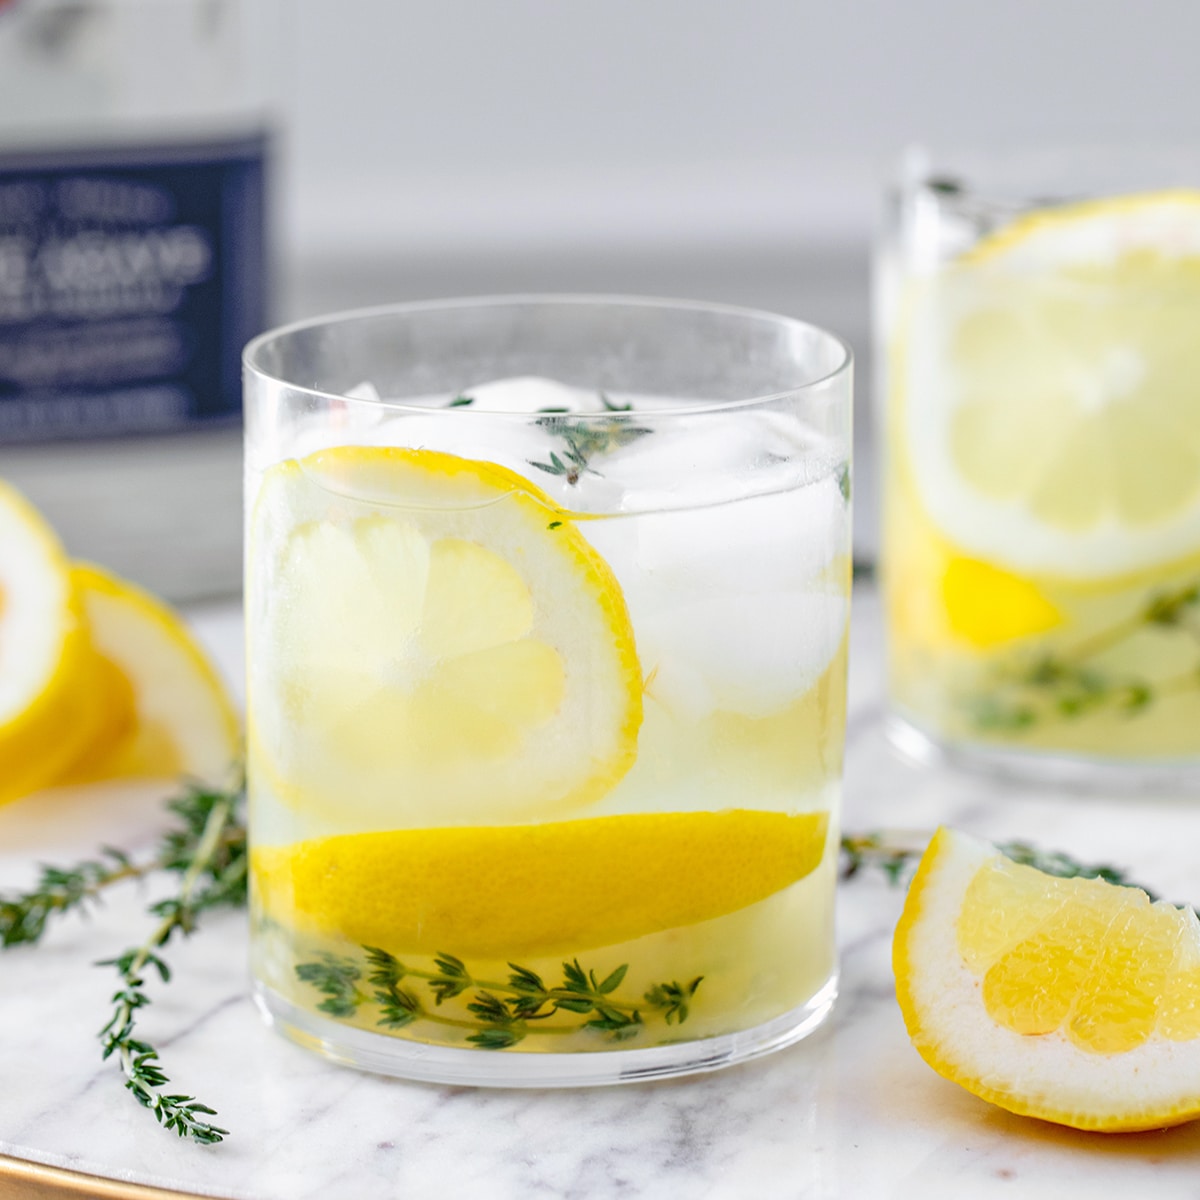
Tequila Thyme Lemonade
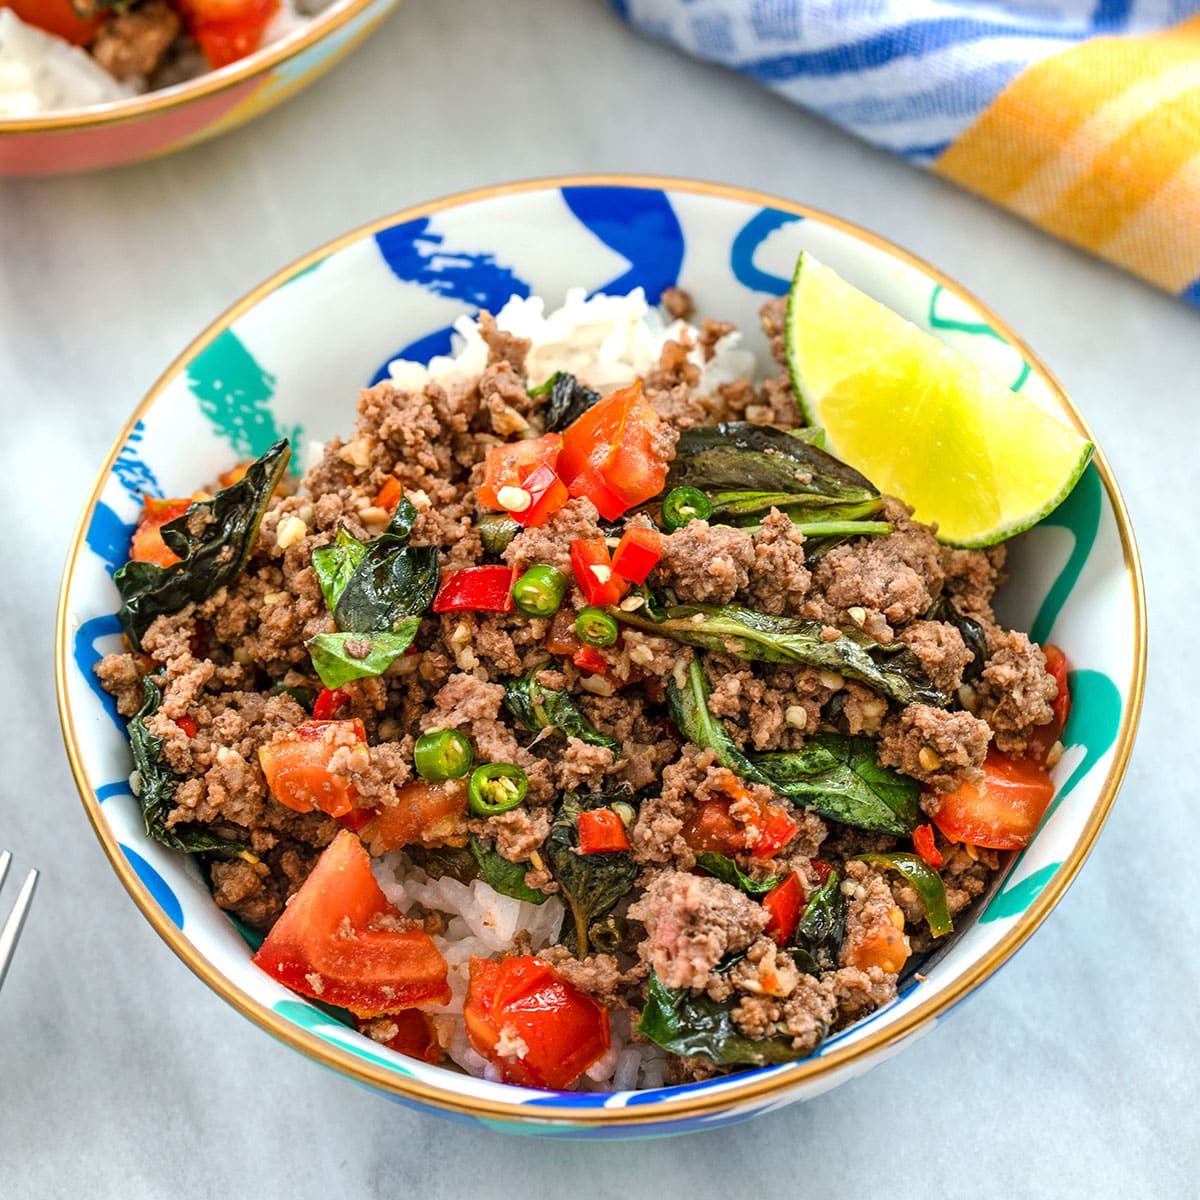
Thai Beef Basil with Coconut Rice
Caramelized Figs
You may be interested in...
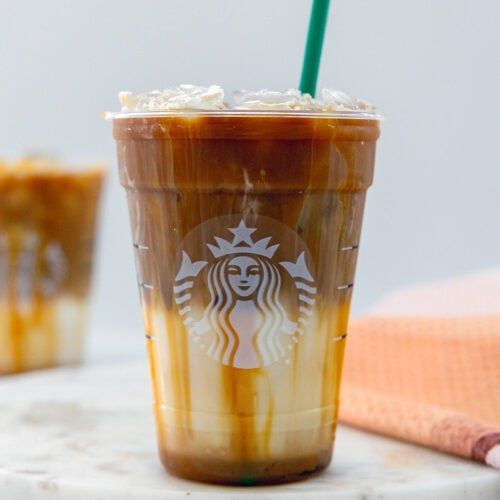
Iced Caramel Macchiato {Starbucks Copycat}
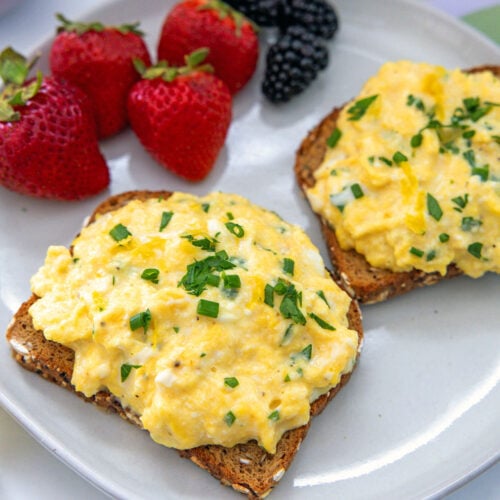
Ricotta Eggs
Strawberry Cake Mix Cookies
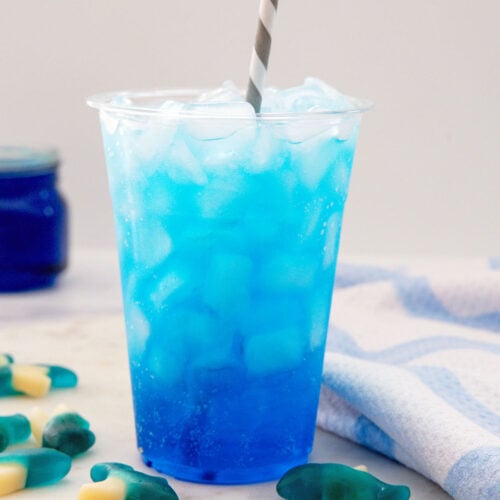
Sonic Ocean Water {Copycat Recipe}
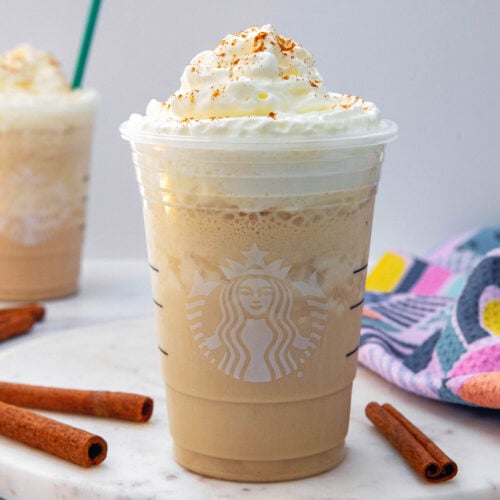
Horchata Frappuccino {Starbucks Copycat}
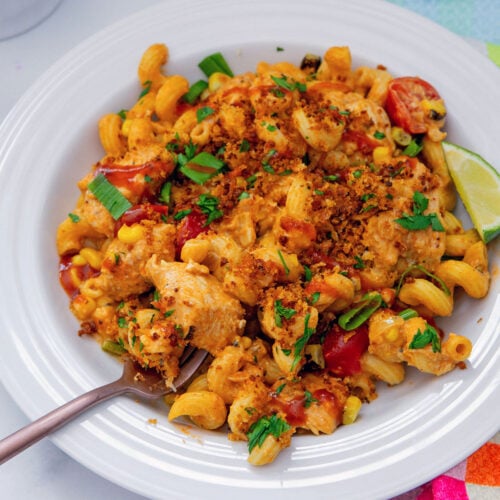
BBQ Chicken Pasta
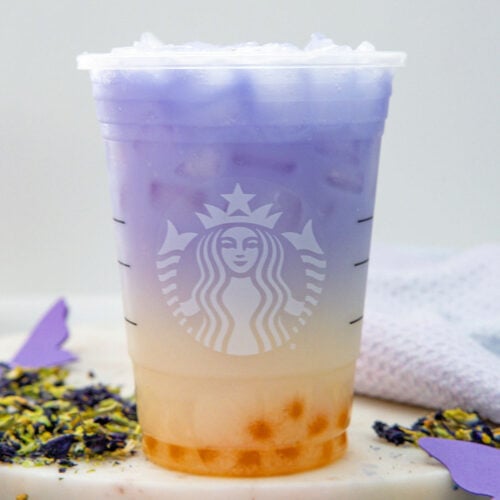
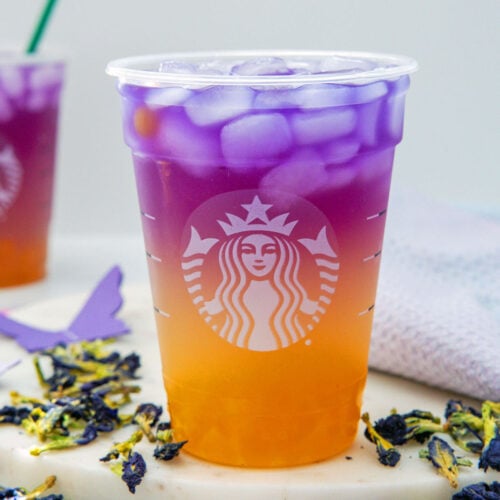
Butterfly Drink {Starbucks Copycat}
Tropical Butterfly Refresher {Starbucks Copycat}