Search results for: label/we are not martha
Sorry, no content matched your criteria.are
-
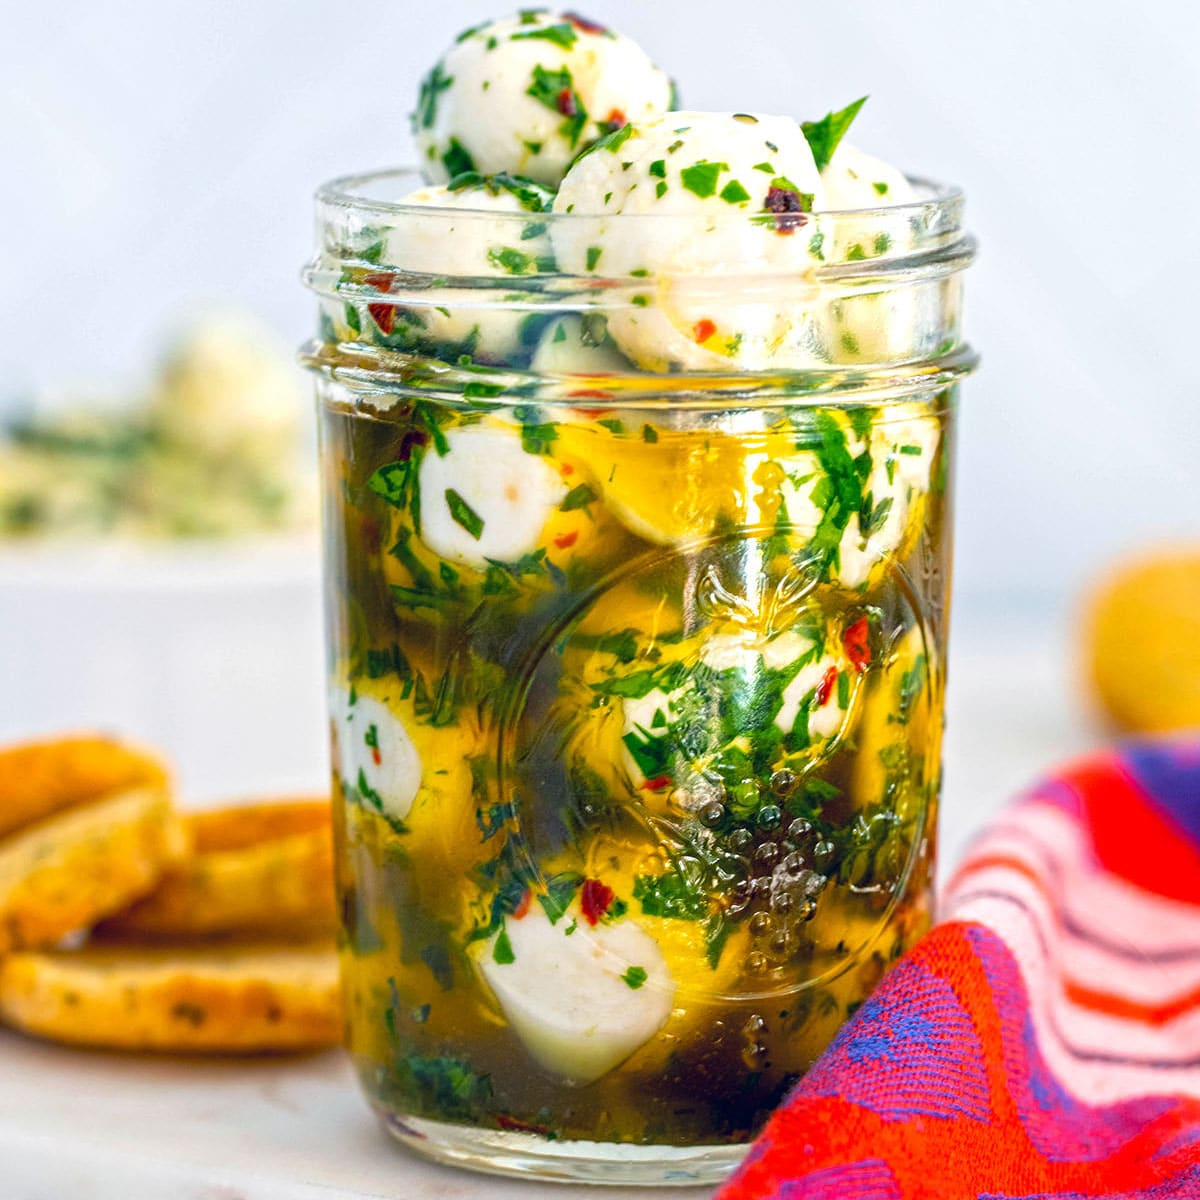
Marinated Mozzarella Balls
-
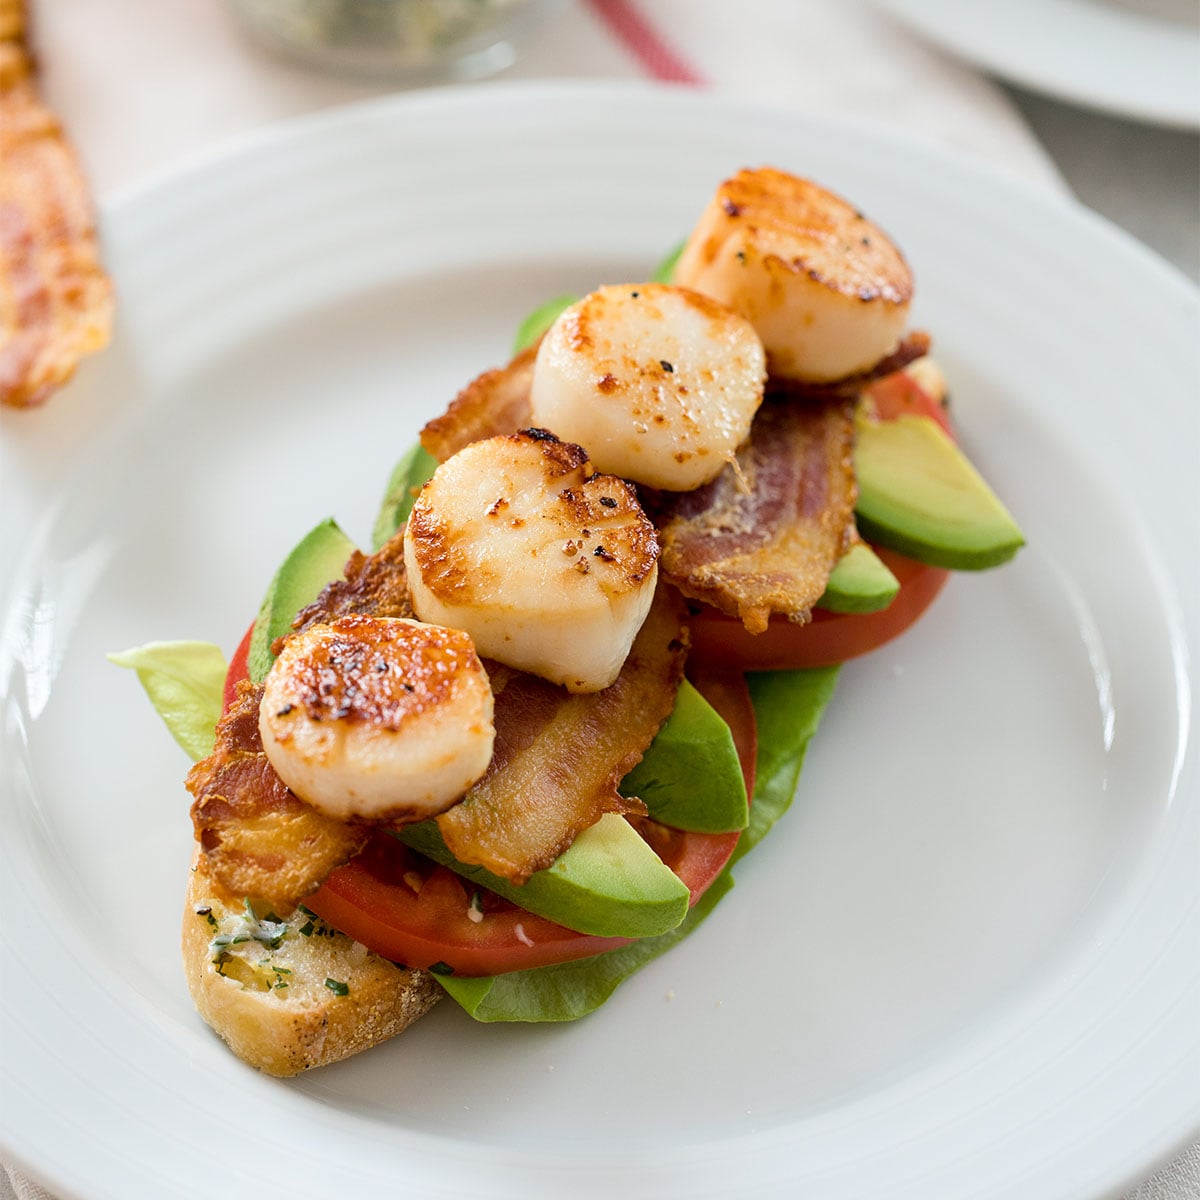
Seared Scallop BLT Sandwich
-
Eggnog French Toast with Sugared Cranberries
-
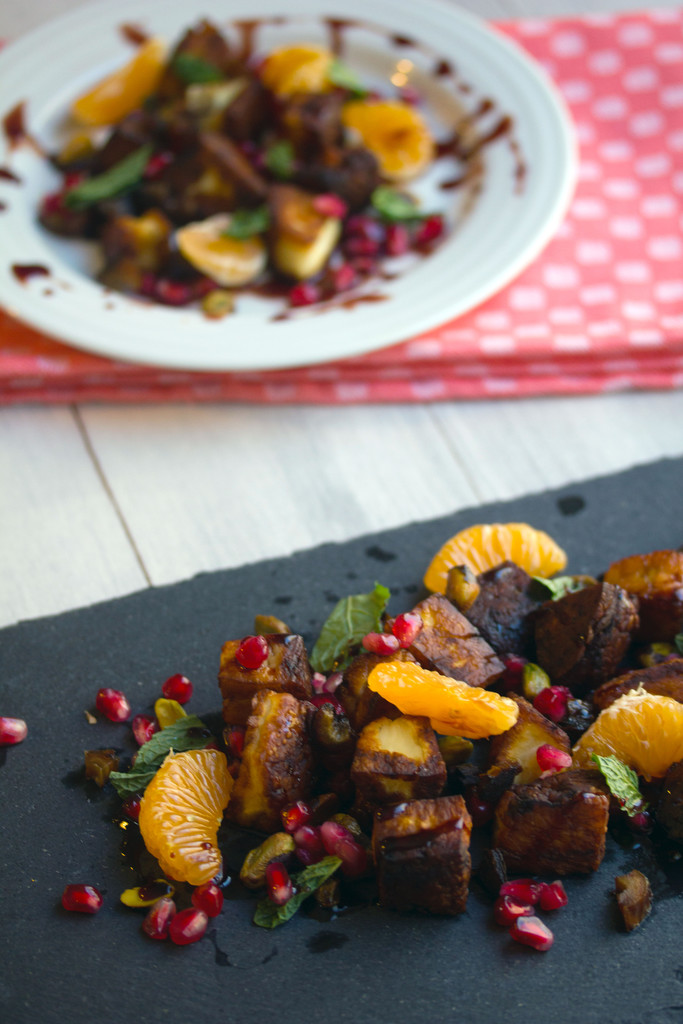
Seared Halloumi with Dates, Clementines, and Pomegranate Arils
-
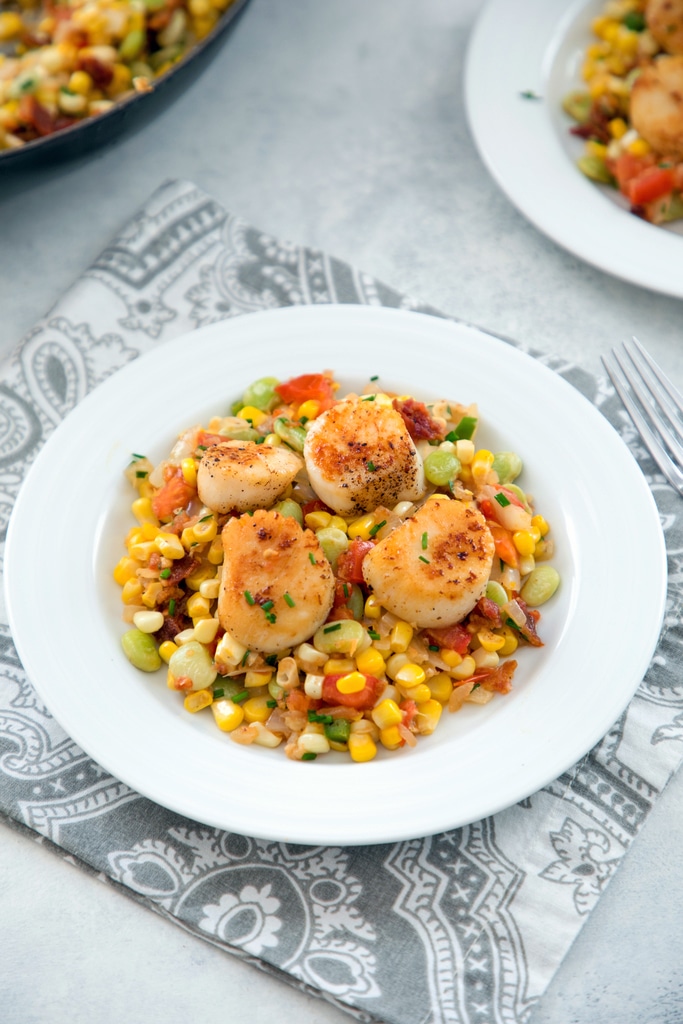
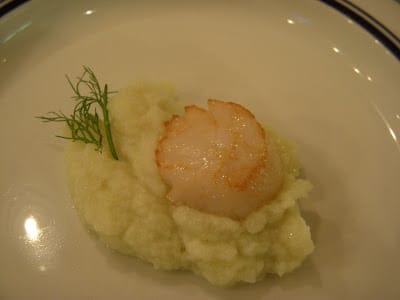
Pan Seared Scallops with Bacon Succotash
-
Cooking My Parents' Anniversary Dinner
-
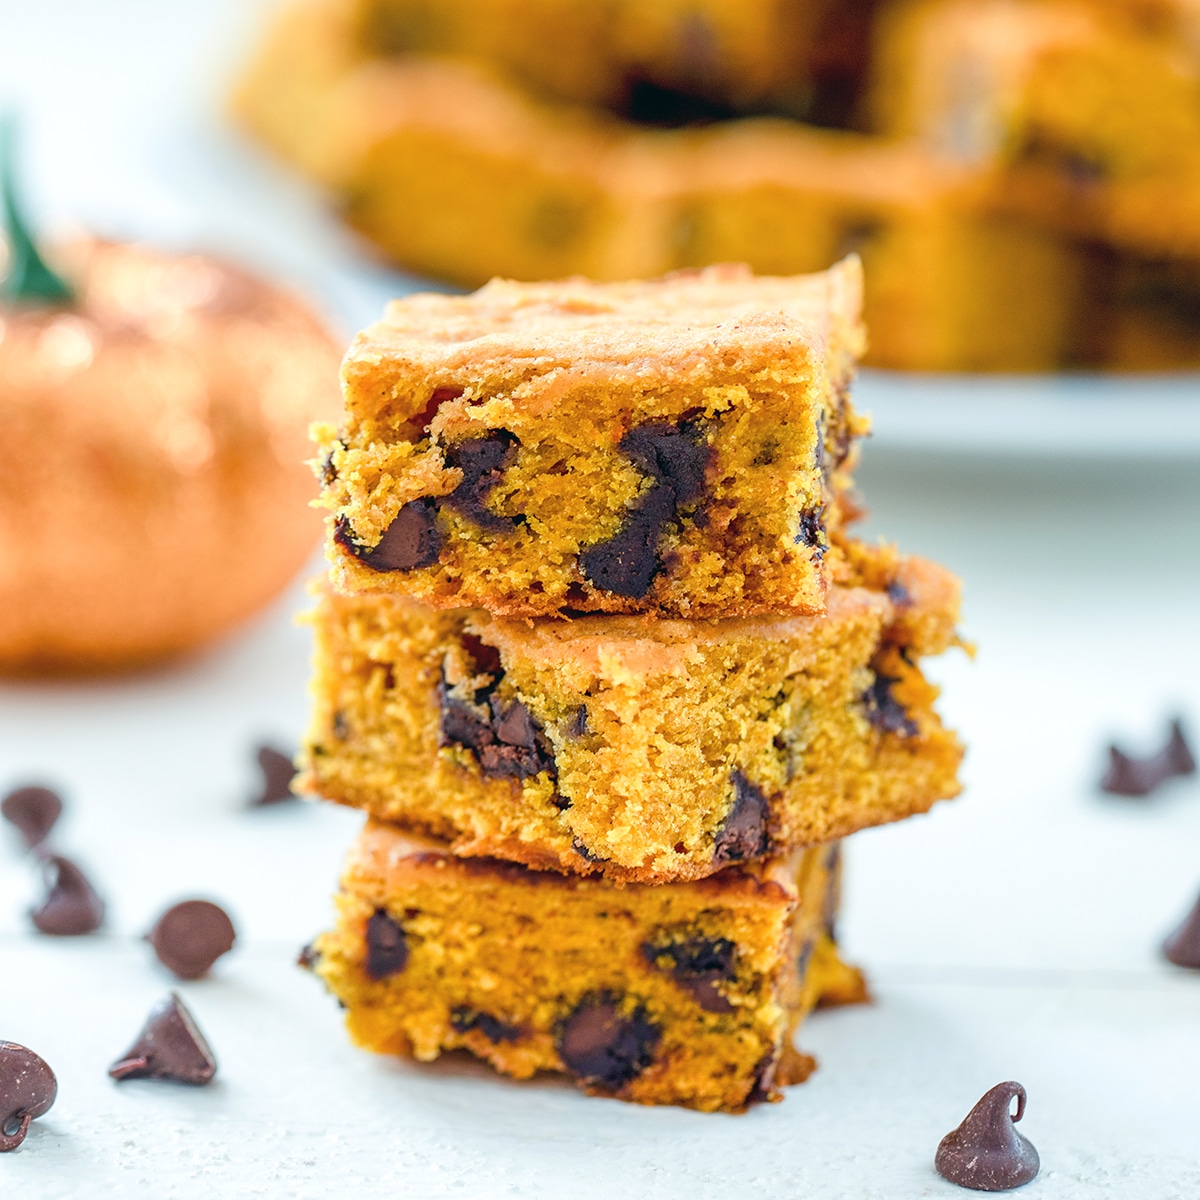
Pumpkin Chocolate Chip Squares
-
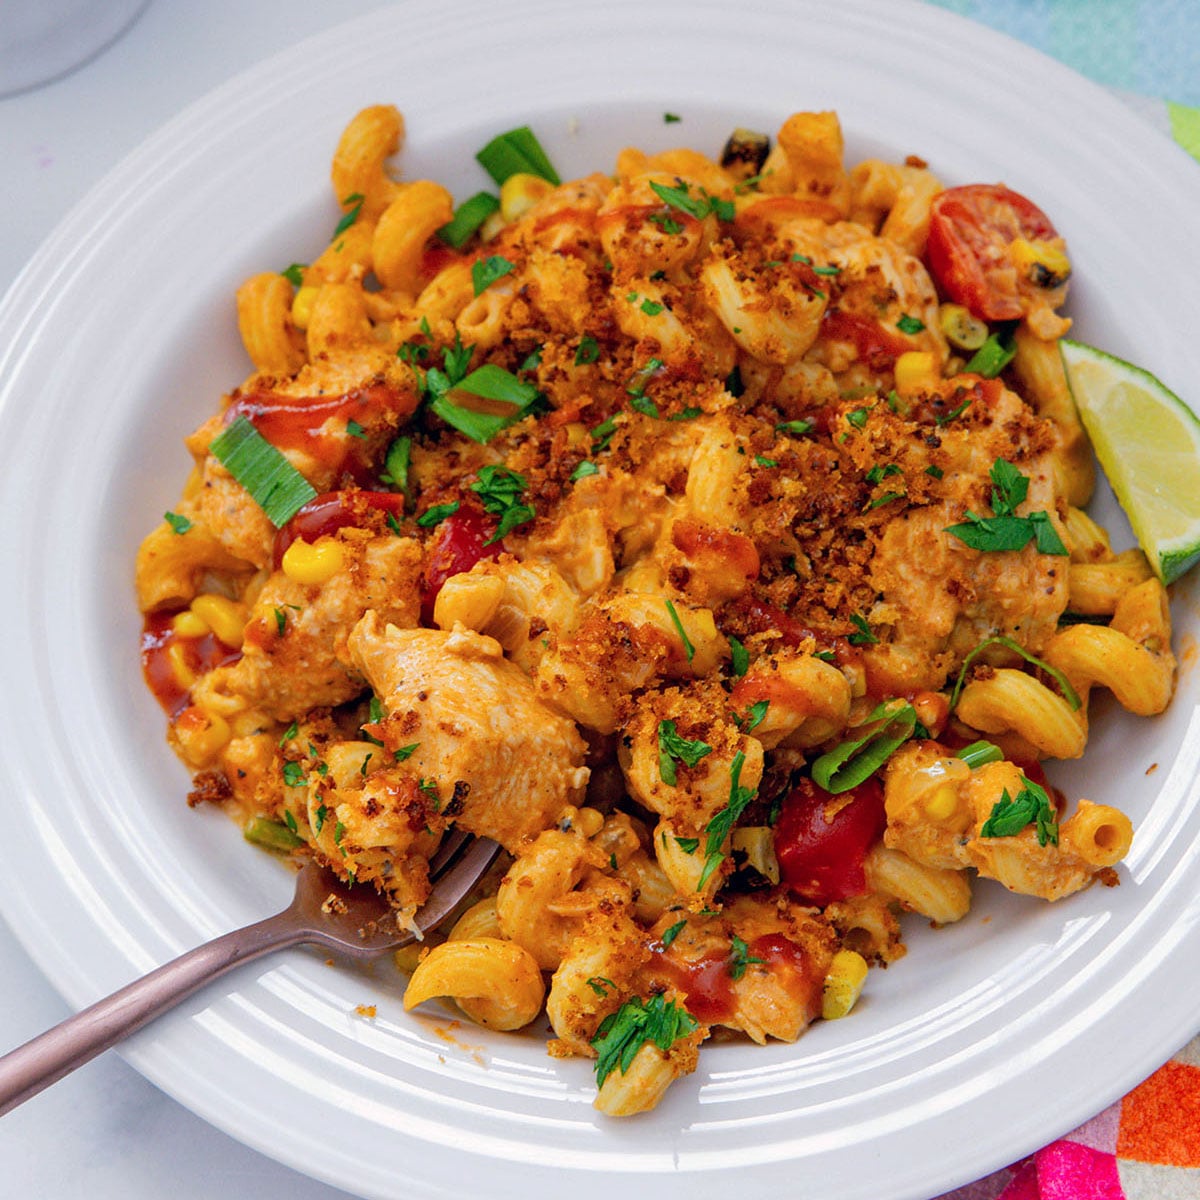
Pasta with Turkey Meatballs and Mozzarella