baking
-
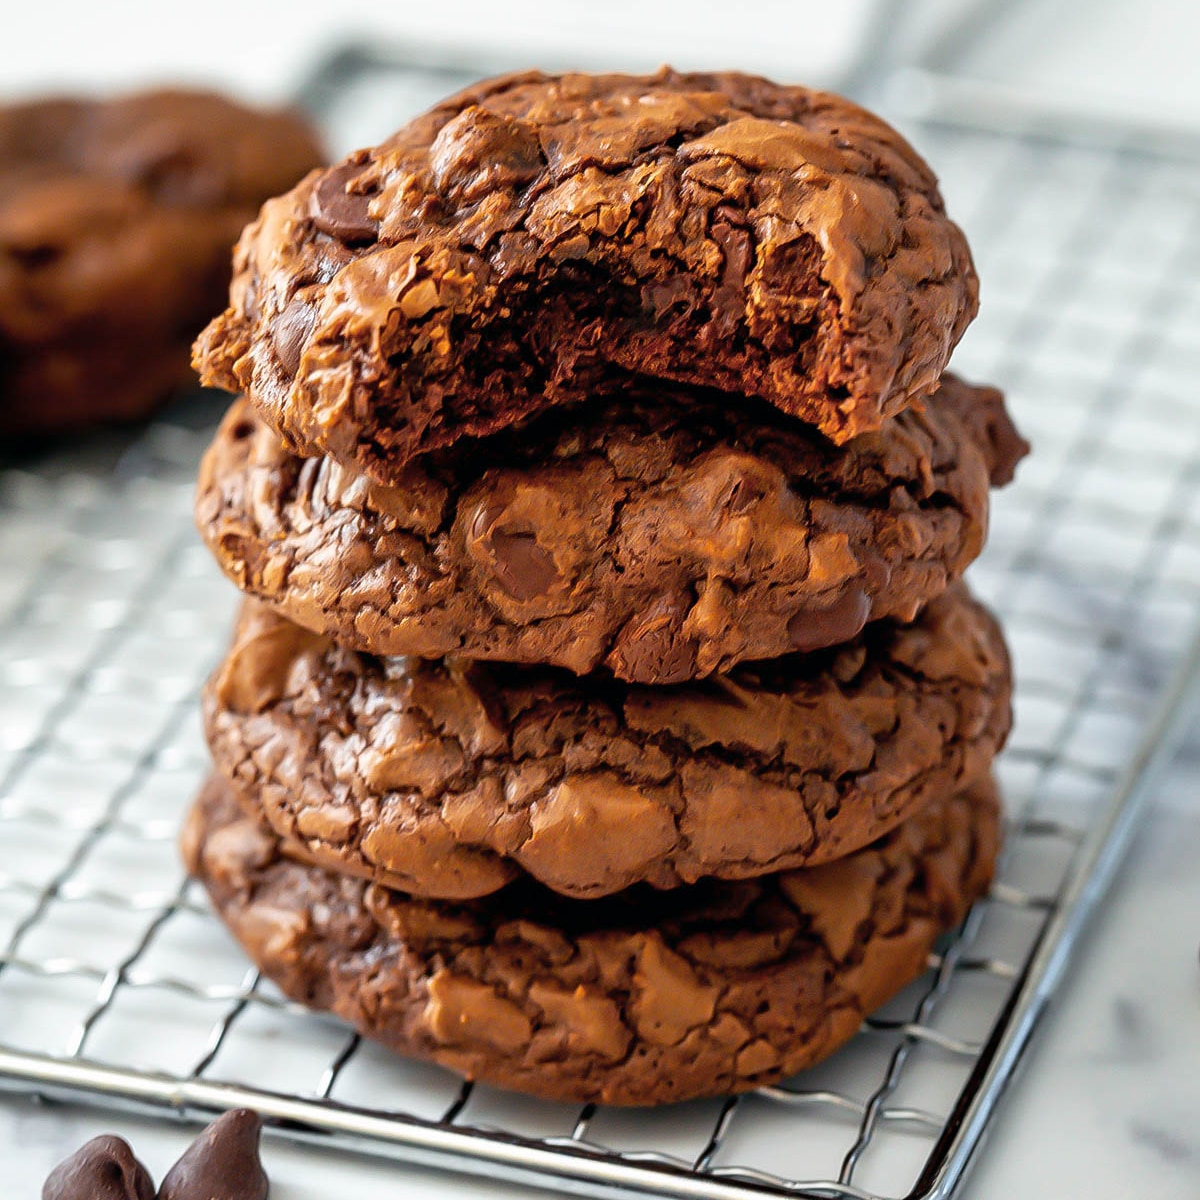
Brownie Mix Cookies
-
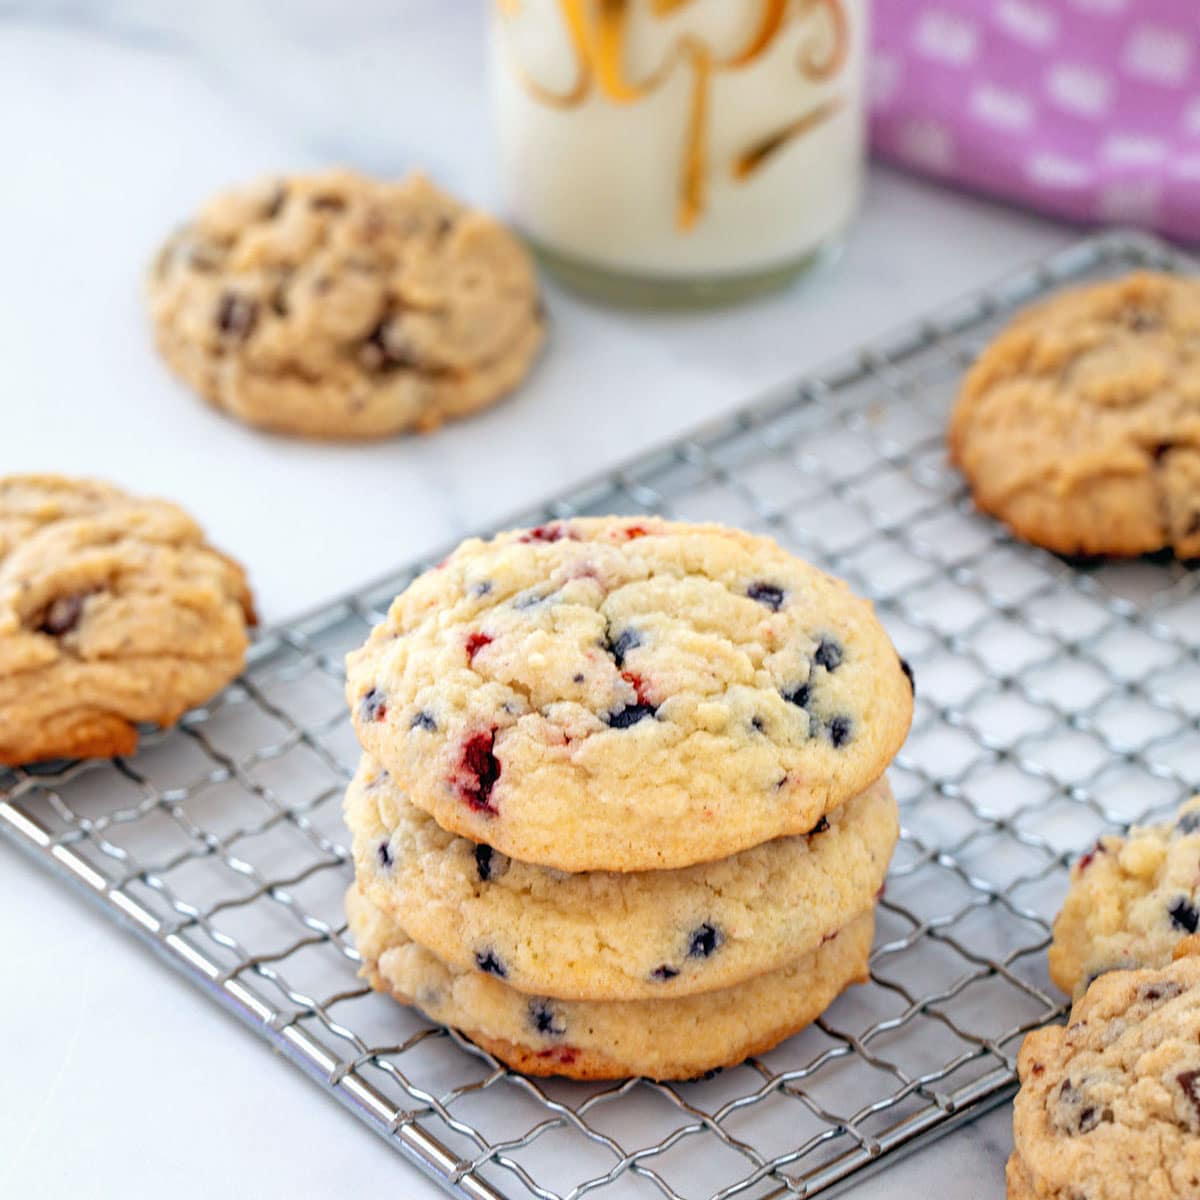
Muffin Mix Cookies
-
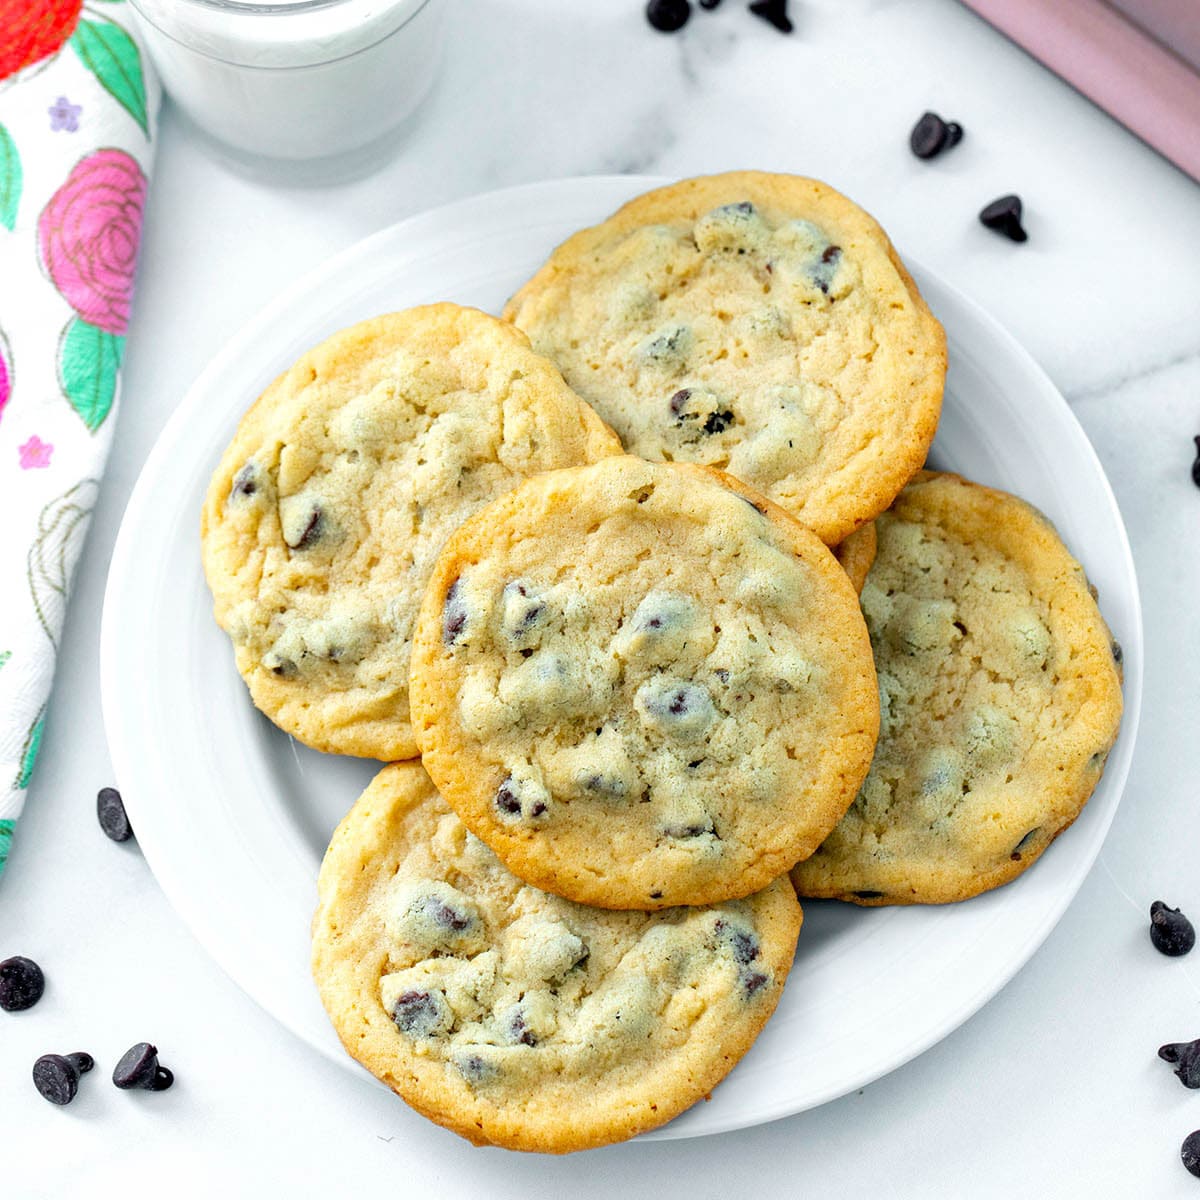
Cookies with Pancake Mix
-
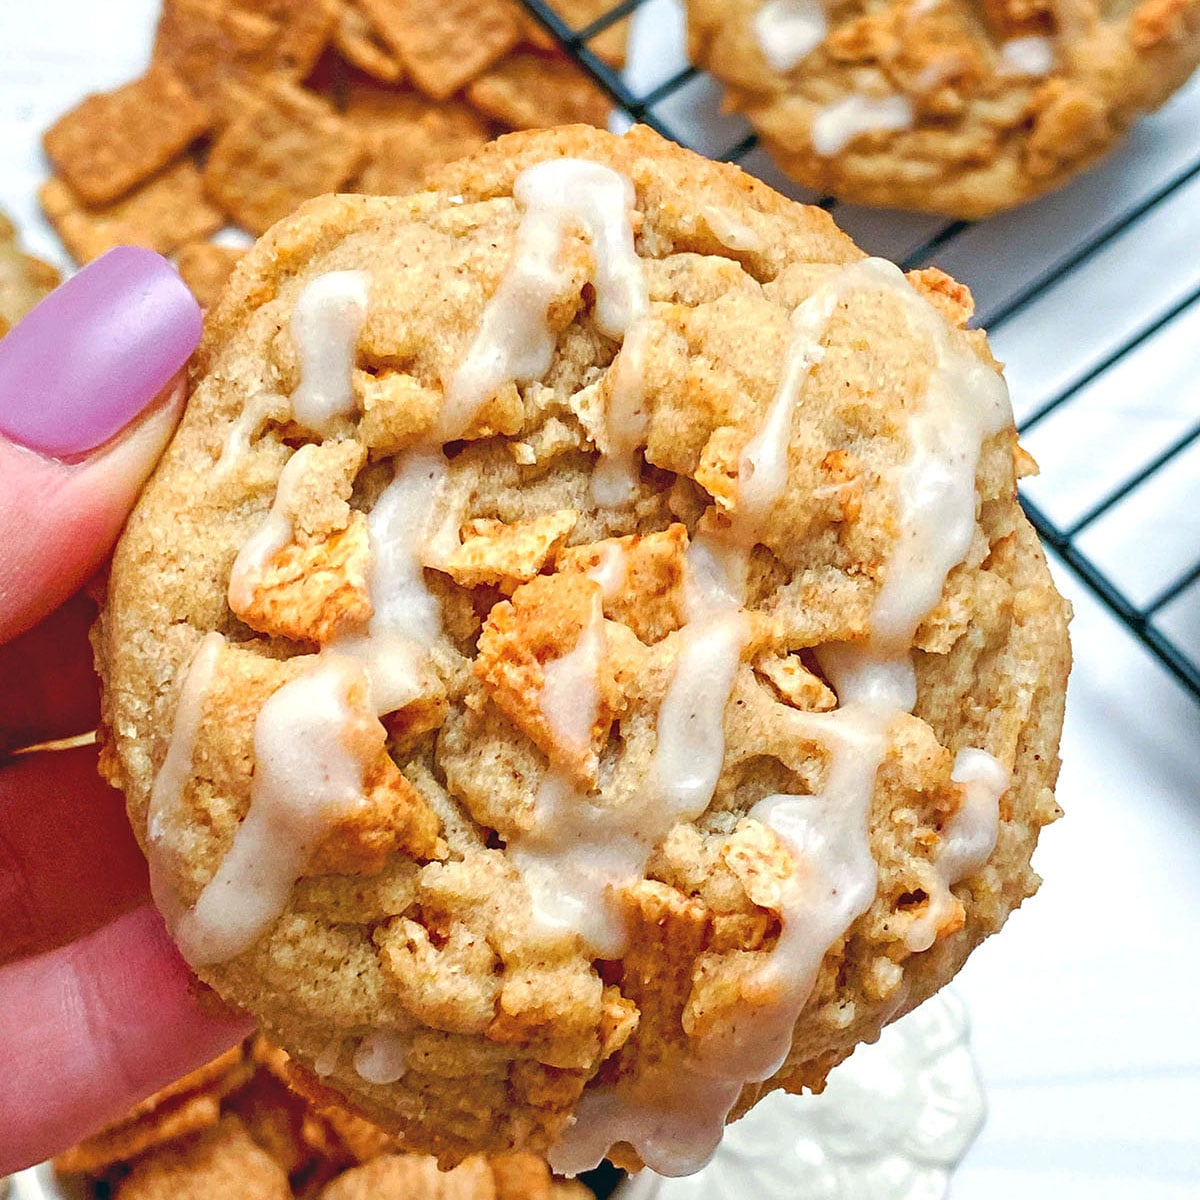
Cinnamon Toast Crunch Cookies
-
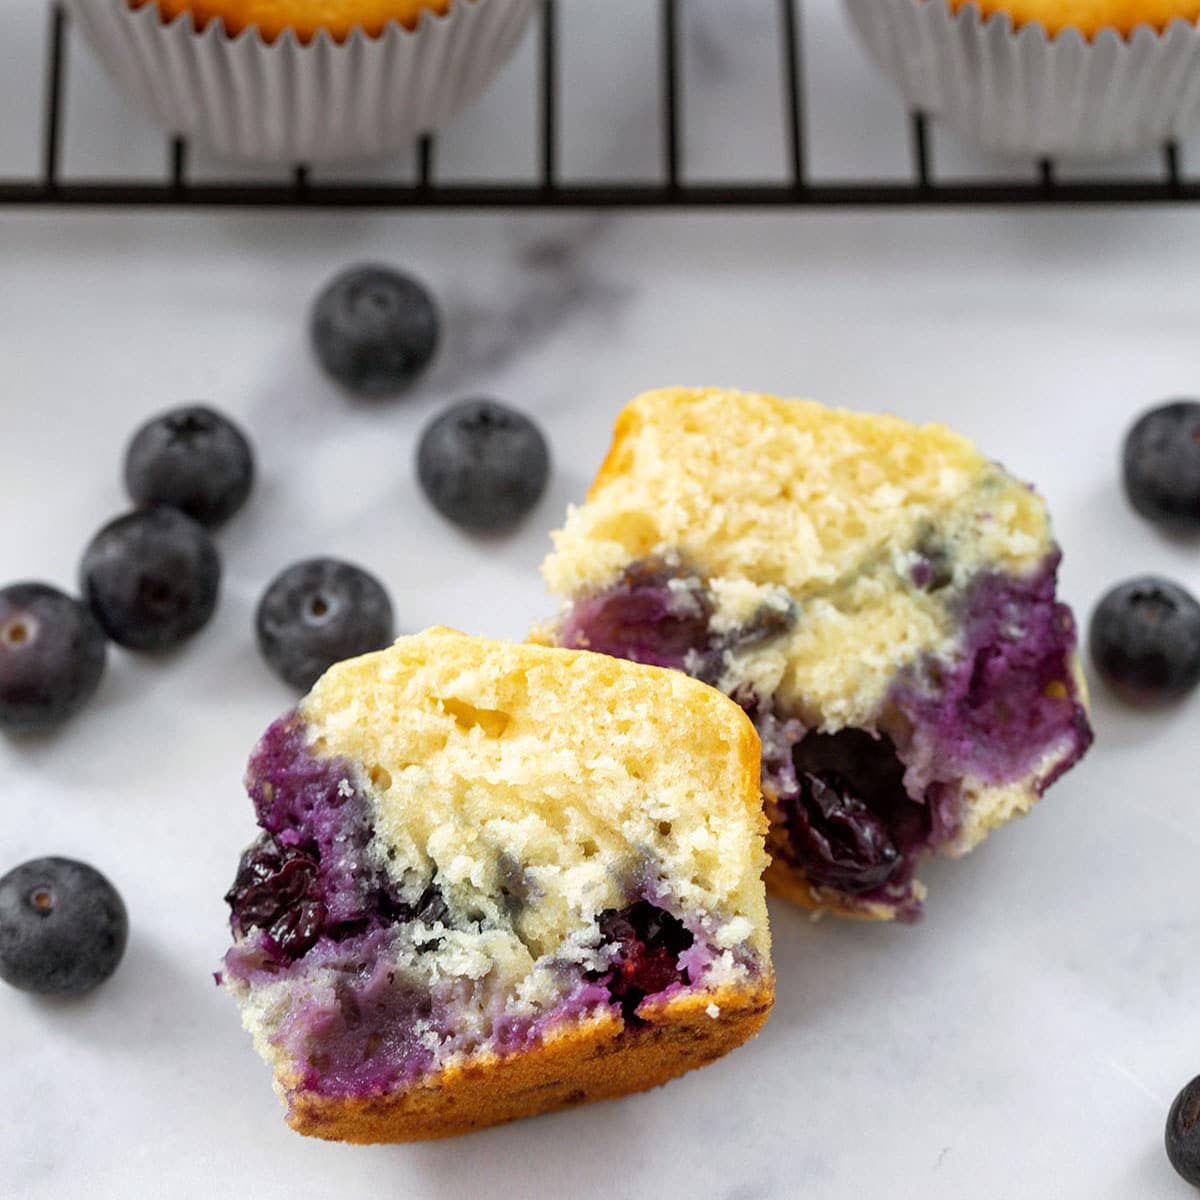
Muffins with Pancake Mix {Soft, Fluffy & Foolproof}
-
Coconut Sugar Cookies
-
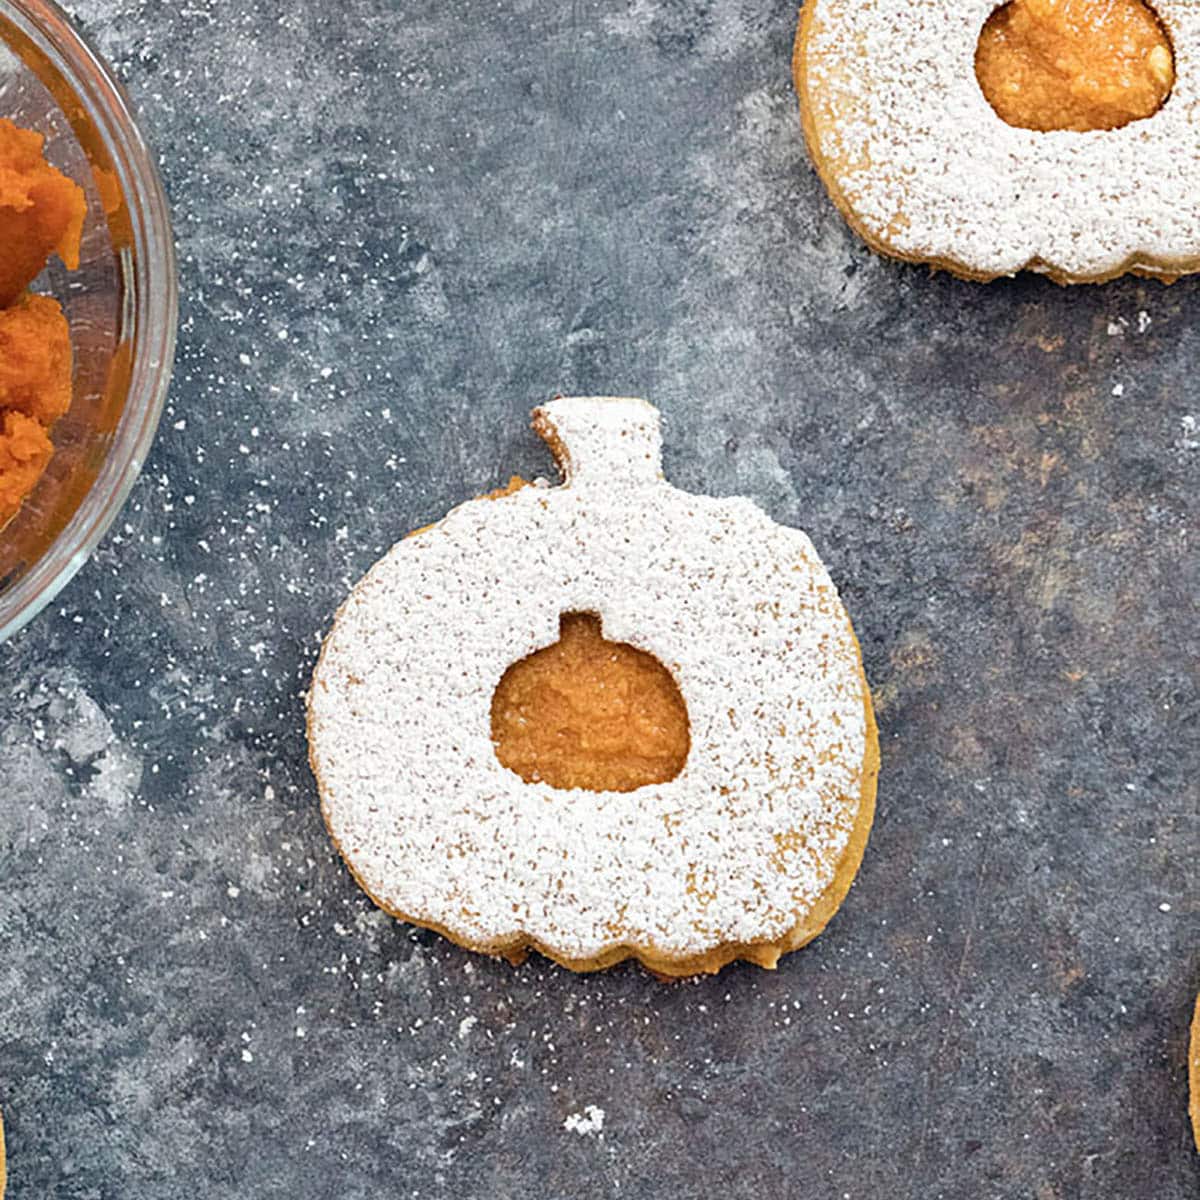
Pumpkin Spice Linzer Cookies
-
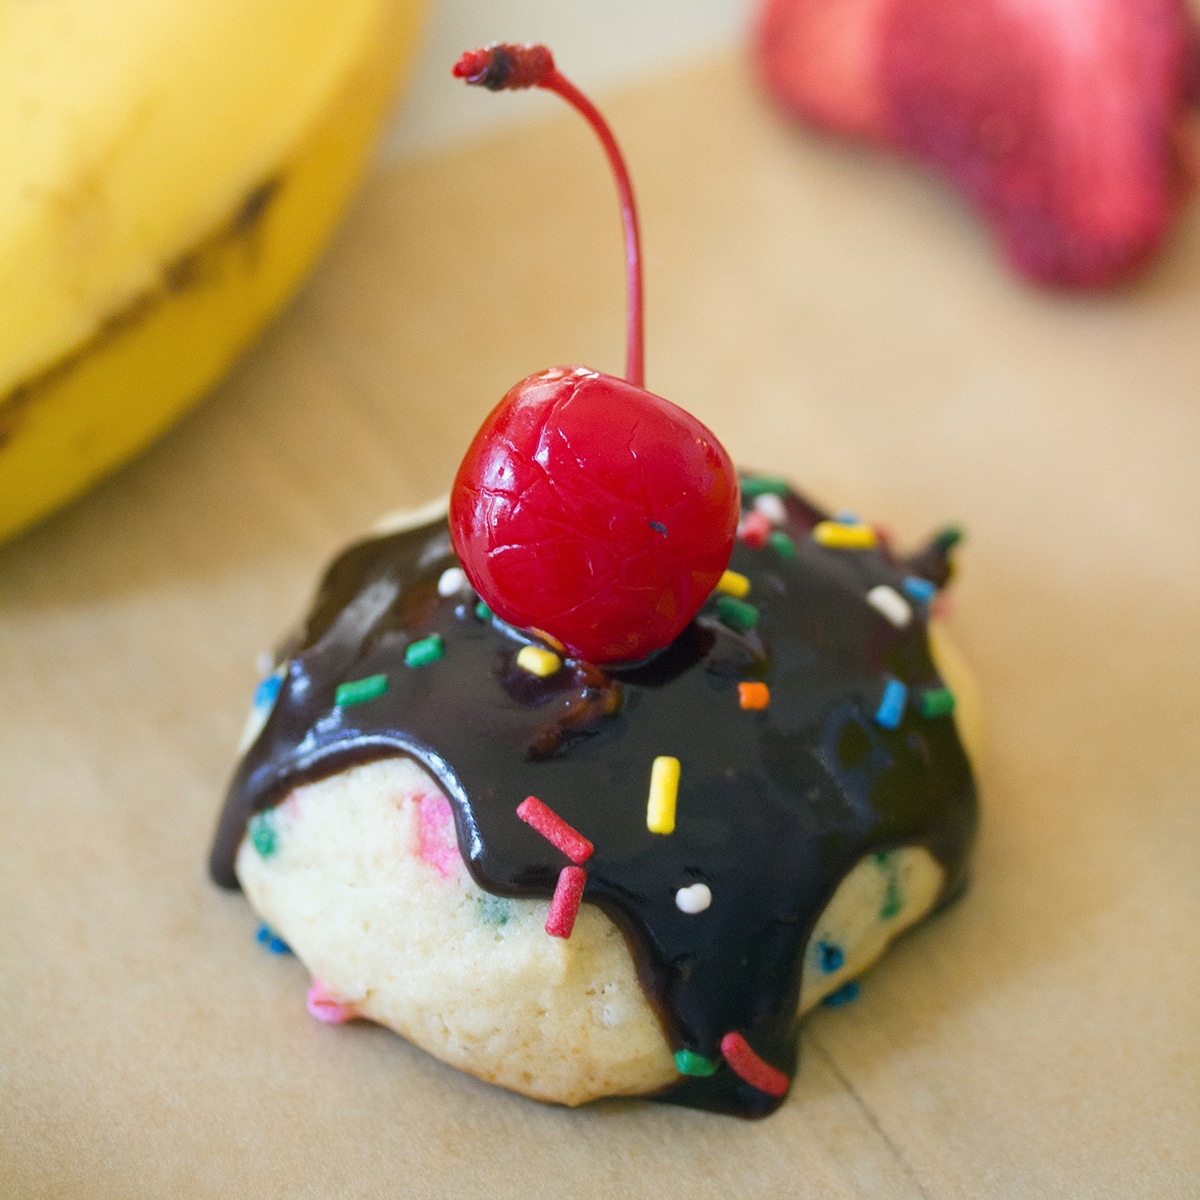
Banana Split Cookies
-
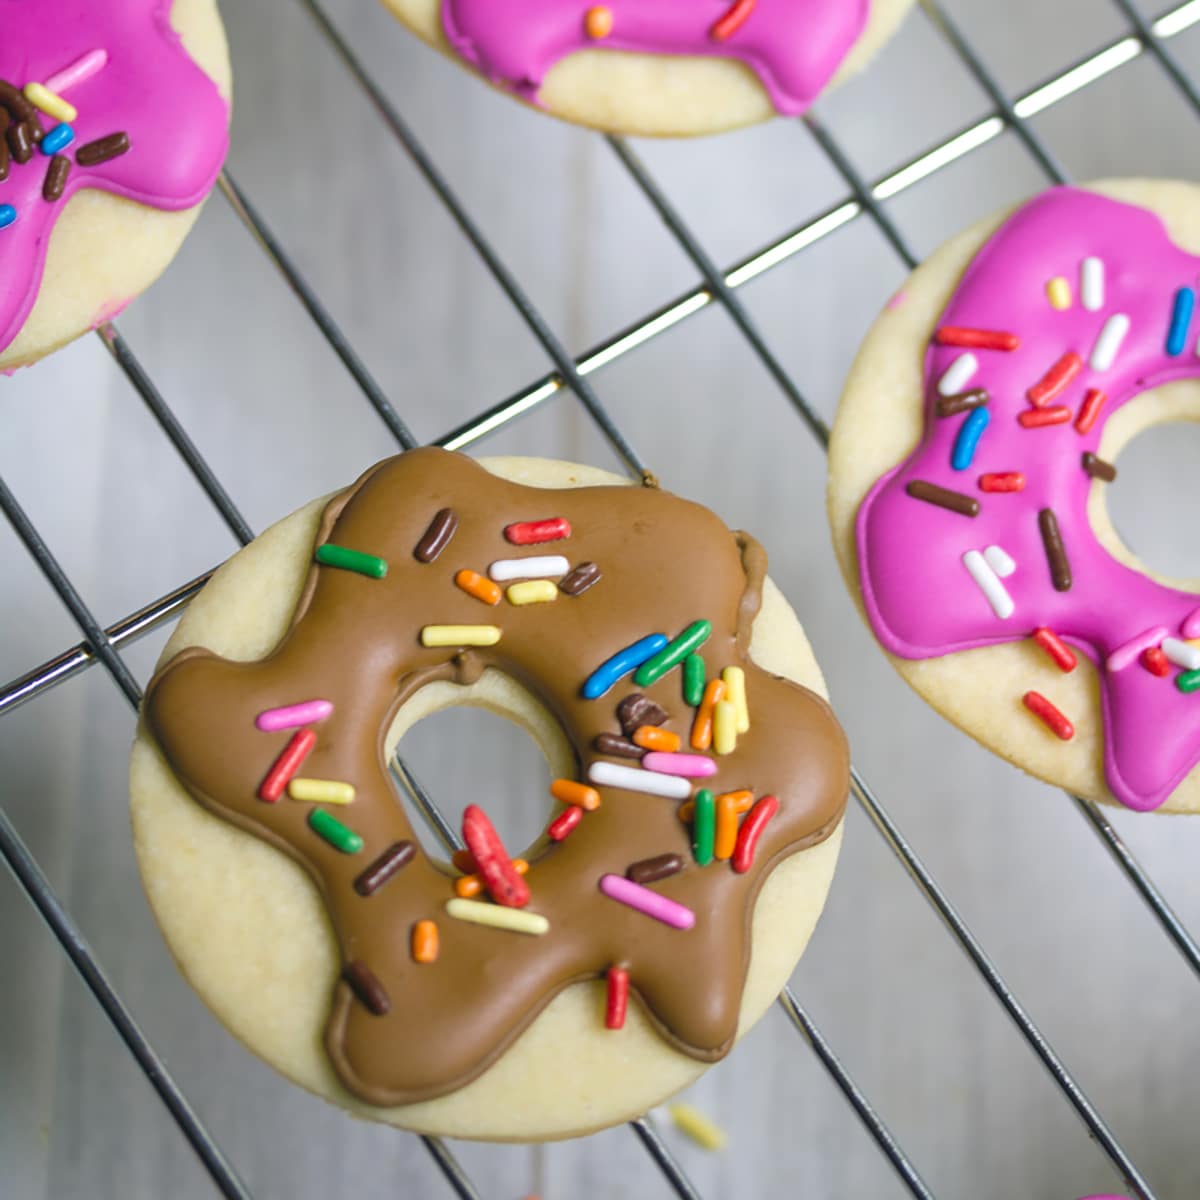
Doughnut Sugar Cookies
-
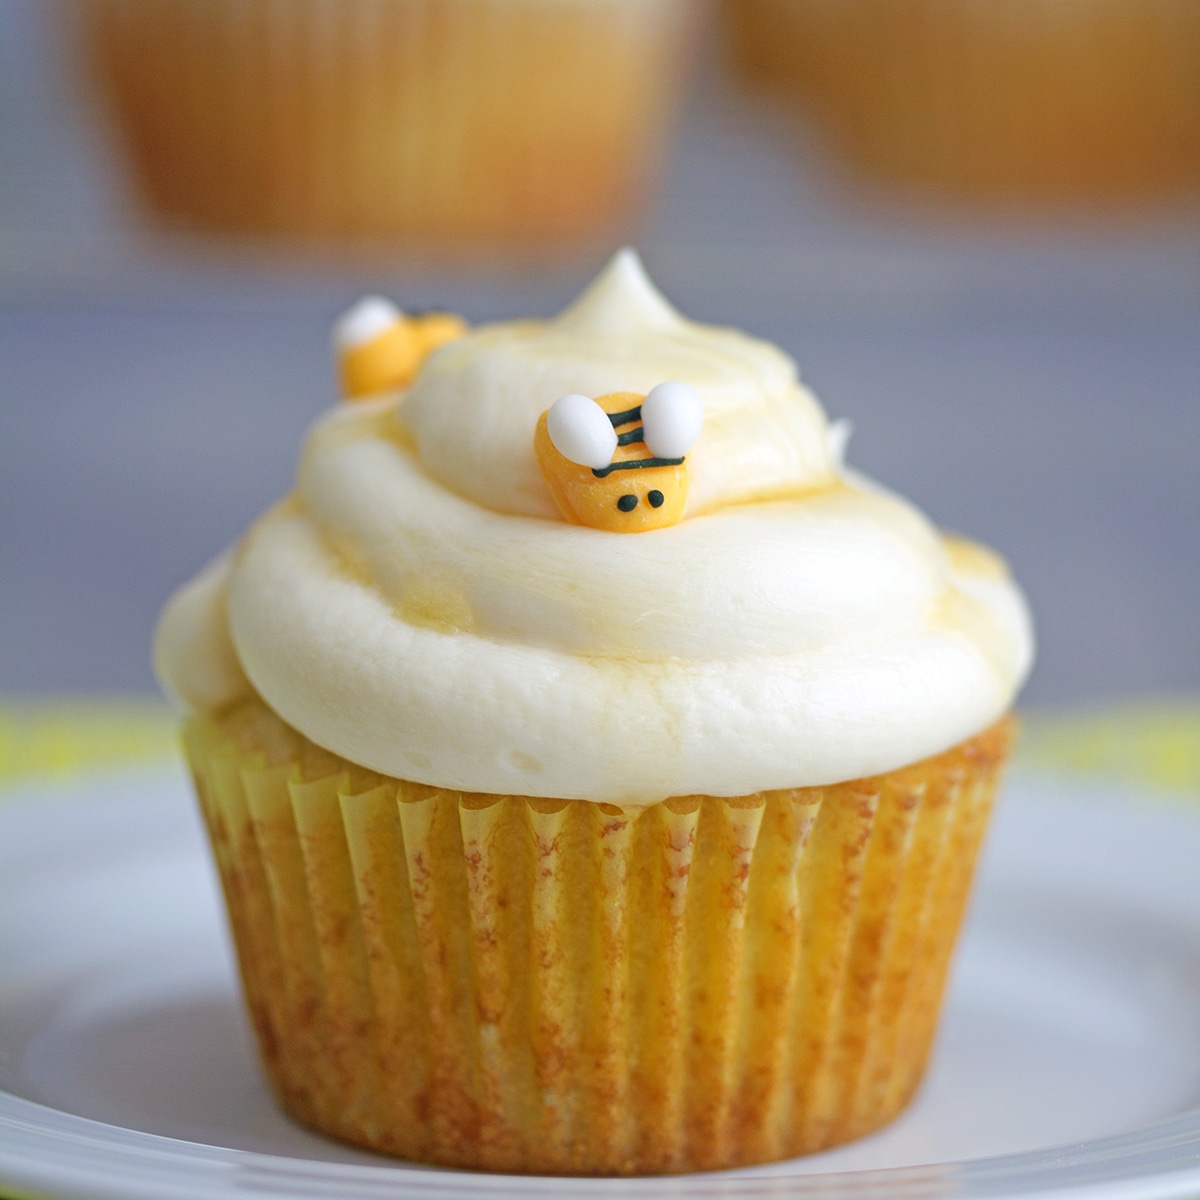
Honey Bee Cupcakes with White Chocolate Honey Ganache
-
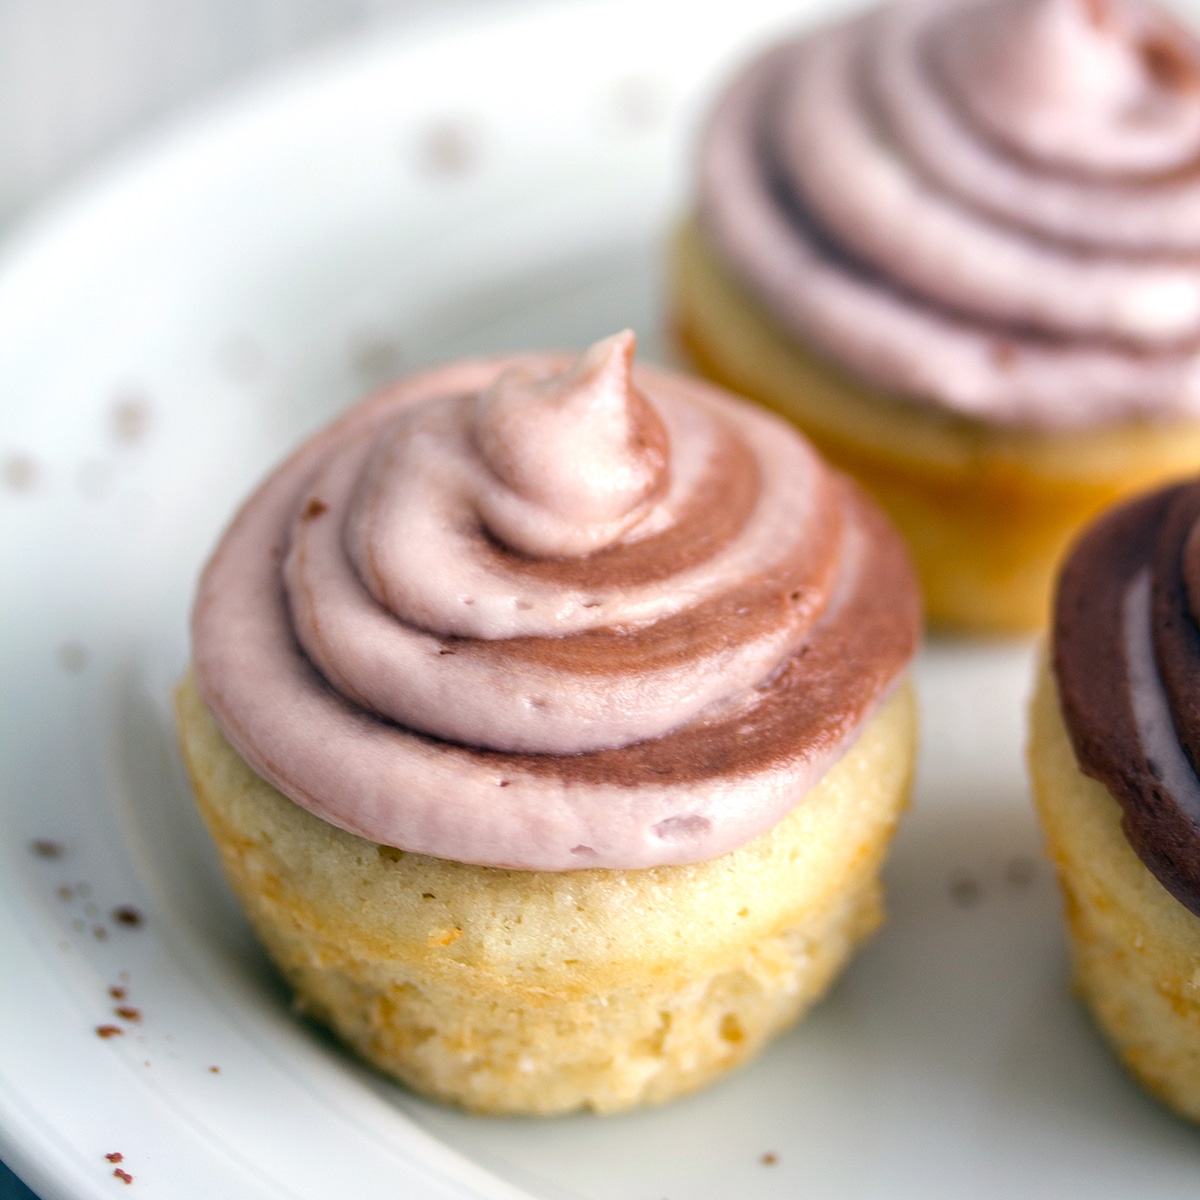
Vanilla Cupcakes with Chocolate Red Wine Buttercream
-
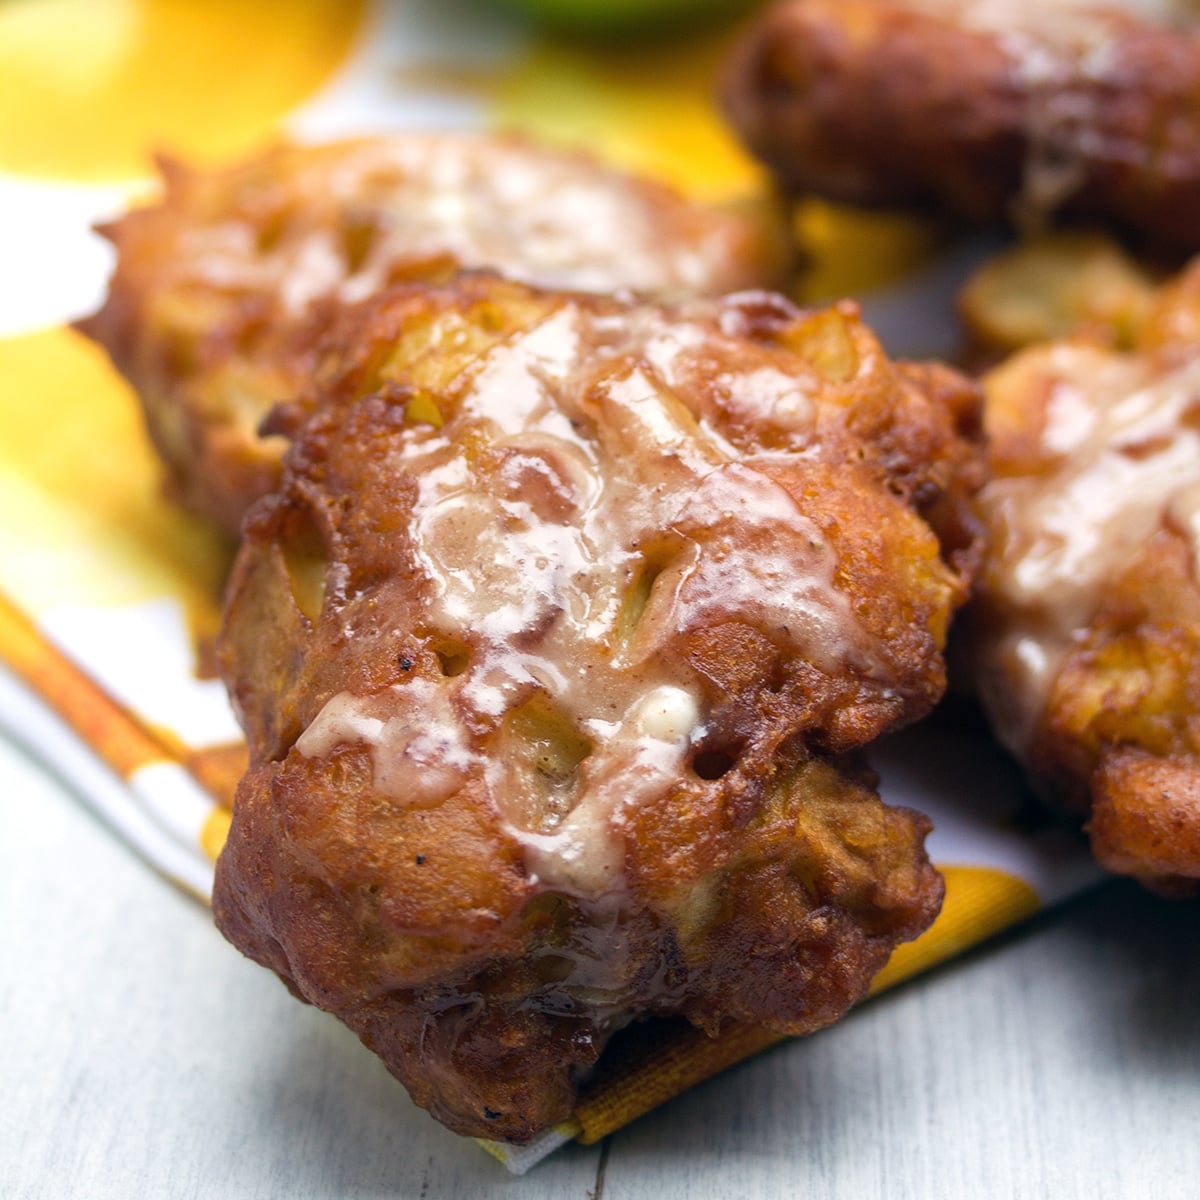
Apple Fritters
-
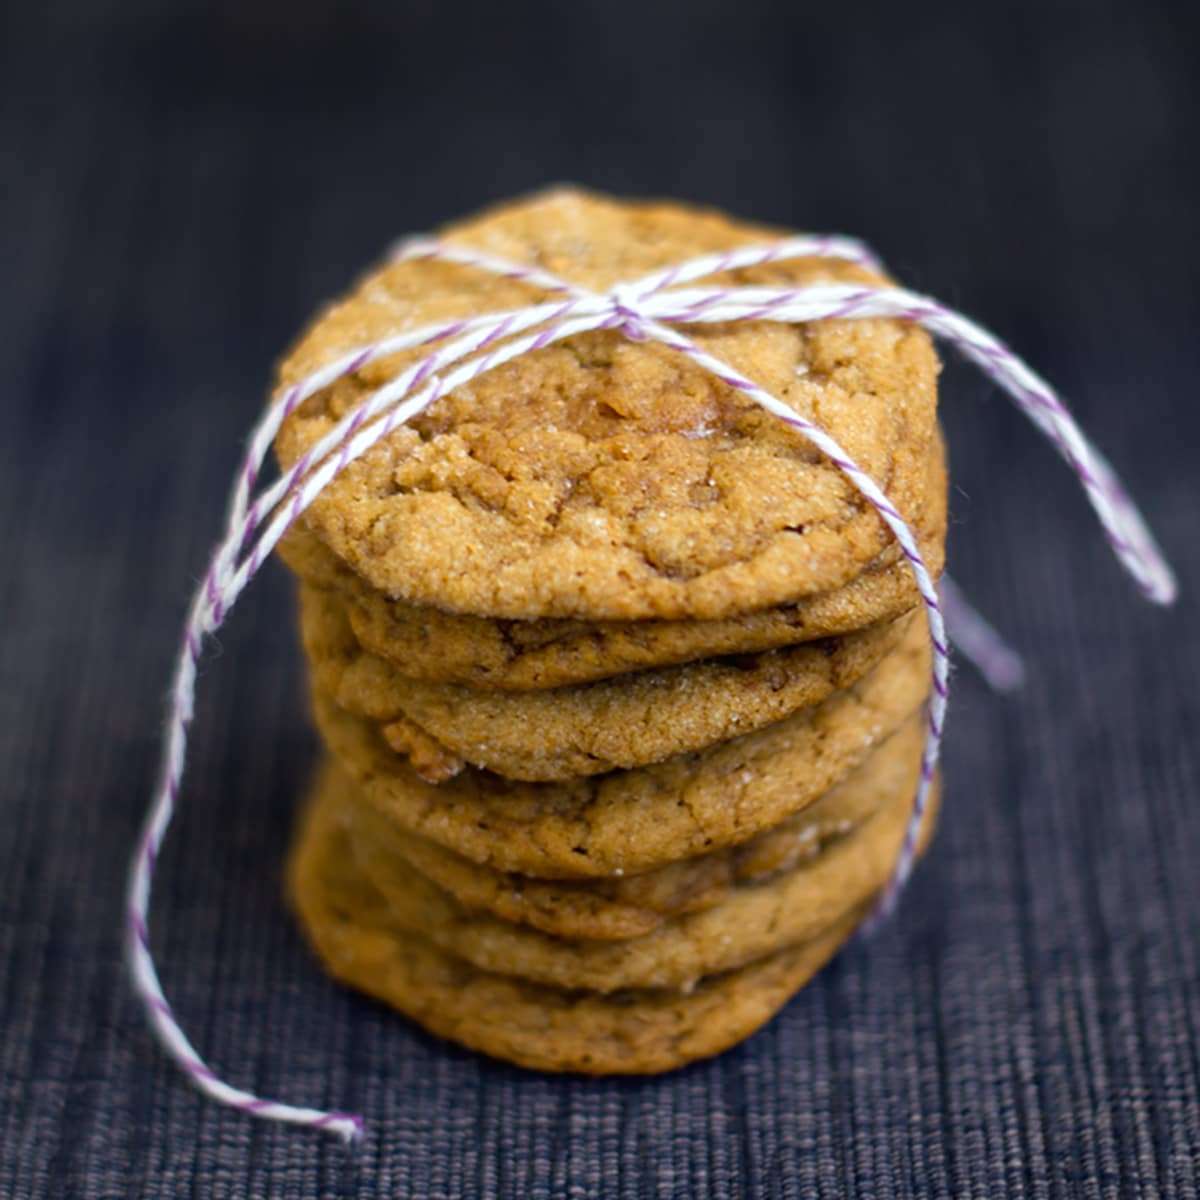
Pumpkin Toffee Gingersnaps
-
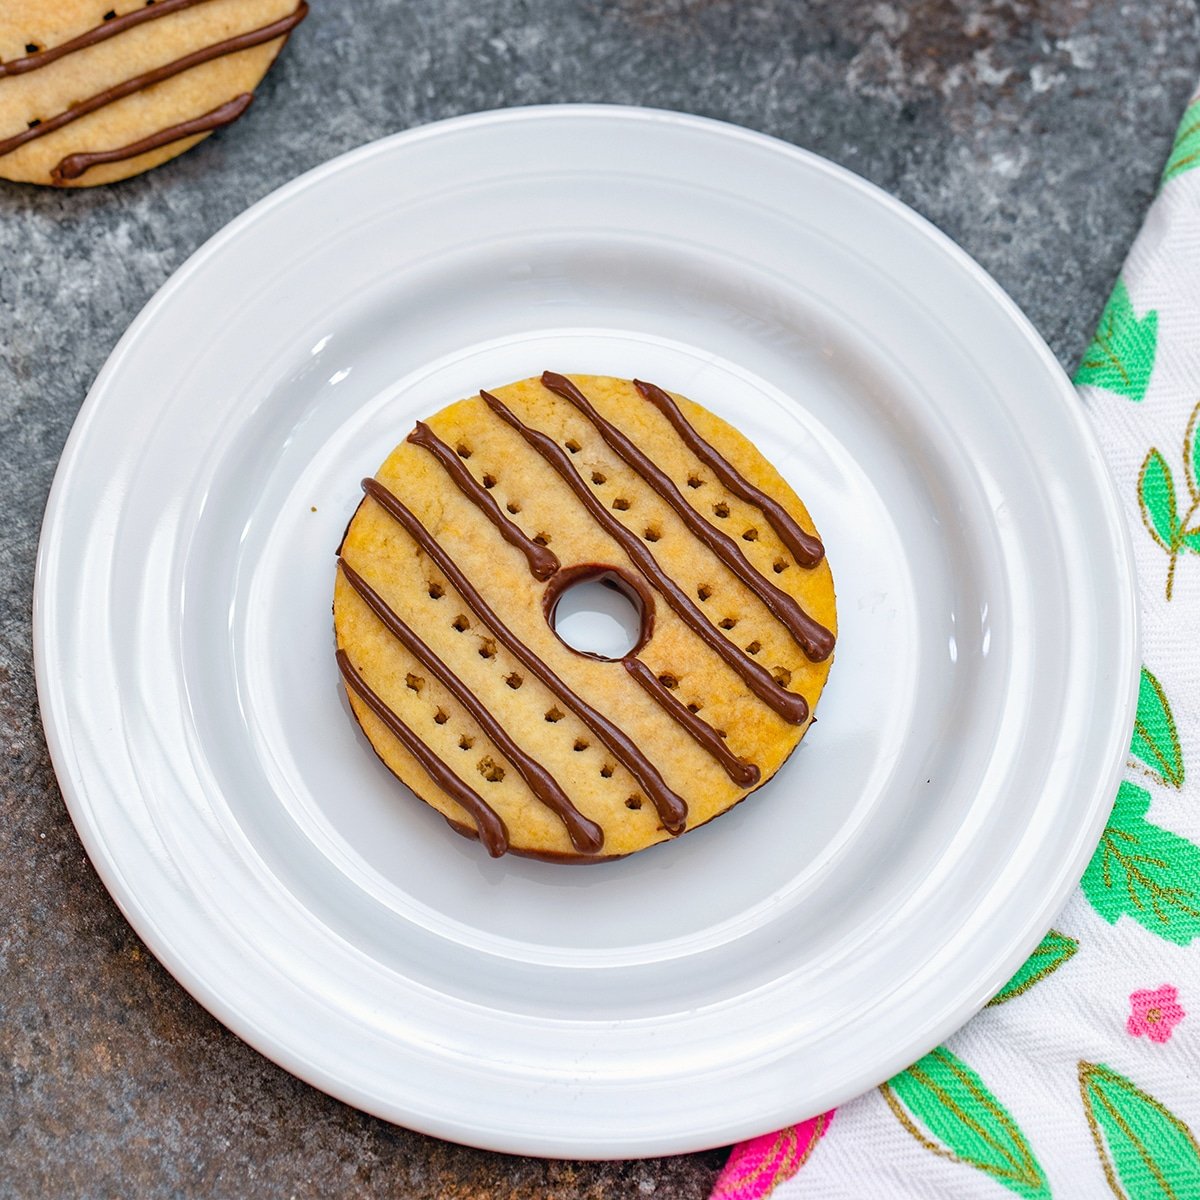
Fudge Stripes Cookies
-
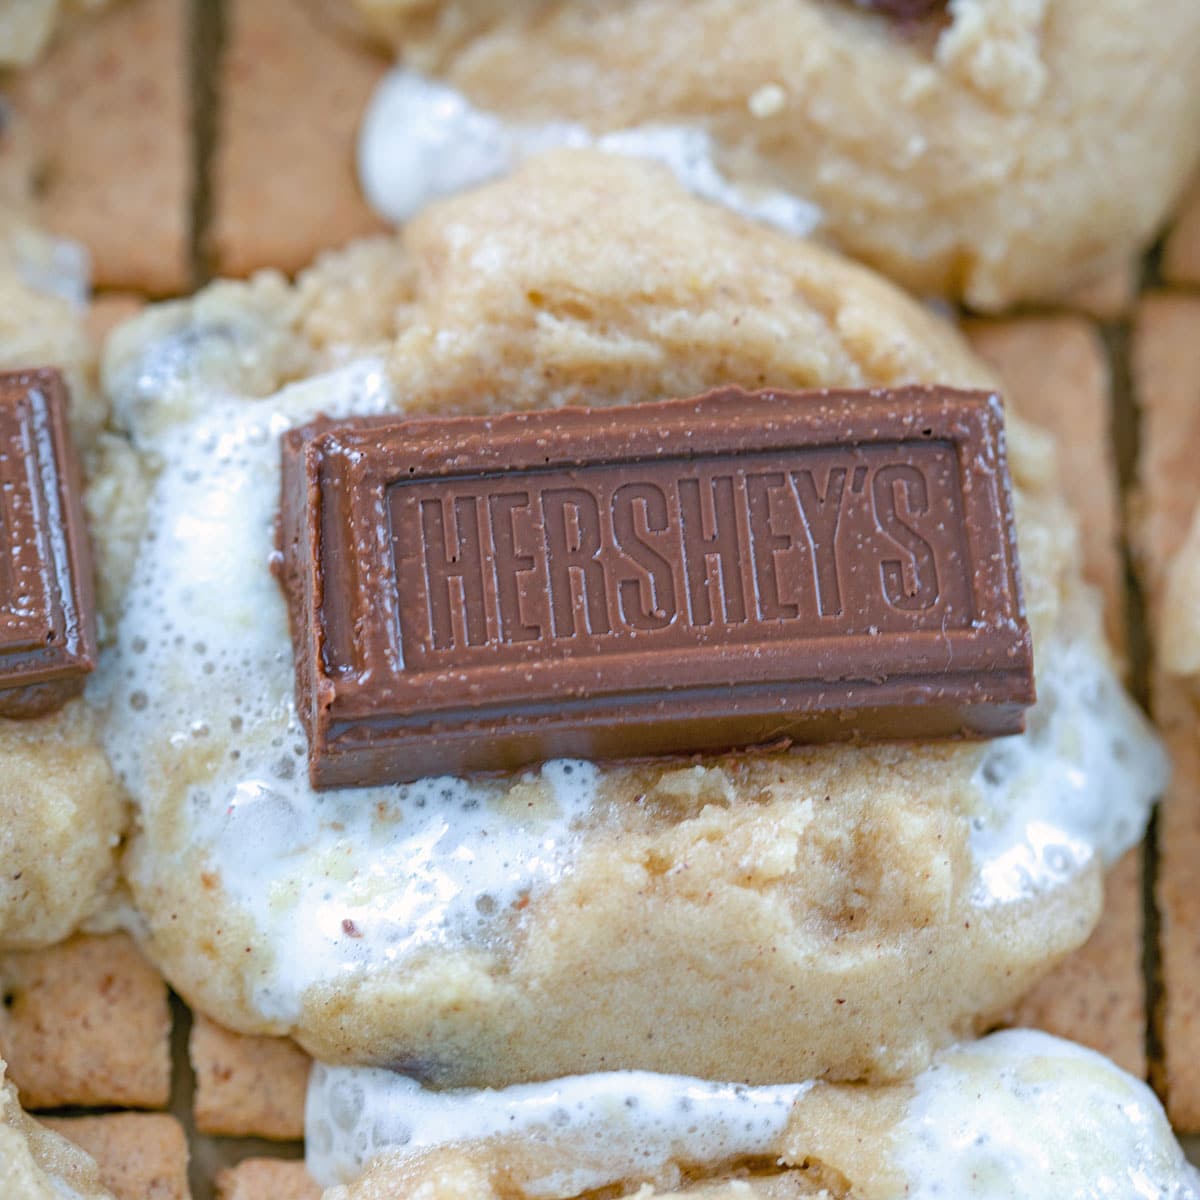
S'mores Cookie Bars
-
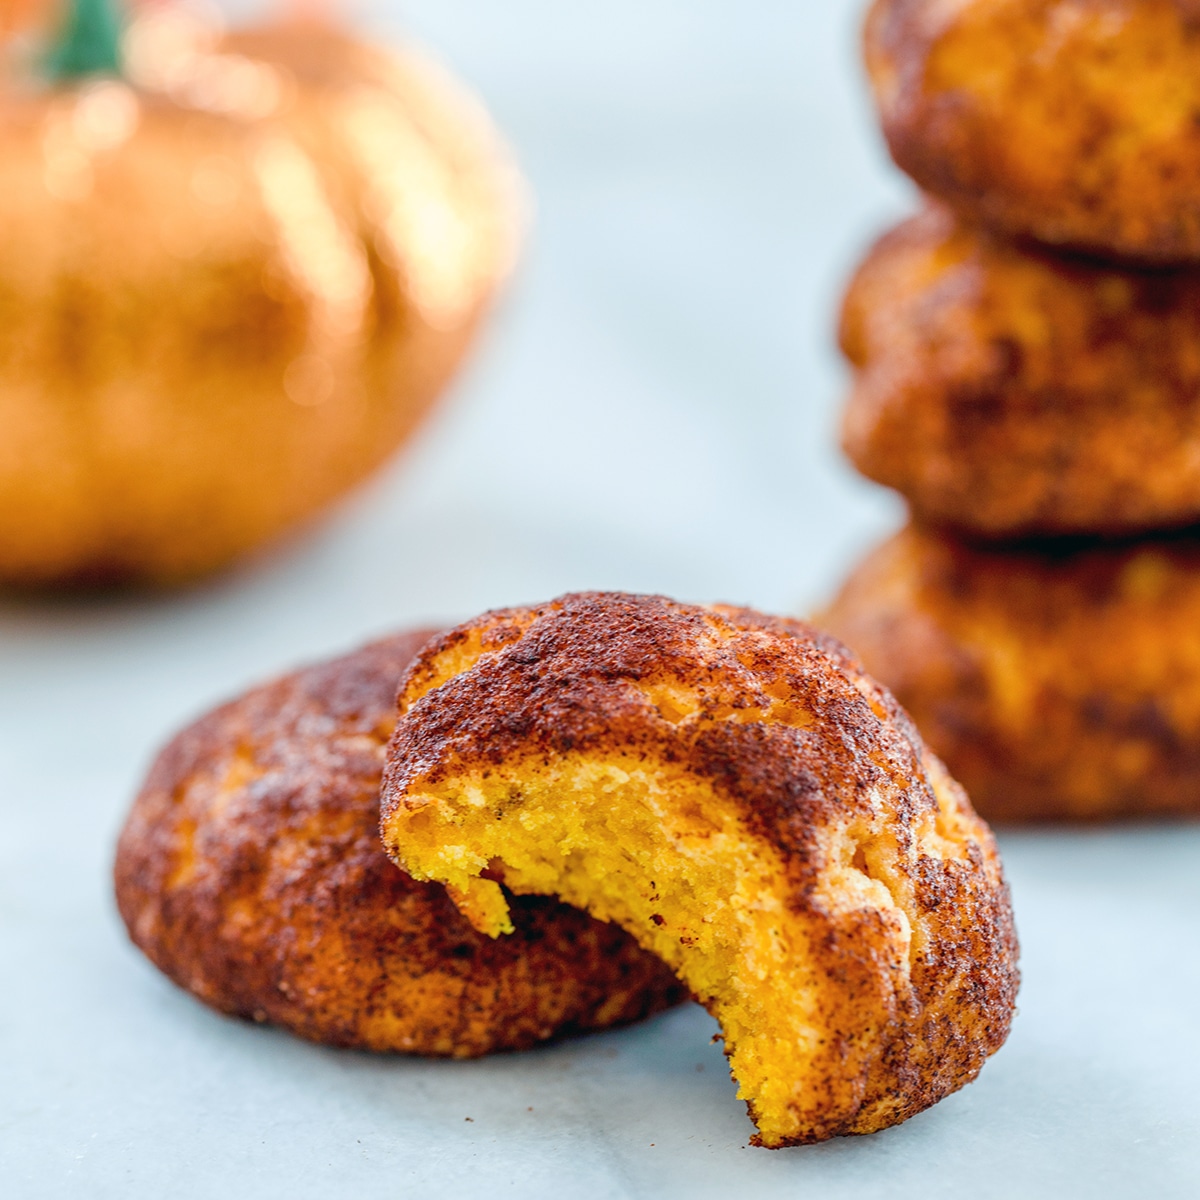
Pumpkin Snickerdoodles