candy
-
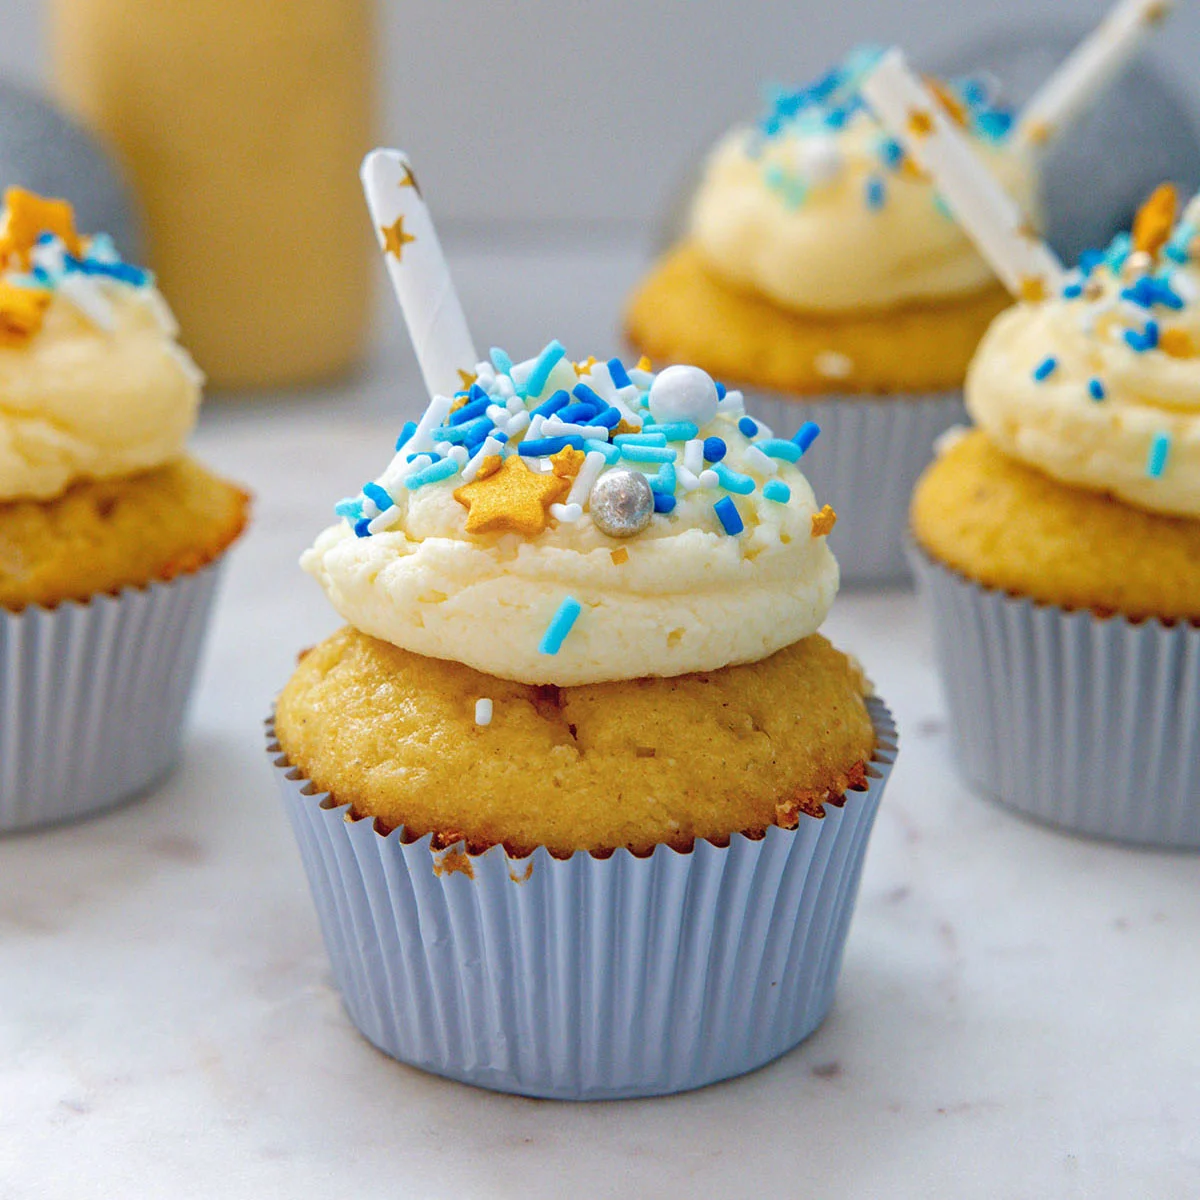
Eggnog Cupcakes
-
Kit Kat Ice Cream
-
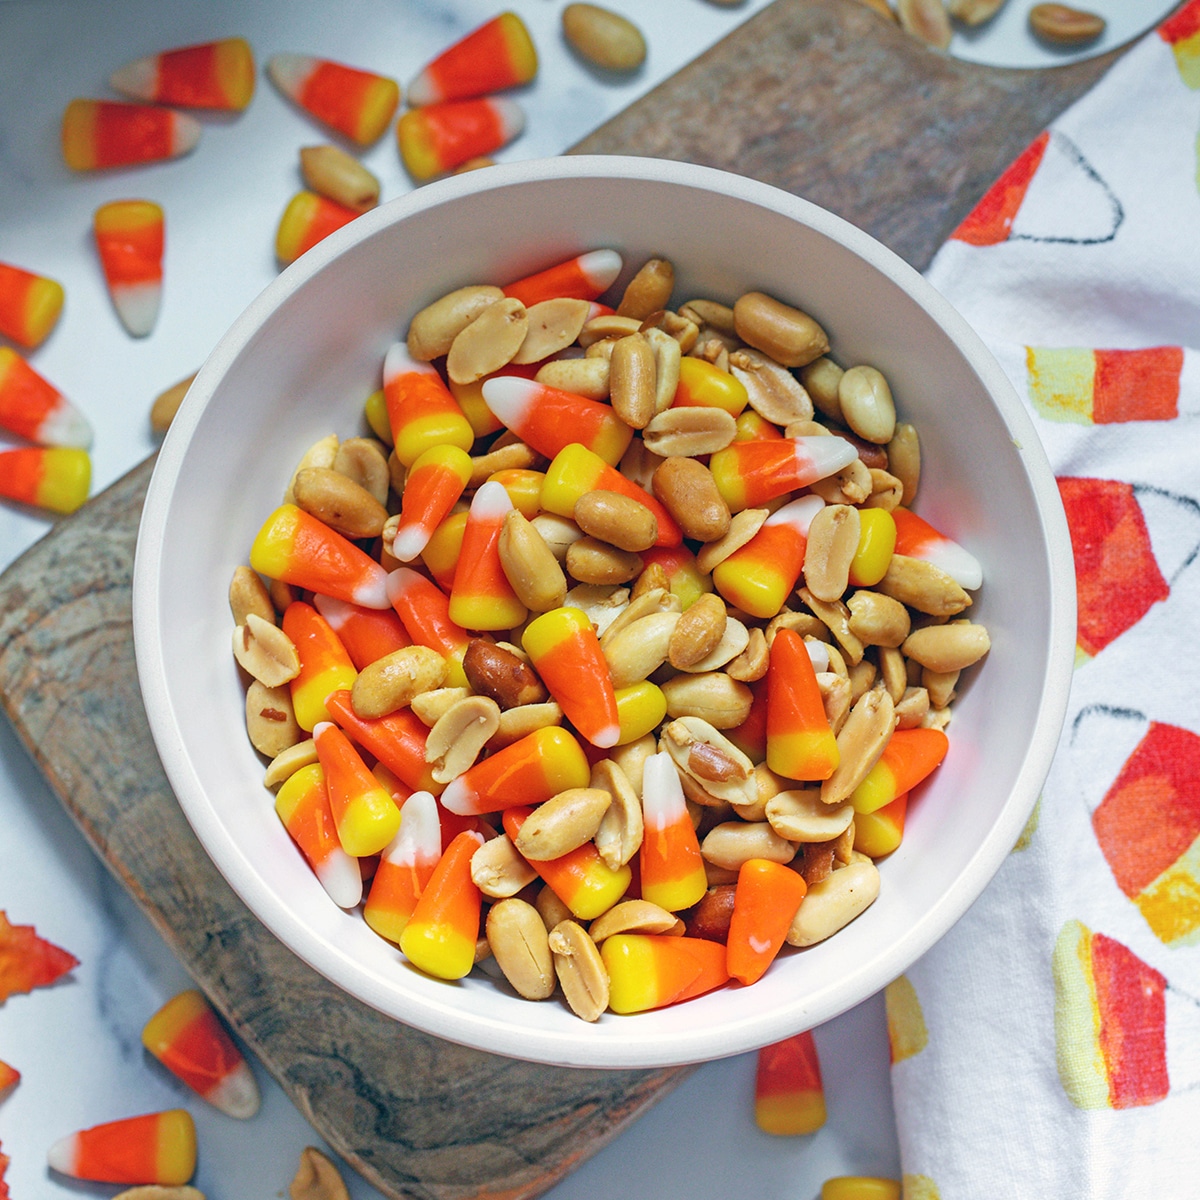
Candy Corn and Peanuts
-
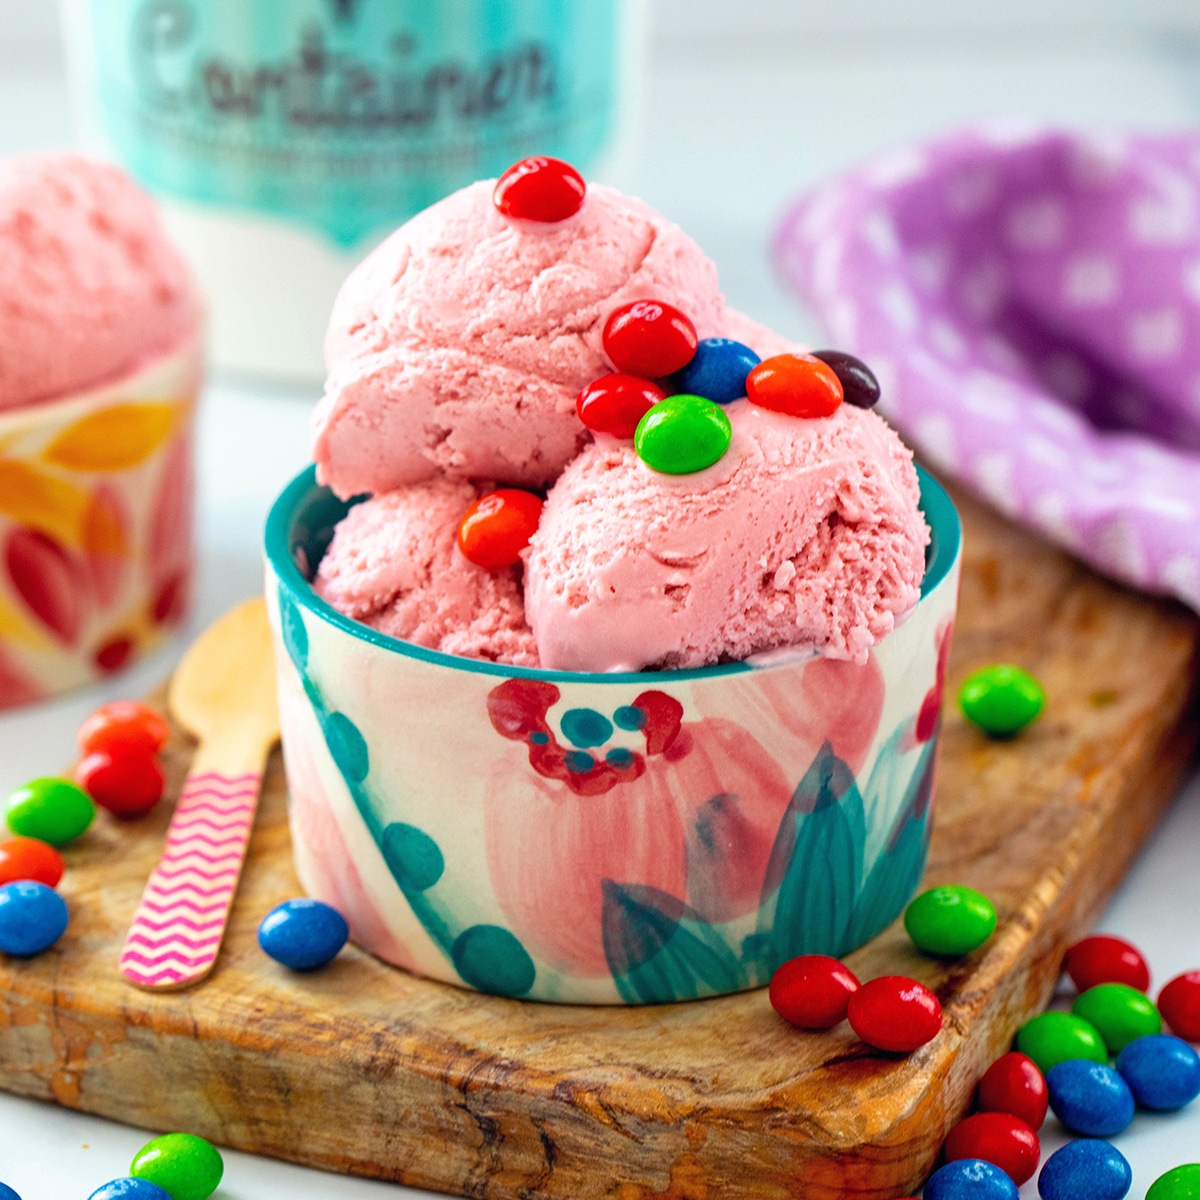
Skittles Ice Cream
-
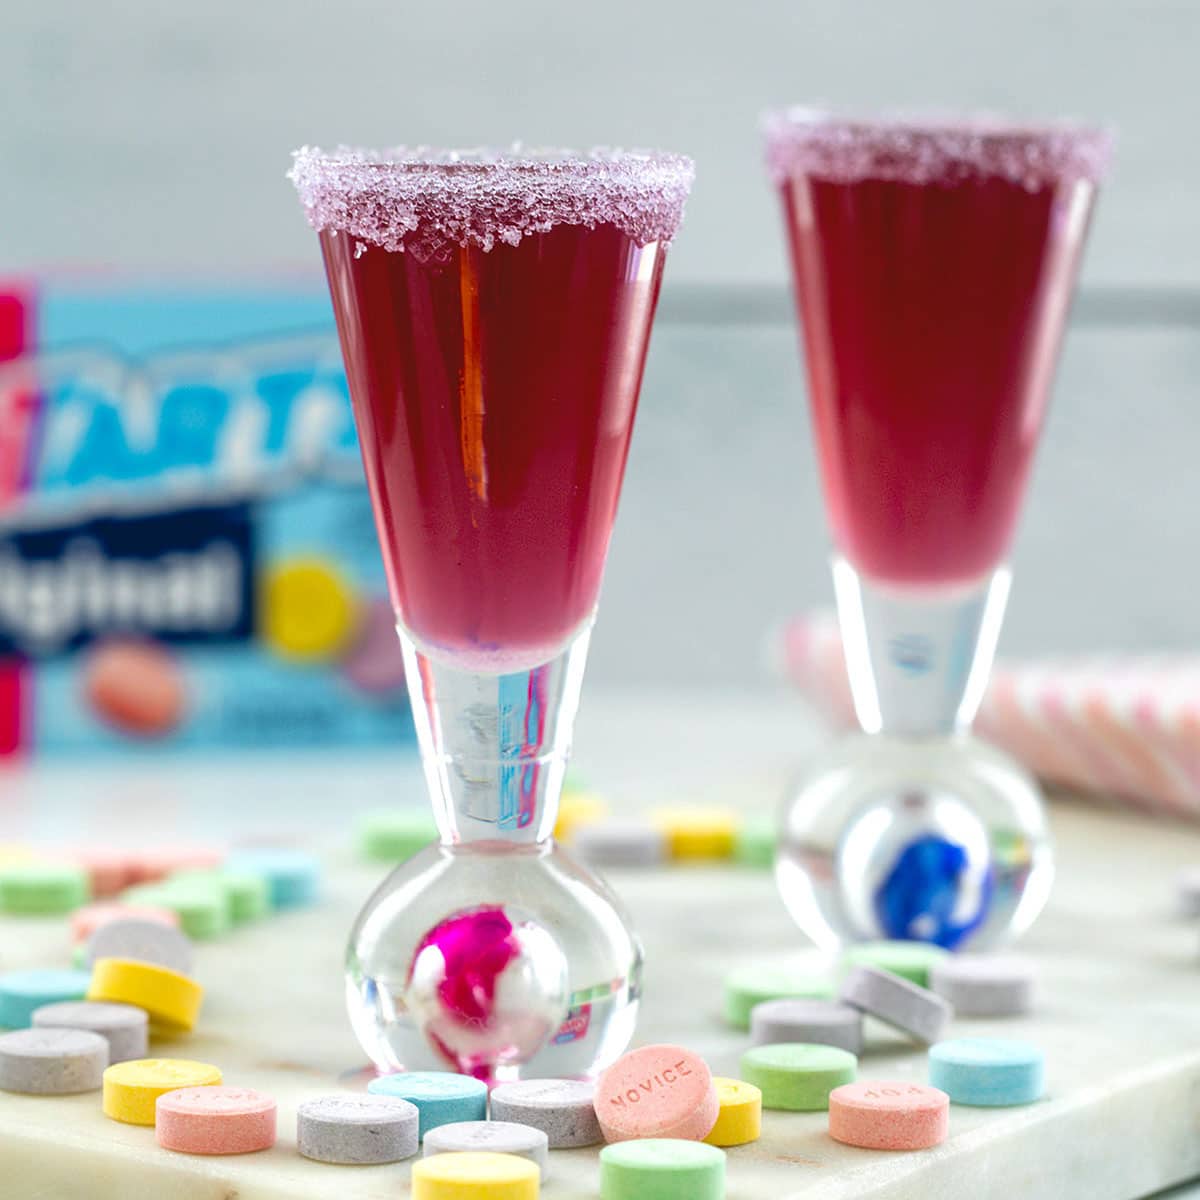
Sweet Tart Shot
-
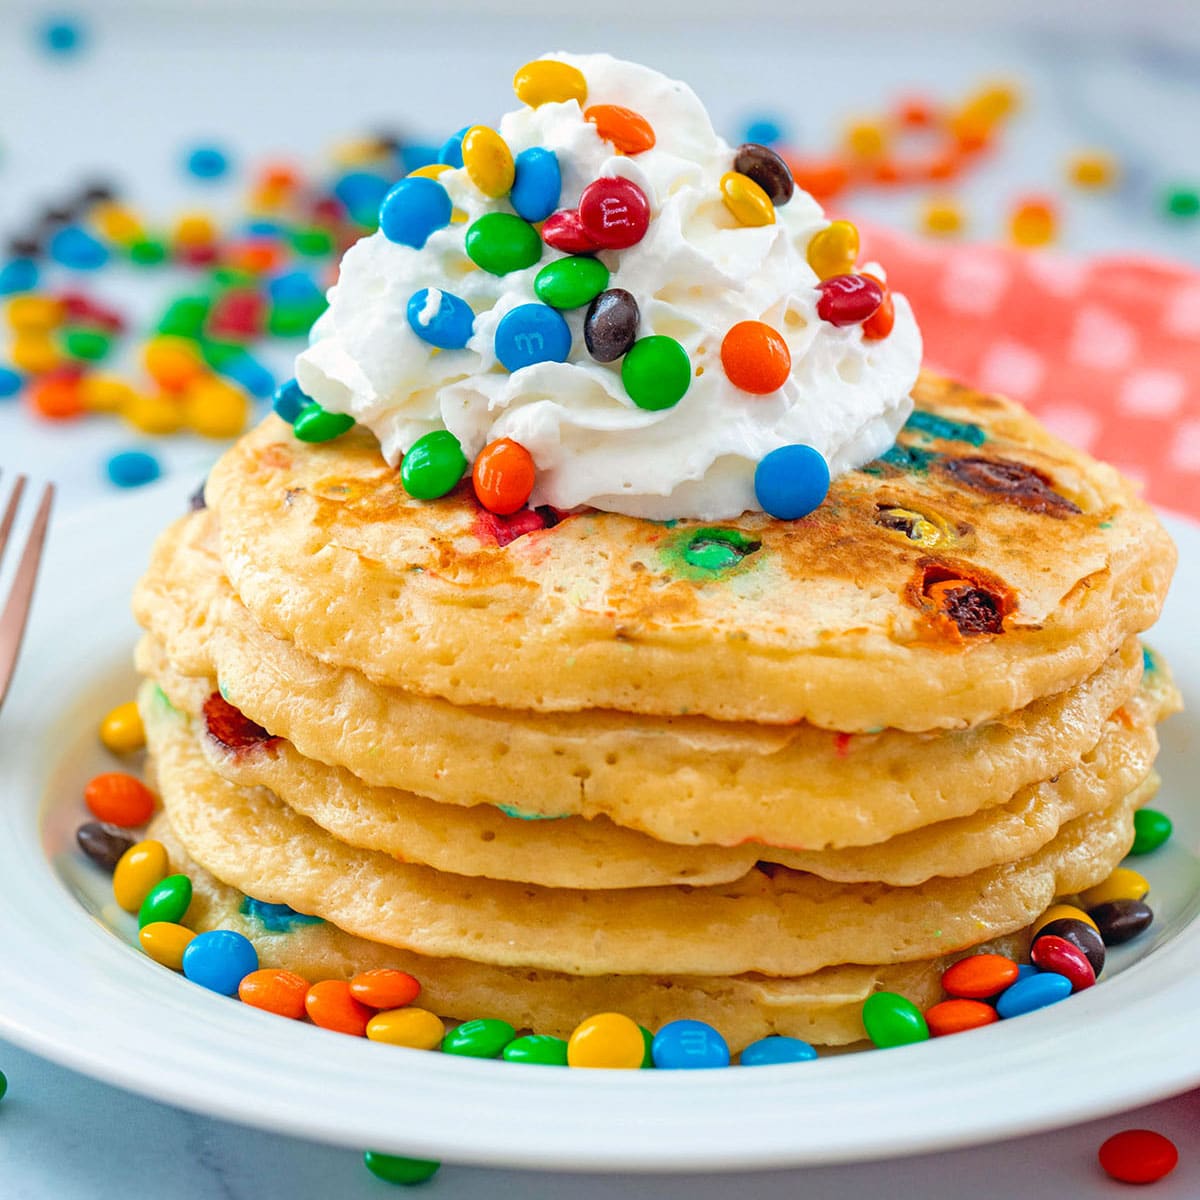
M&M Pancakes
-
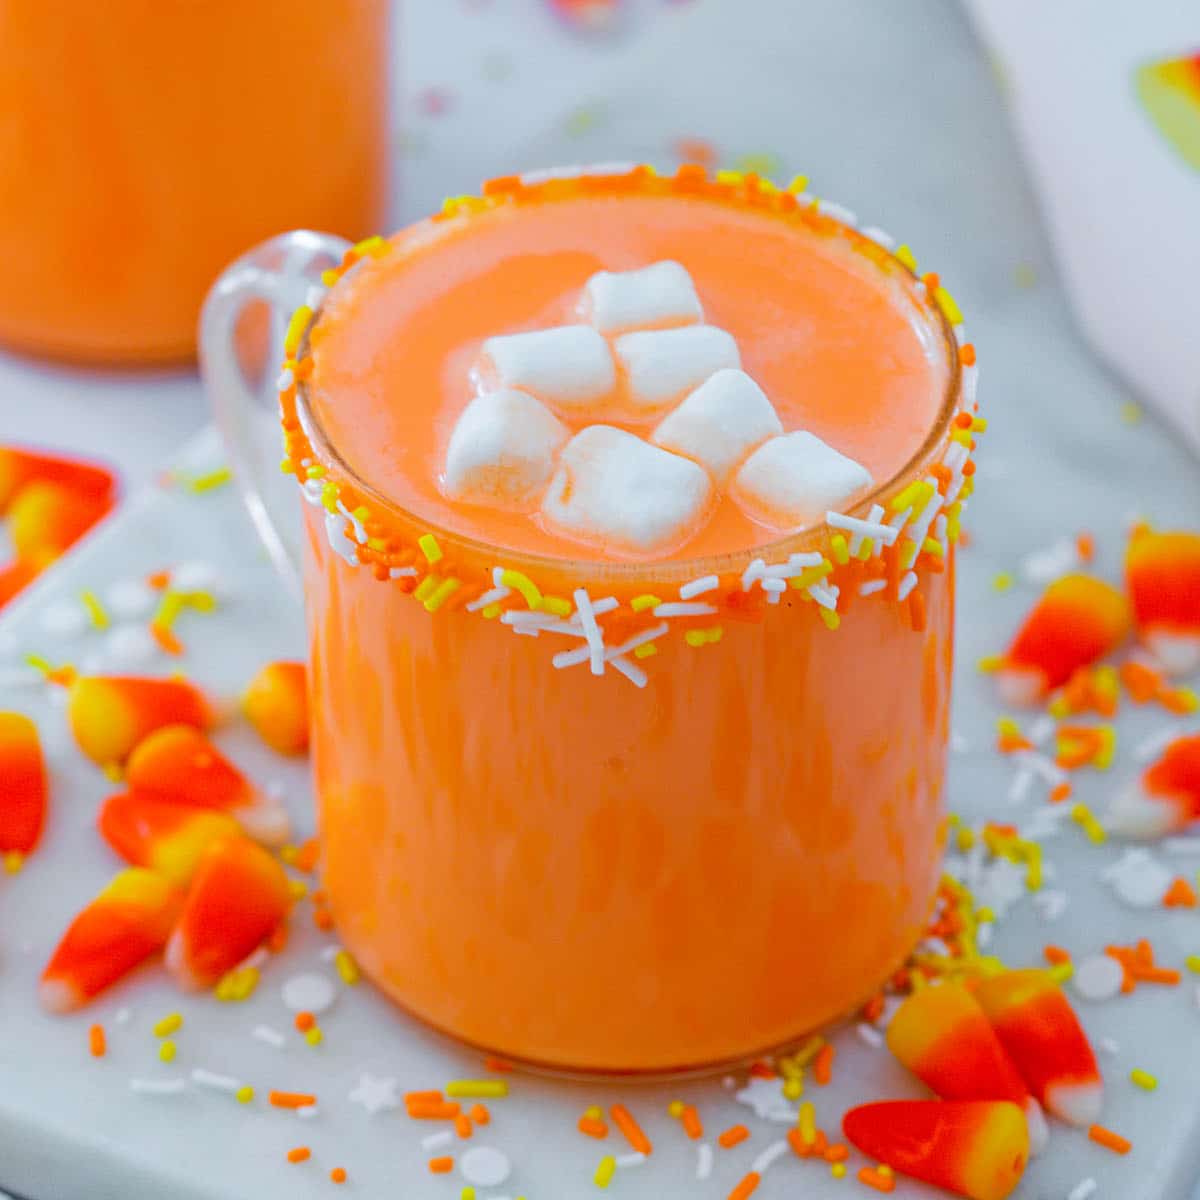
Candy Corn Hot Chocolate
-
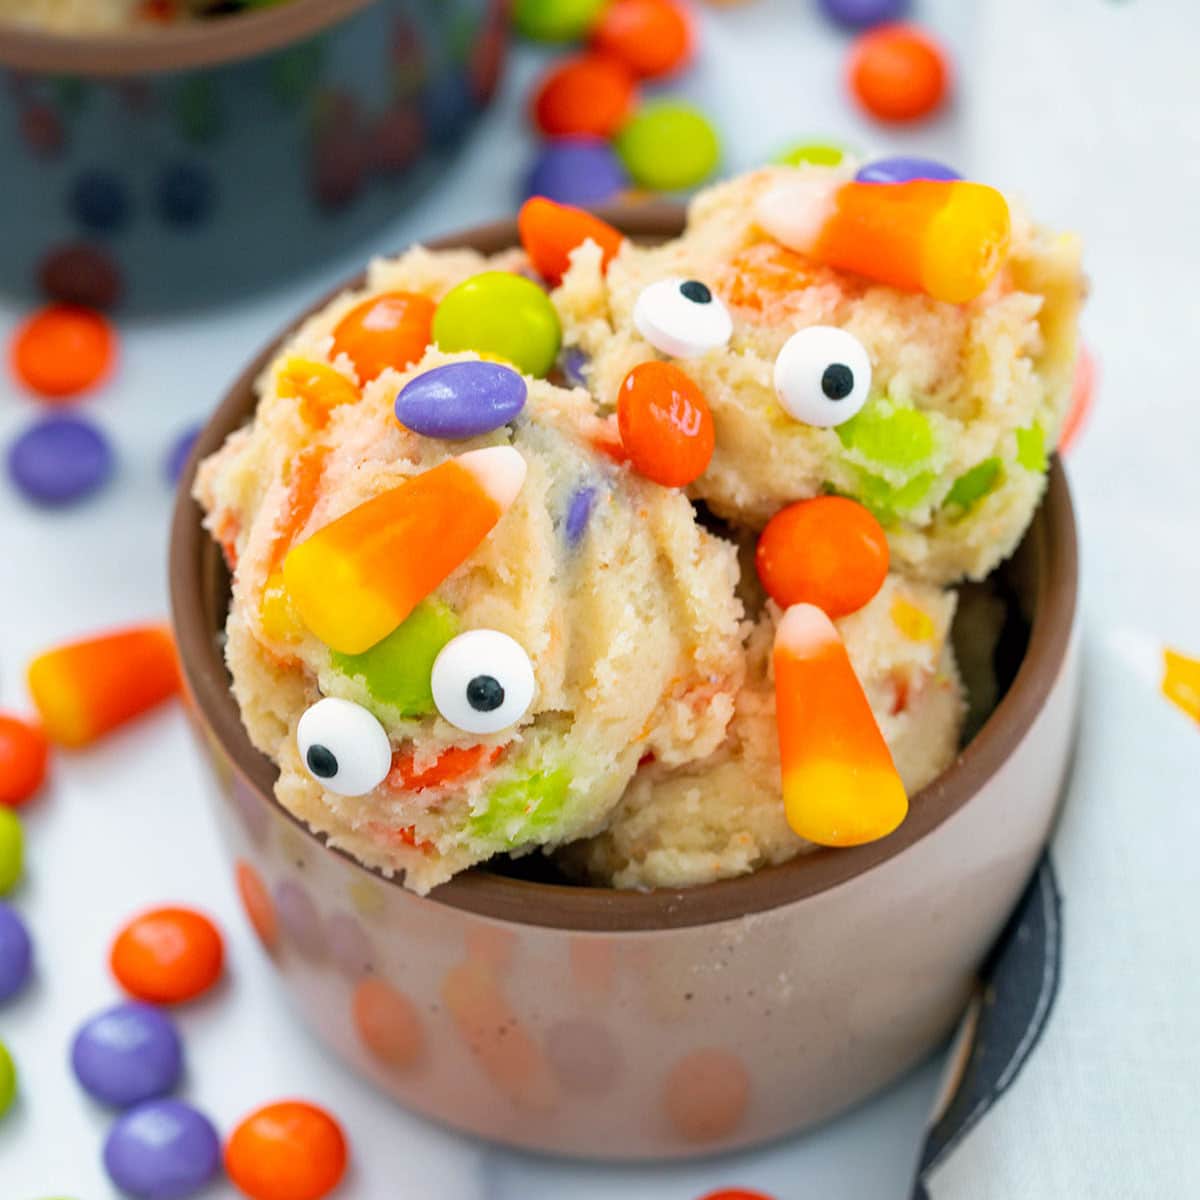
Halloween Cookie Dough
-
Starburst Ice Cream
-
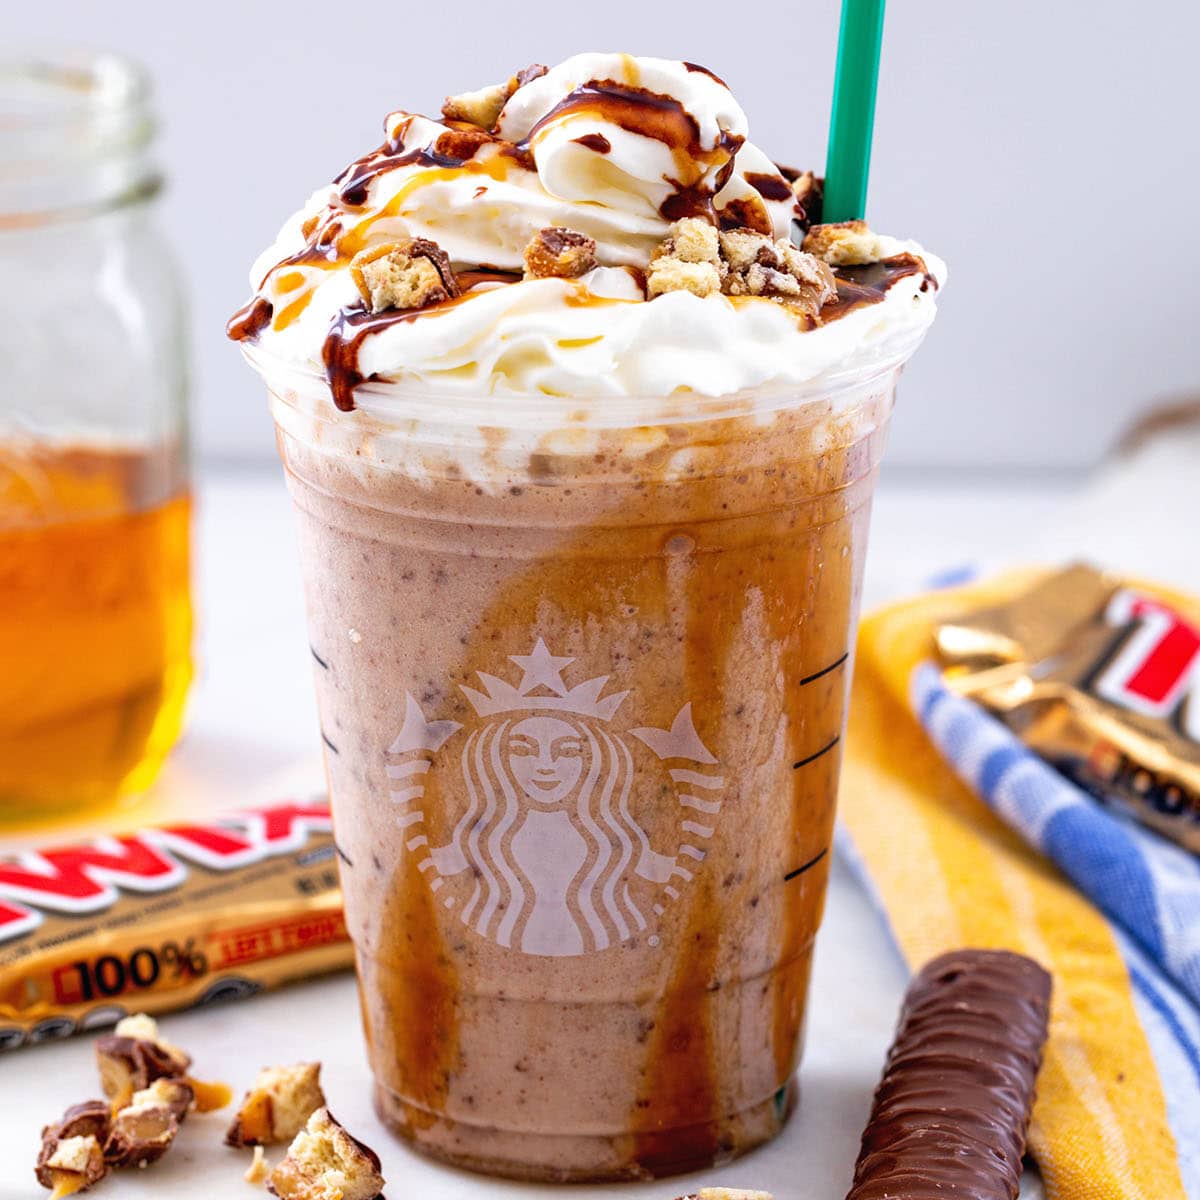
Twix Frappuccino
-
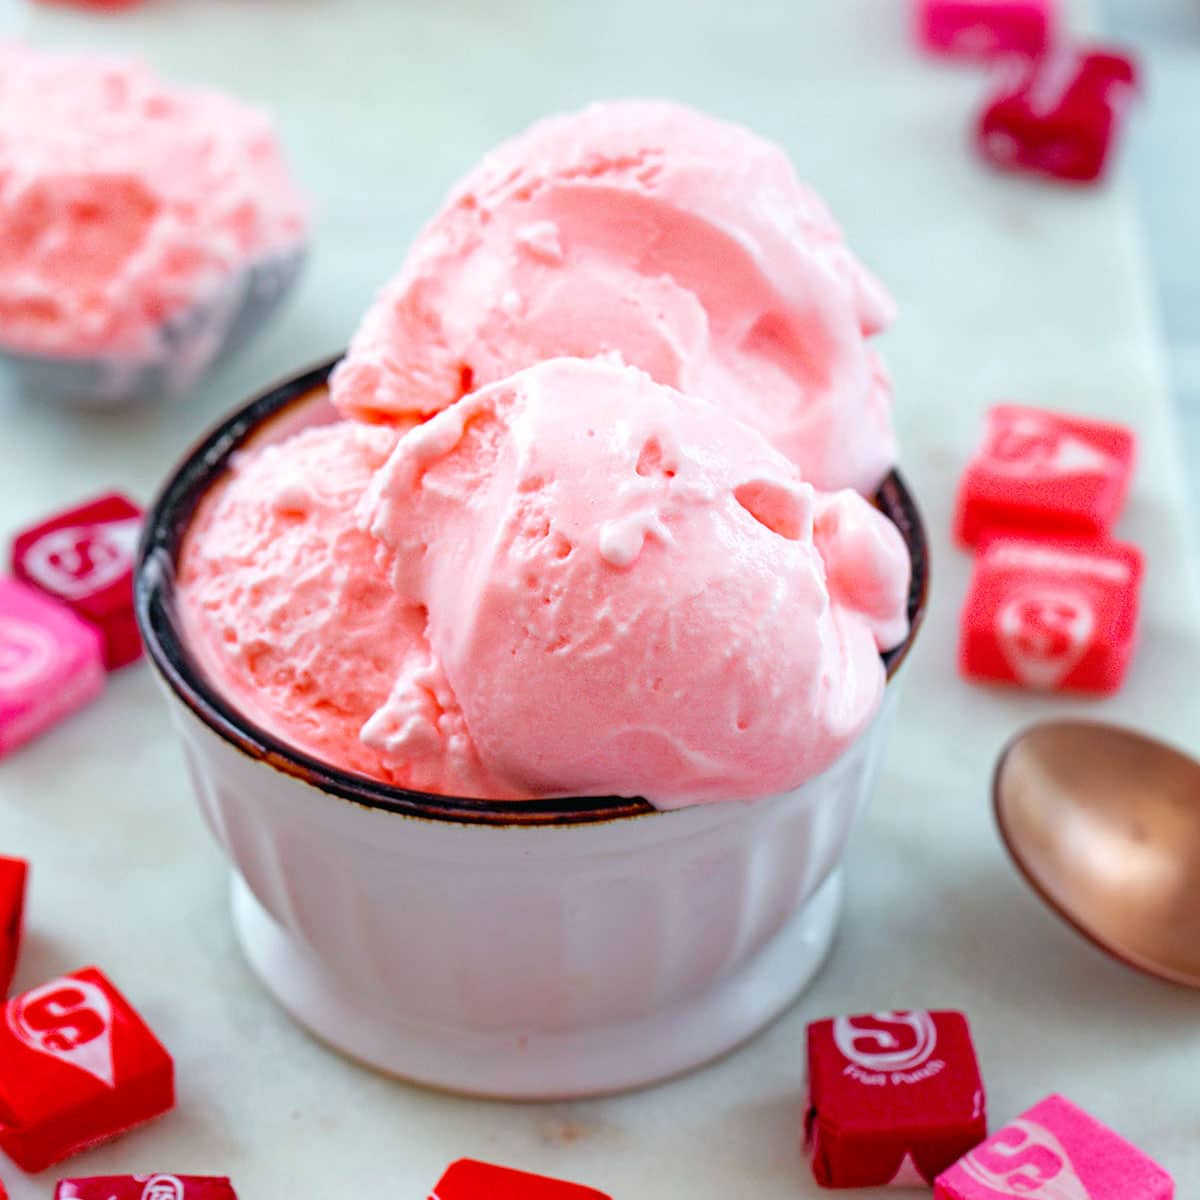
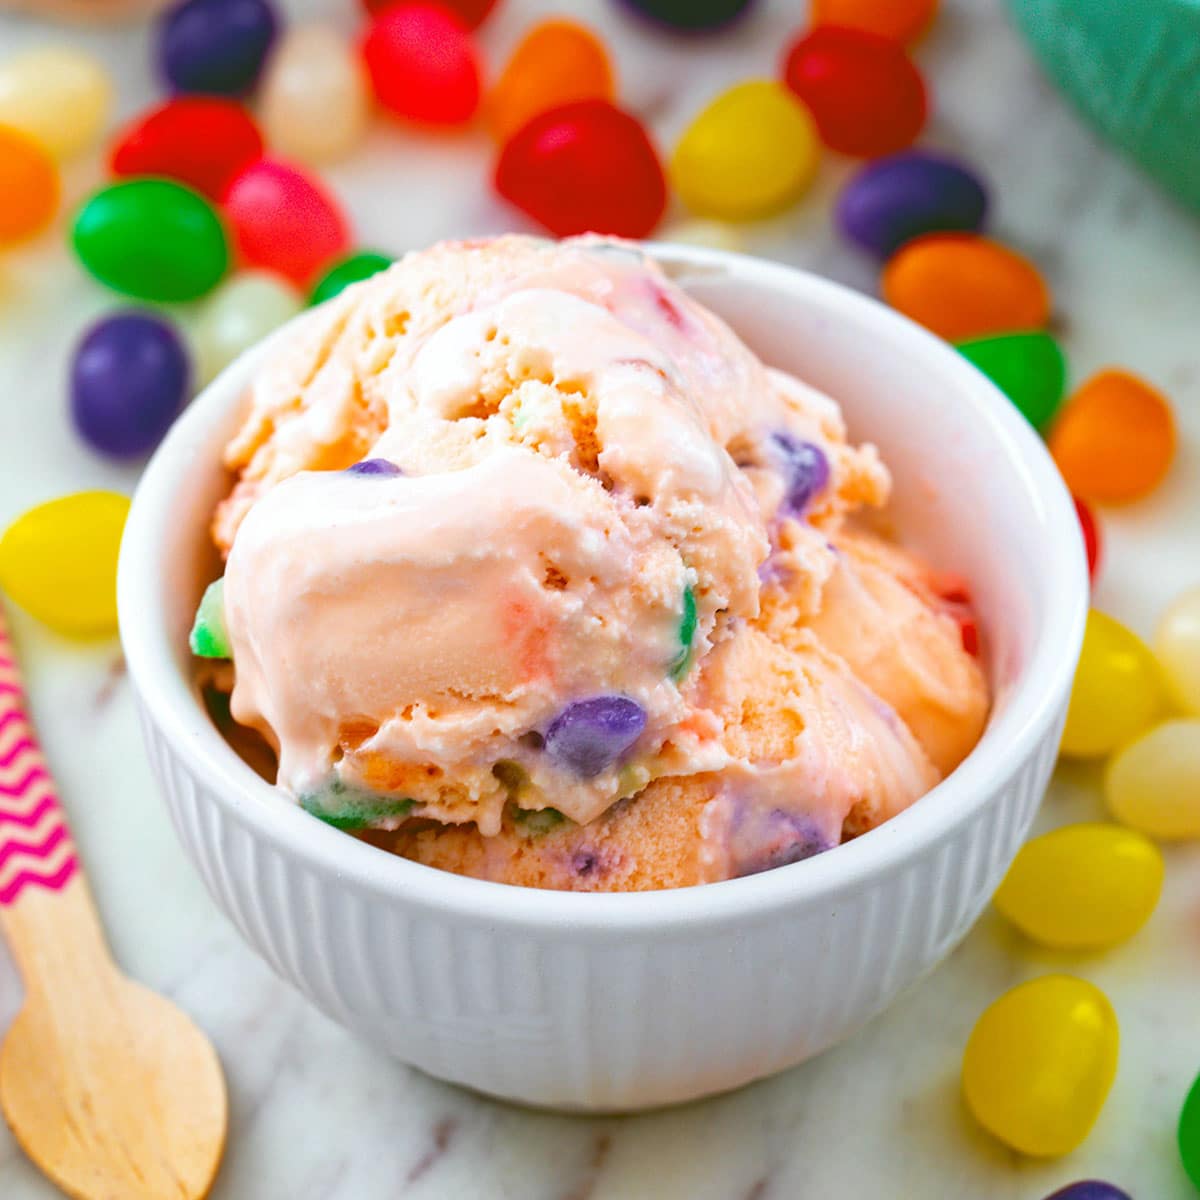
Jelly Bean Ice Cream
-
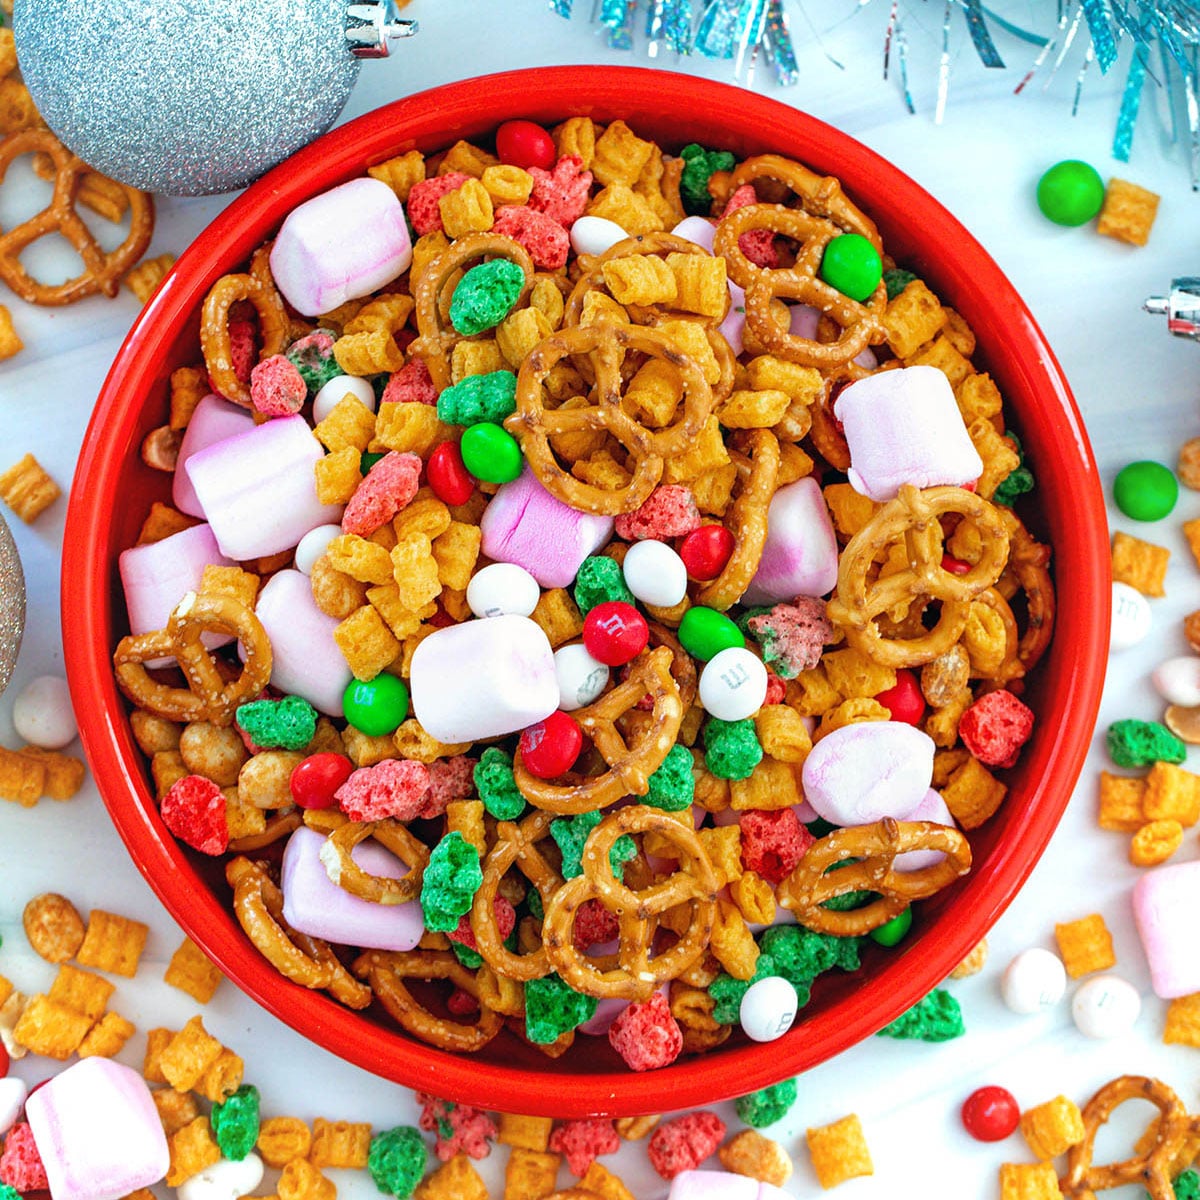
Christmas Trail Mix
-
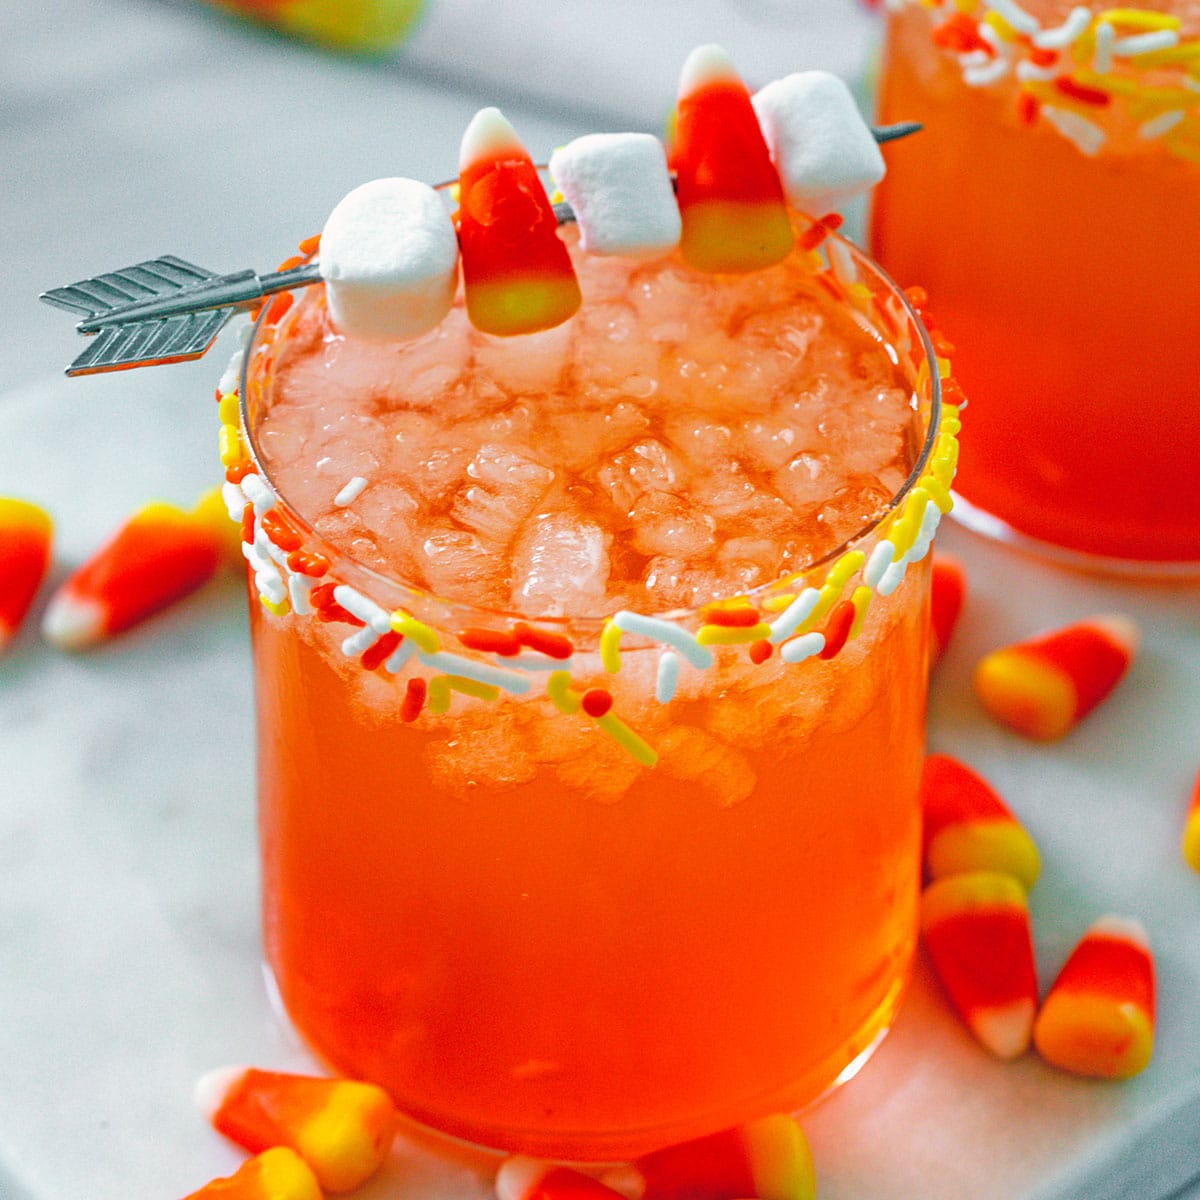
Candy Corn Cocktail
-
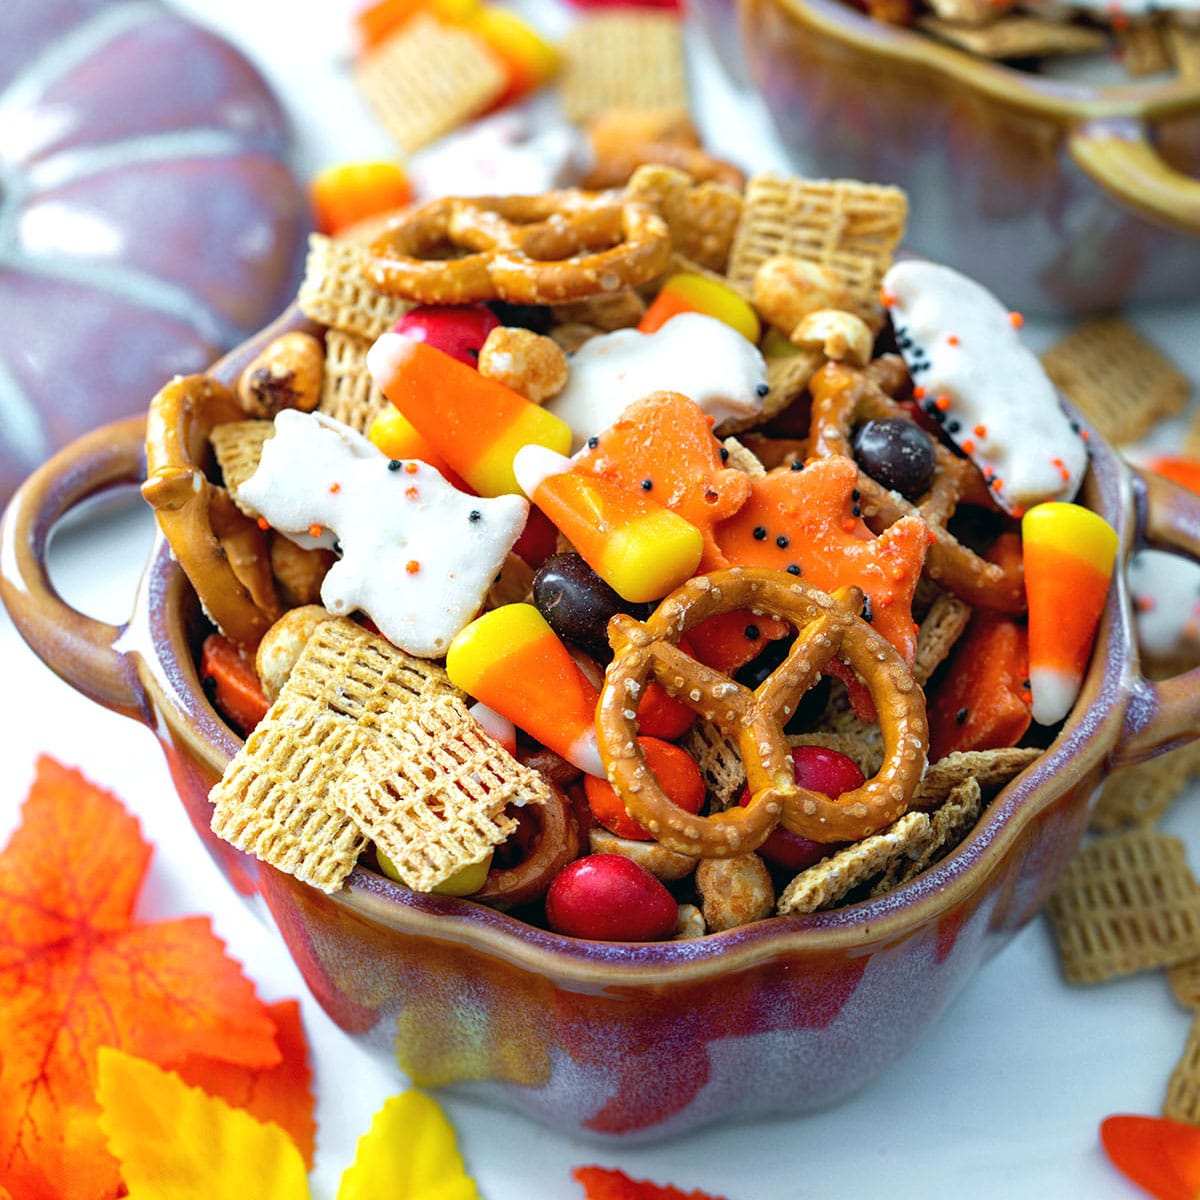
Halloween Trail Mix
-
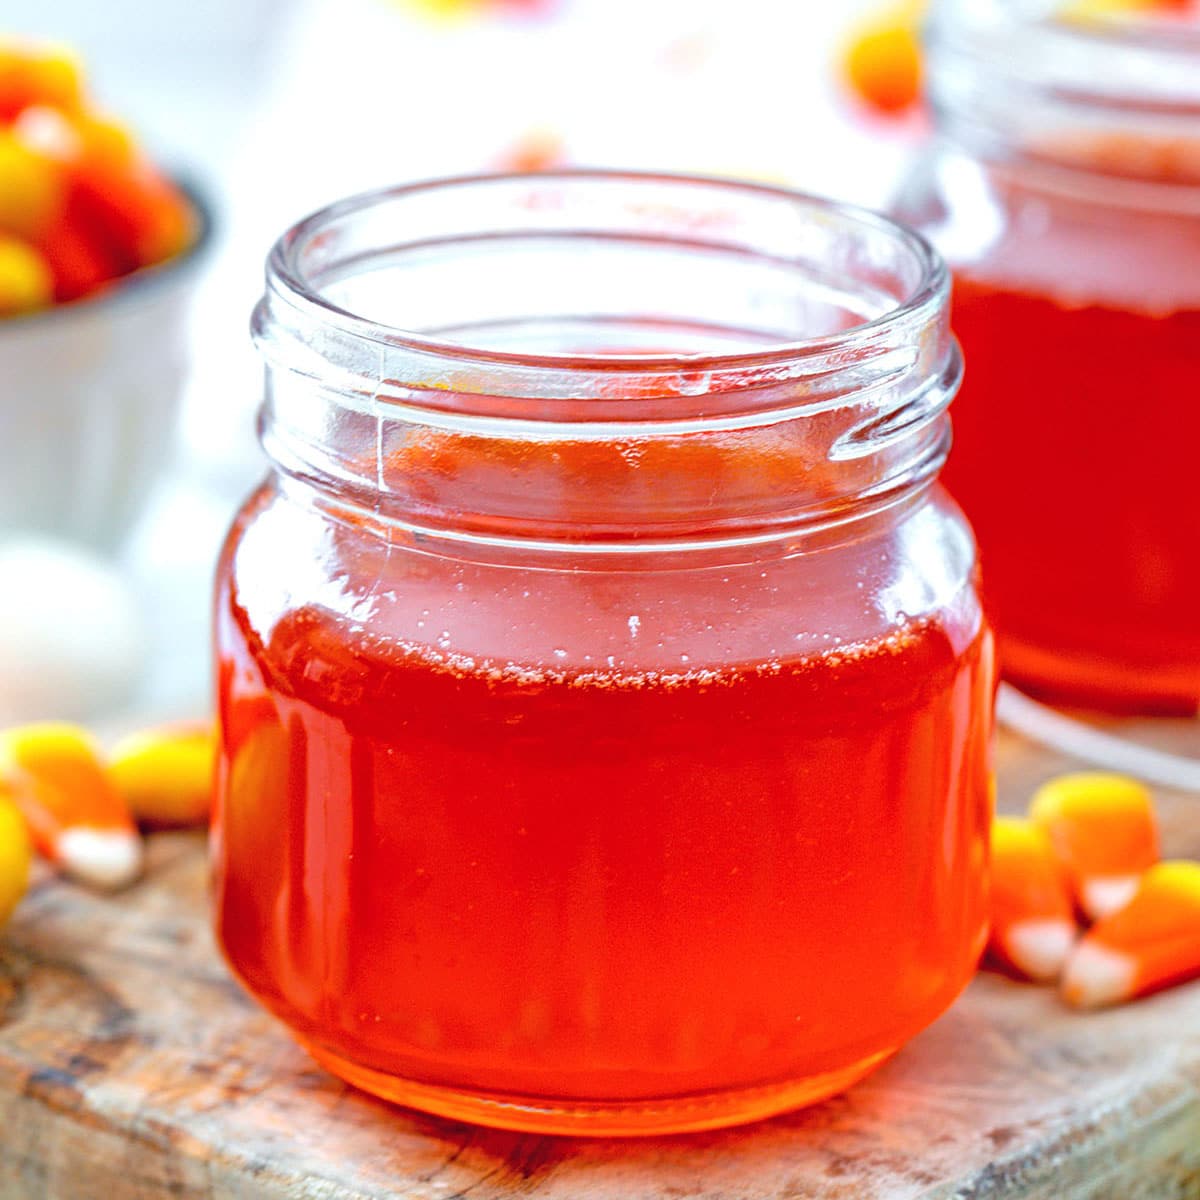
Candy Corn Simple Syrup
-
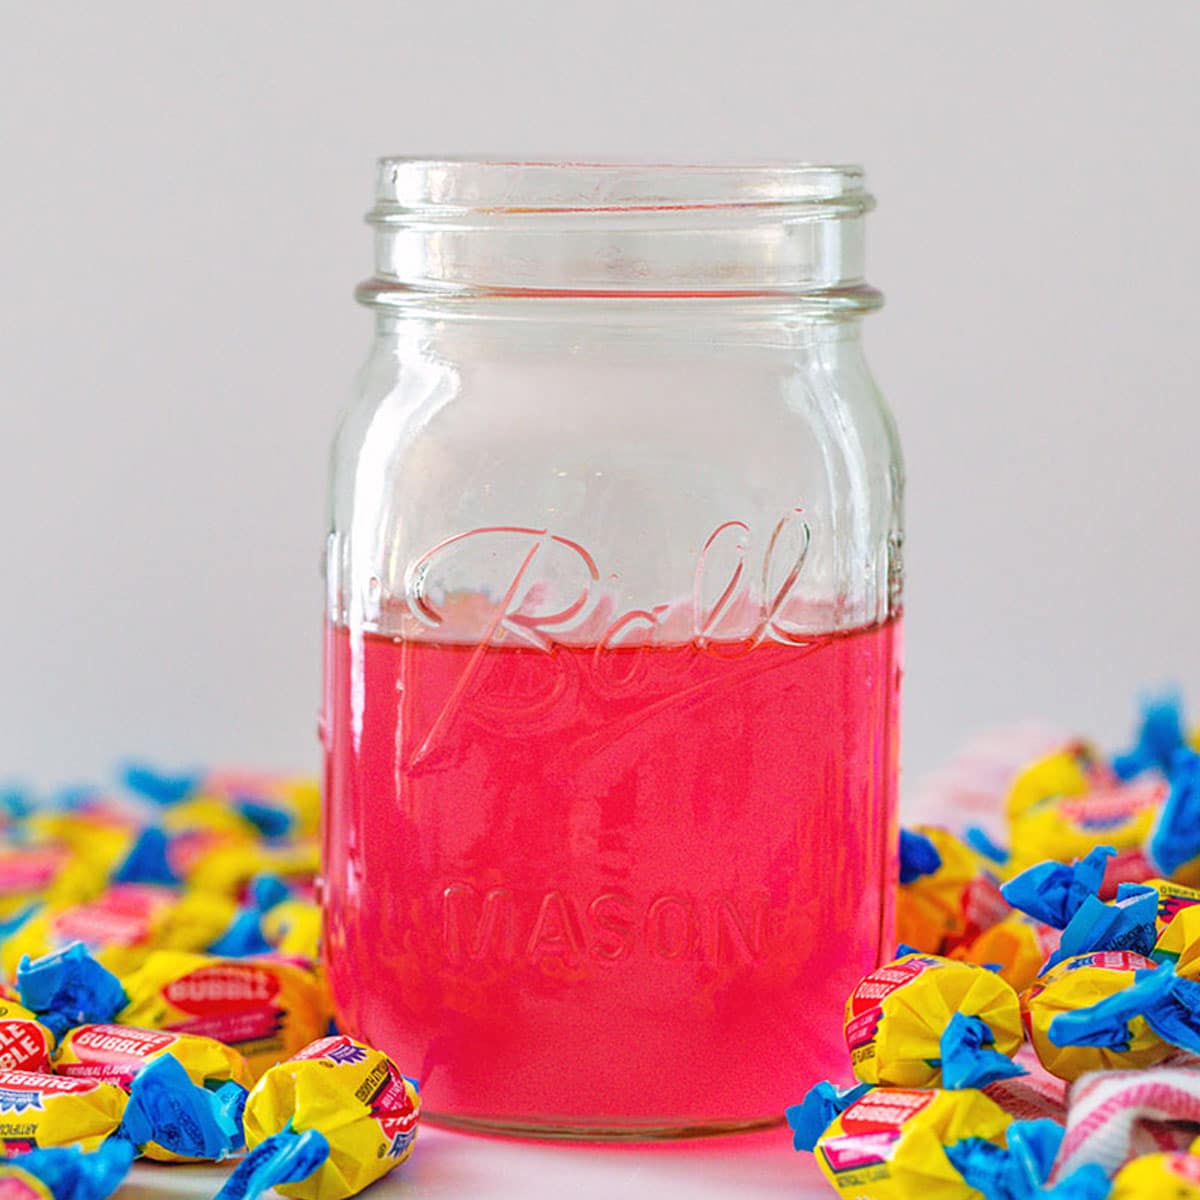
Bubblegum Simple Syrup
-
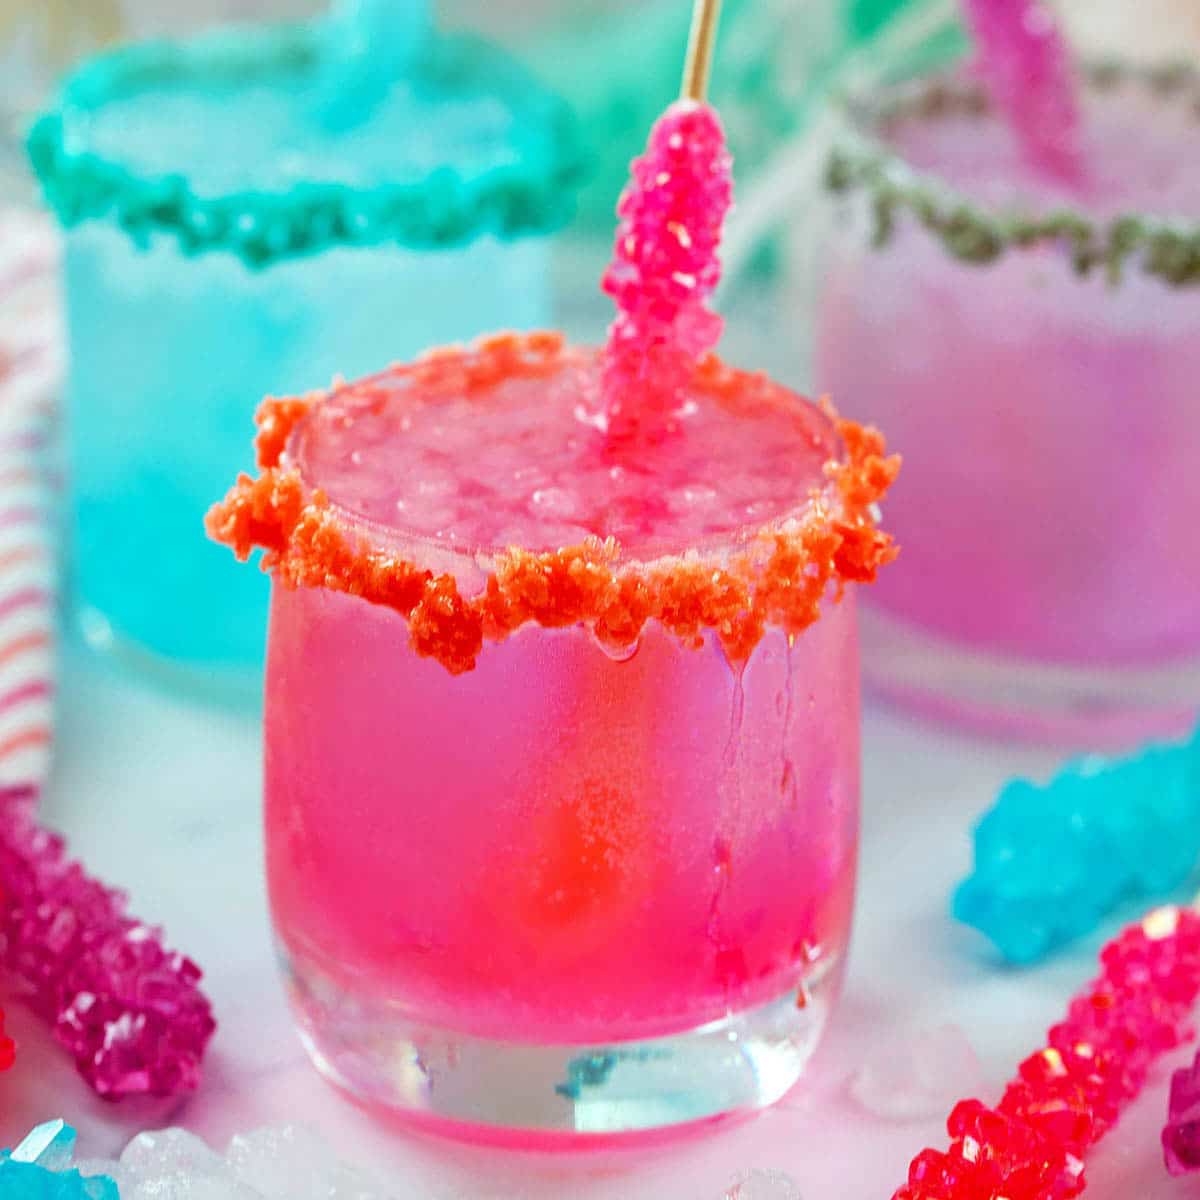
Rock Candy Cocktail
-
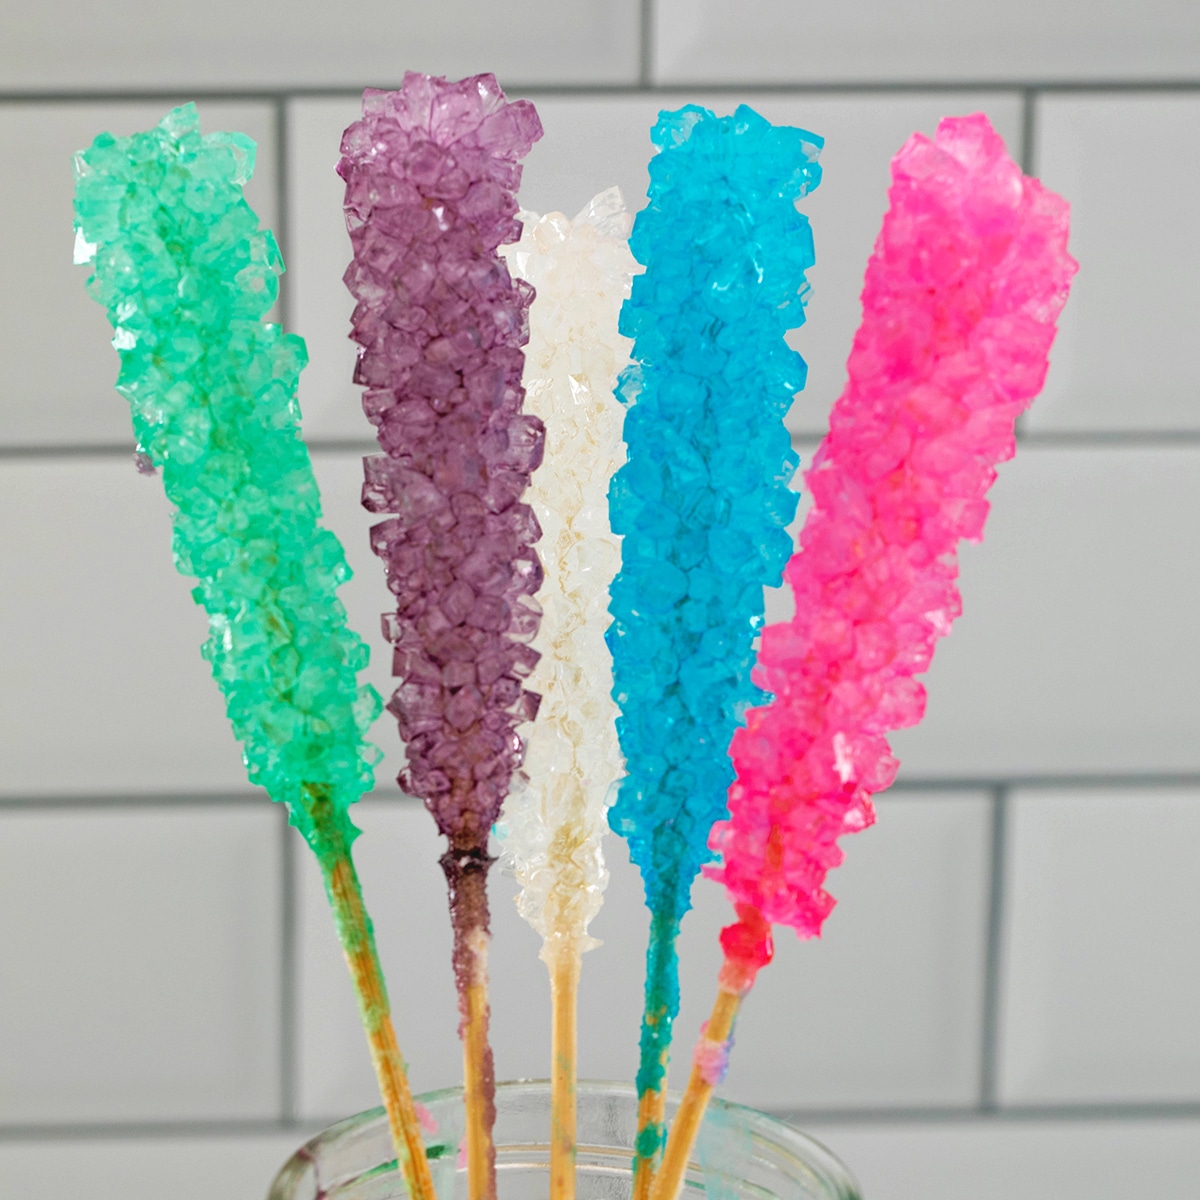
How to Make Rock Candy
-
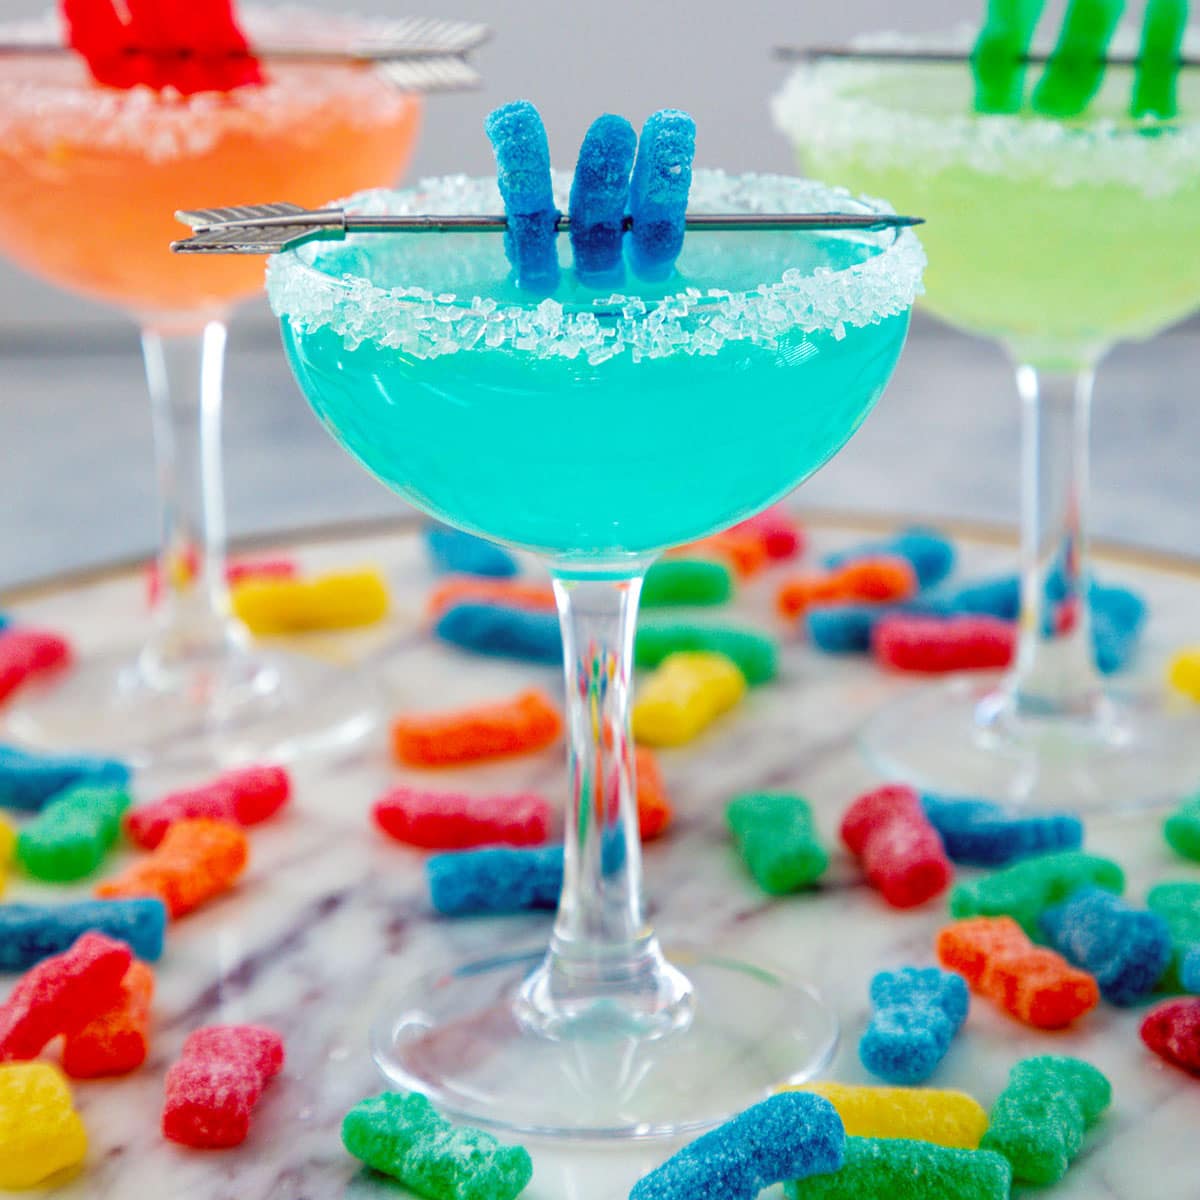
Sour Patch Kids Margarita
-
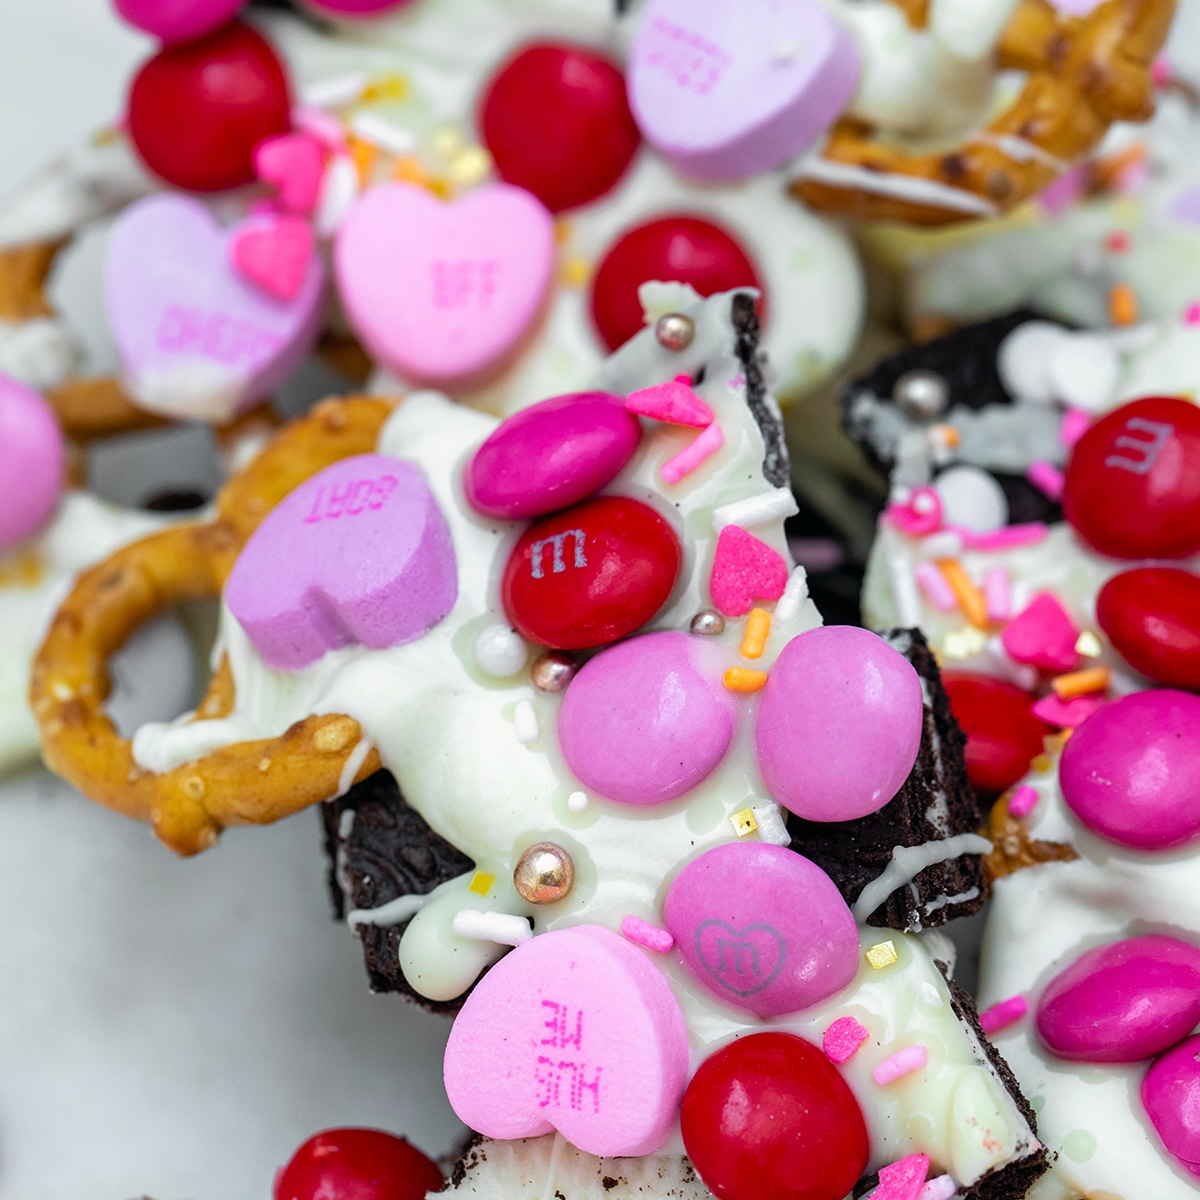
Valentine's Day Bark
-
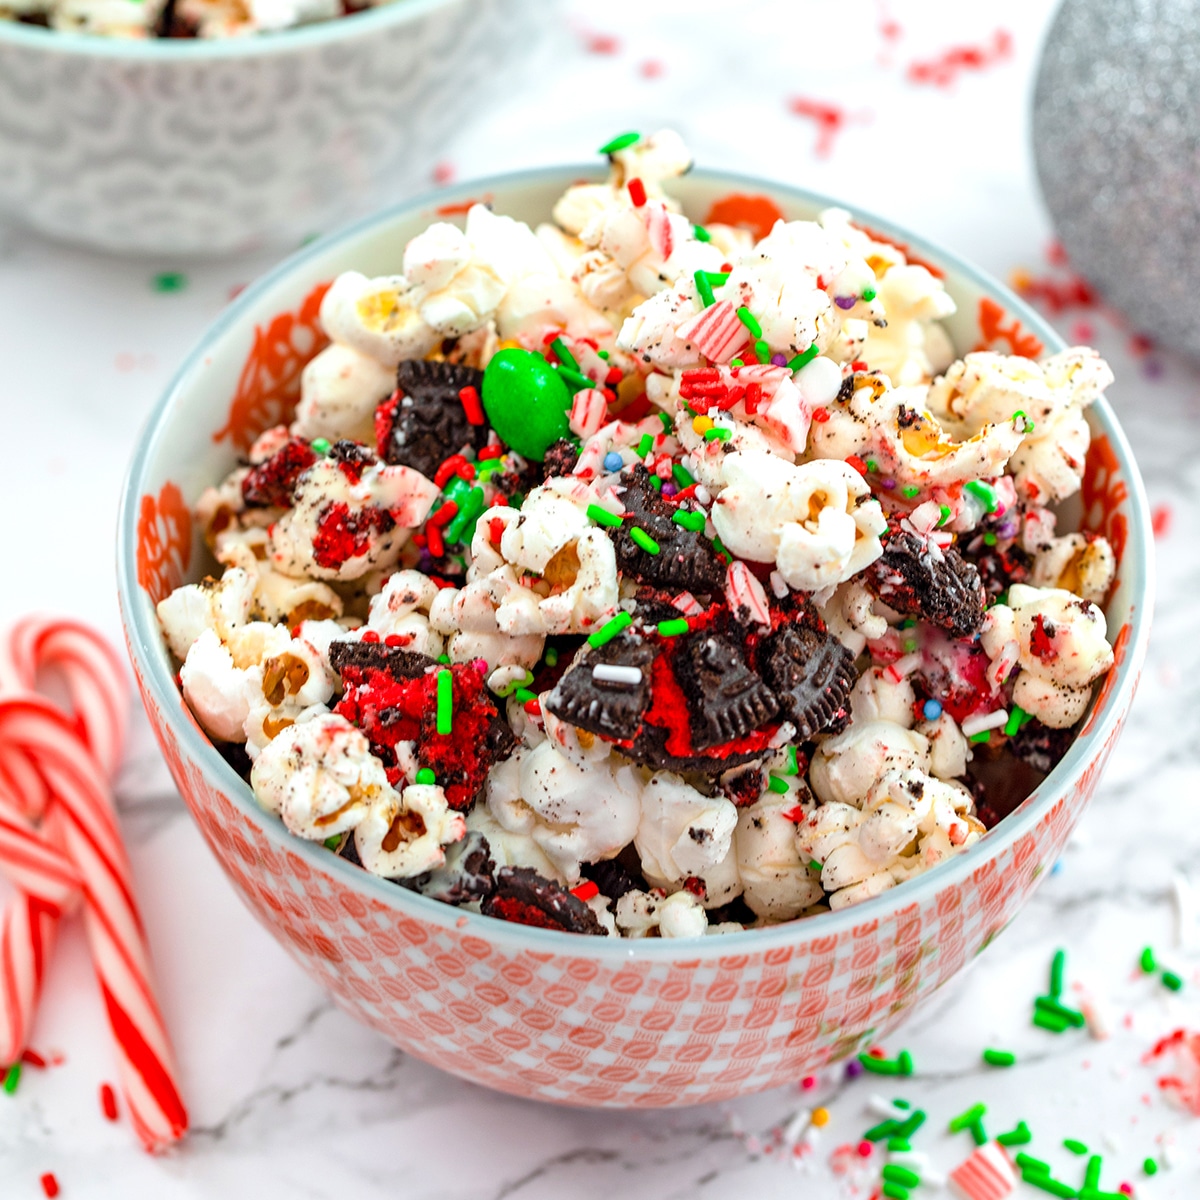
Christmas Party Popcorn
-
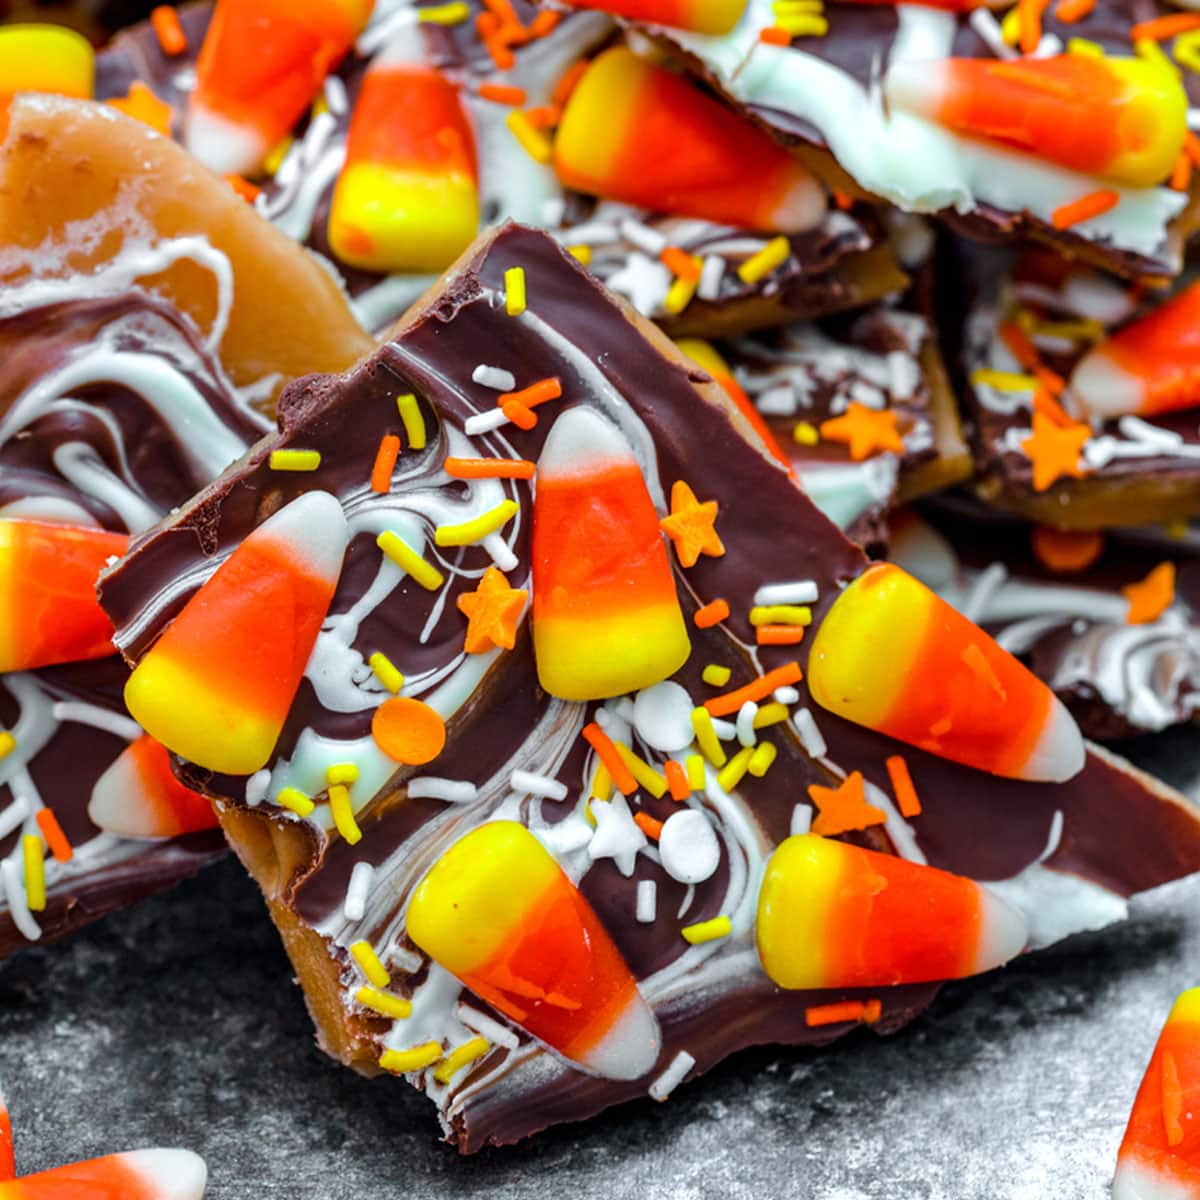
Candy Corn Toffee
-
Easter Candy Popcorn
-
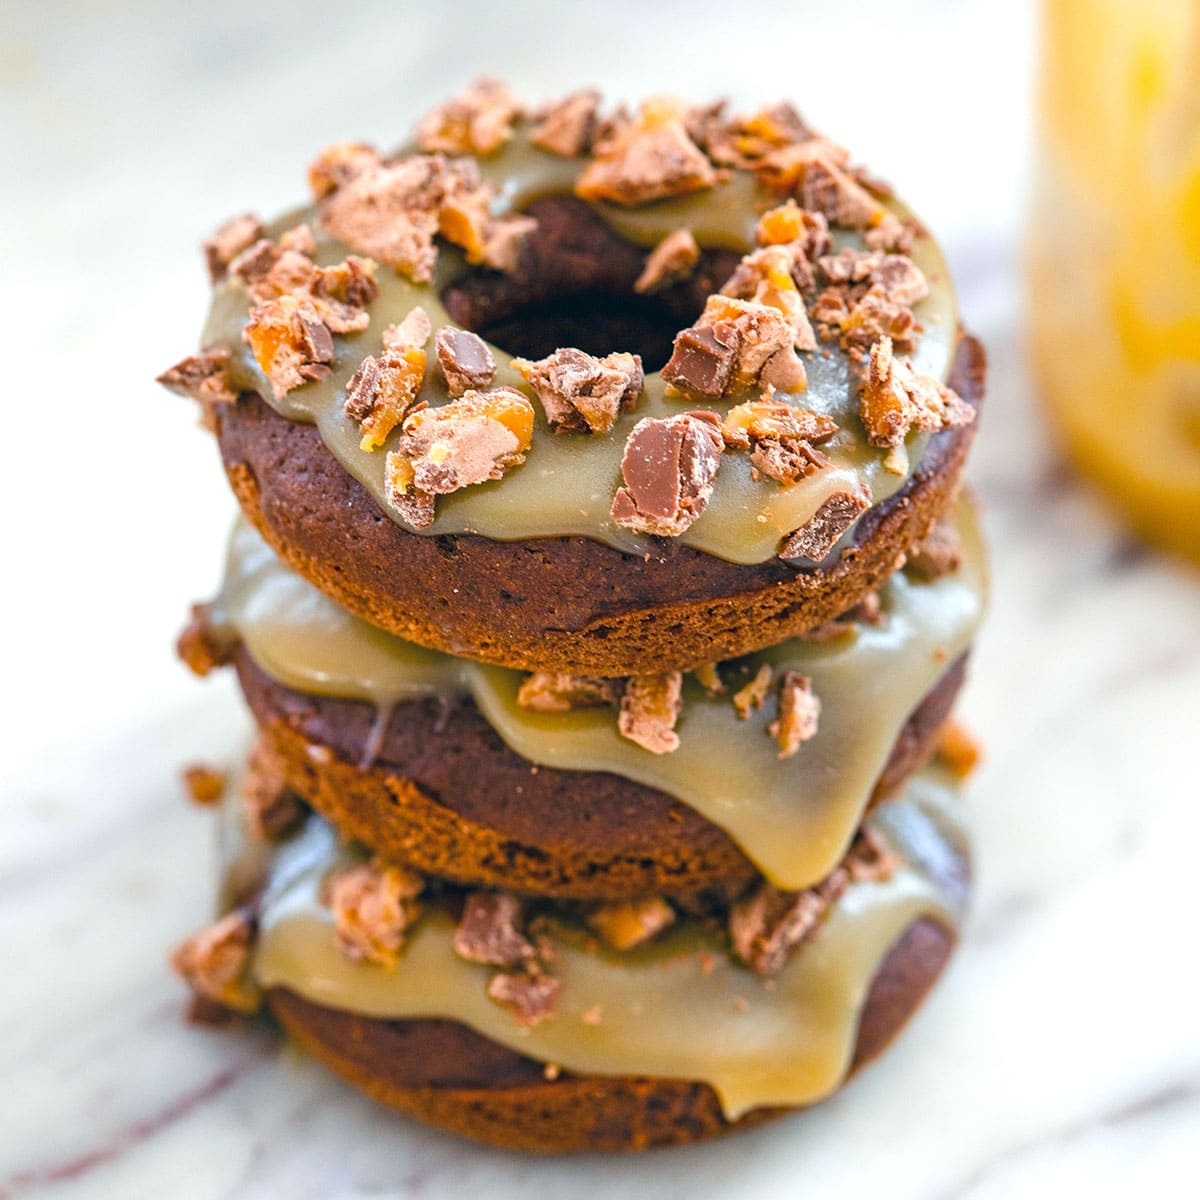
Milky Way Donuts
-
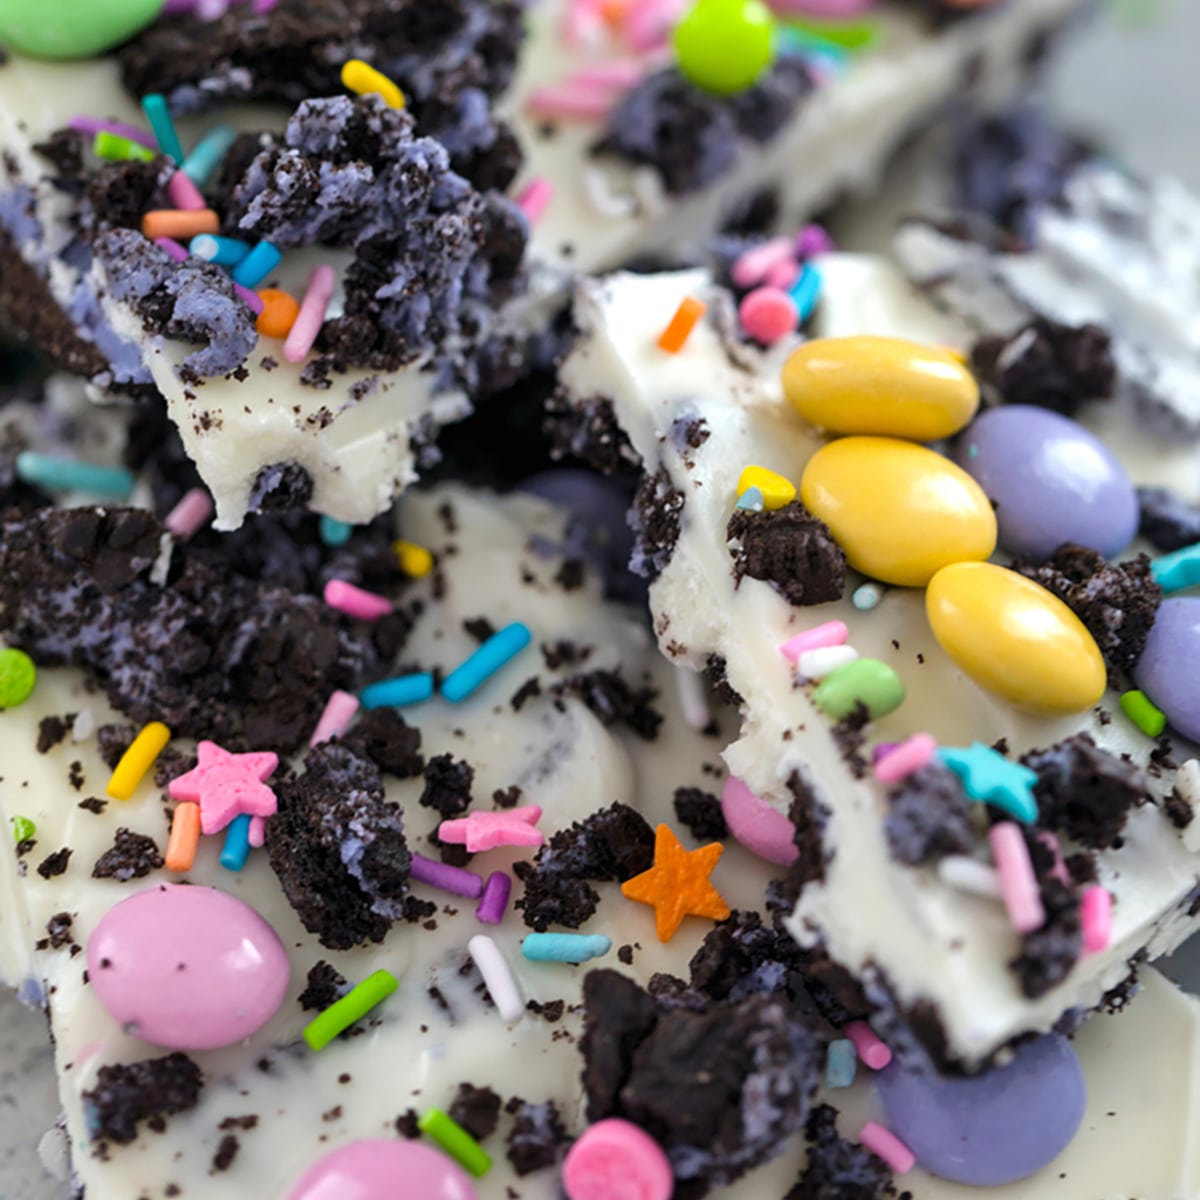
Easter Oreo Bark
-
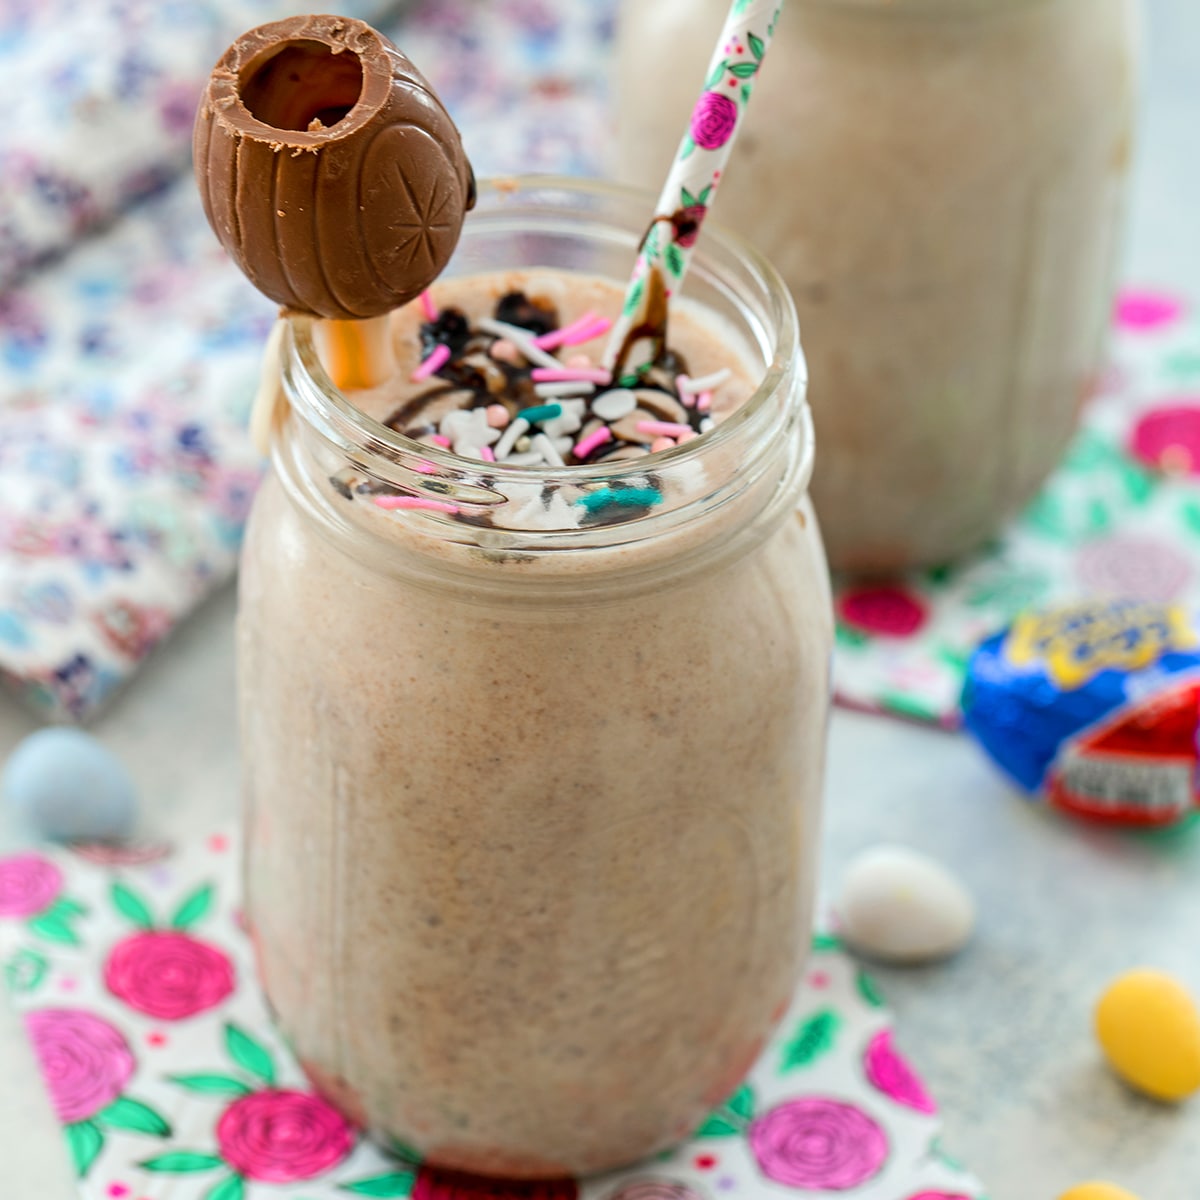
Cadbury Egg Milkshake
-
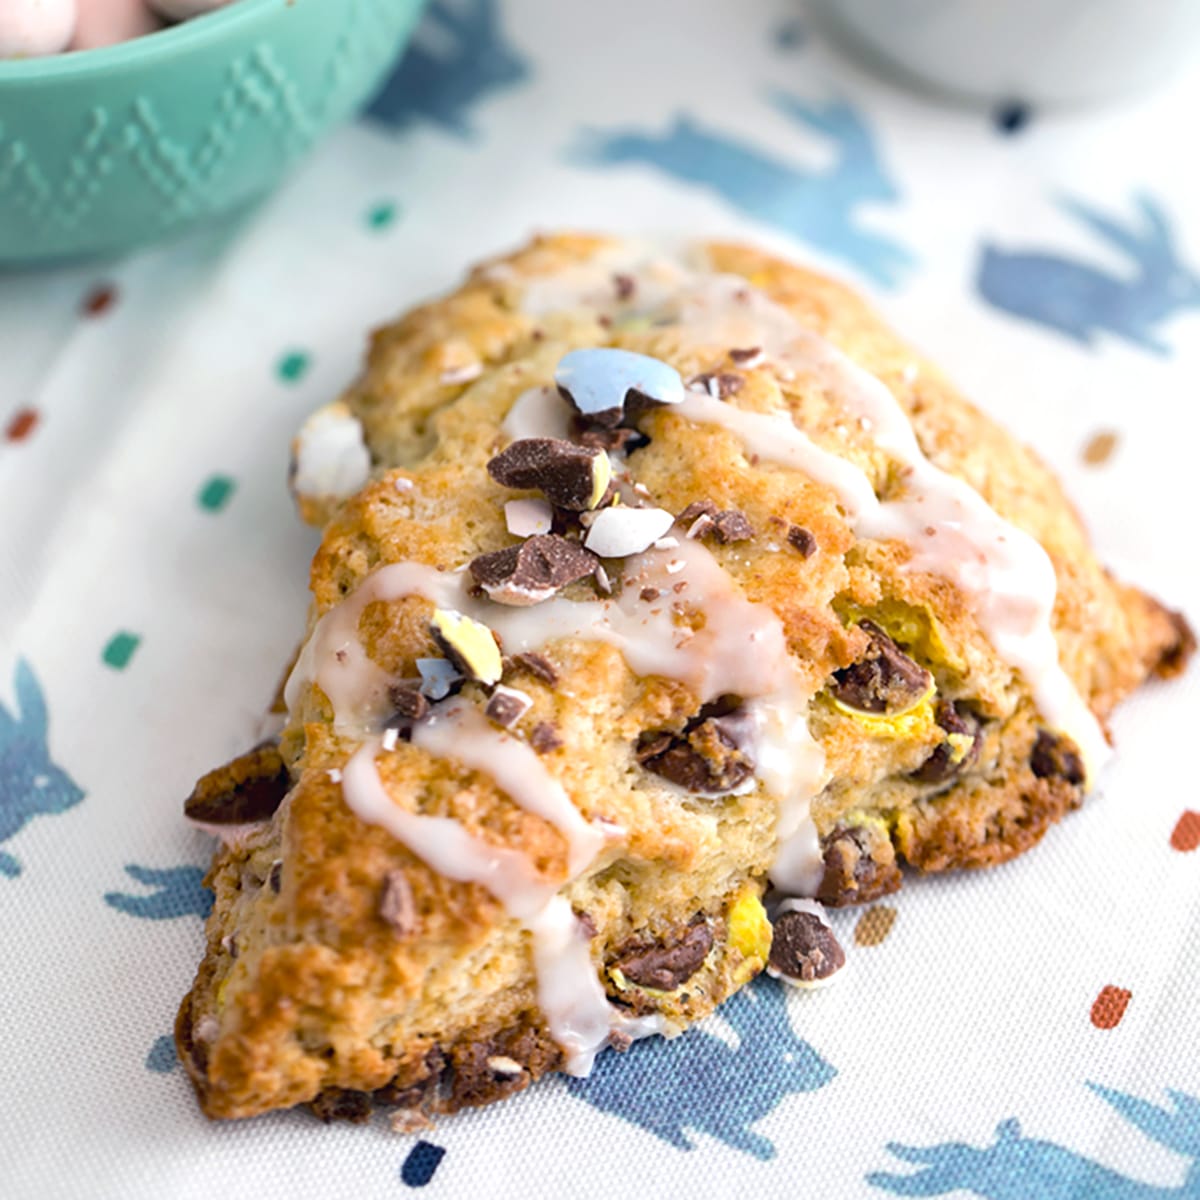
Cadbury Mini Egg Scones
-
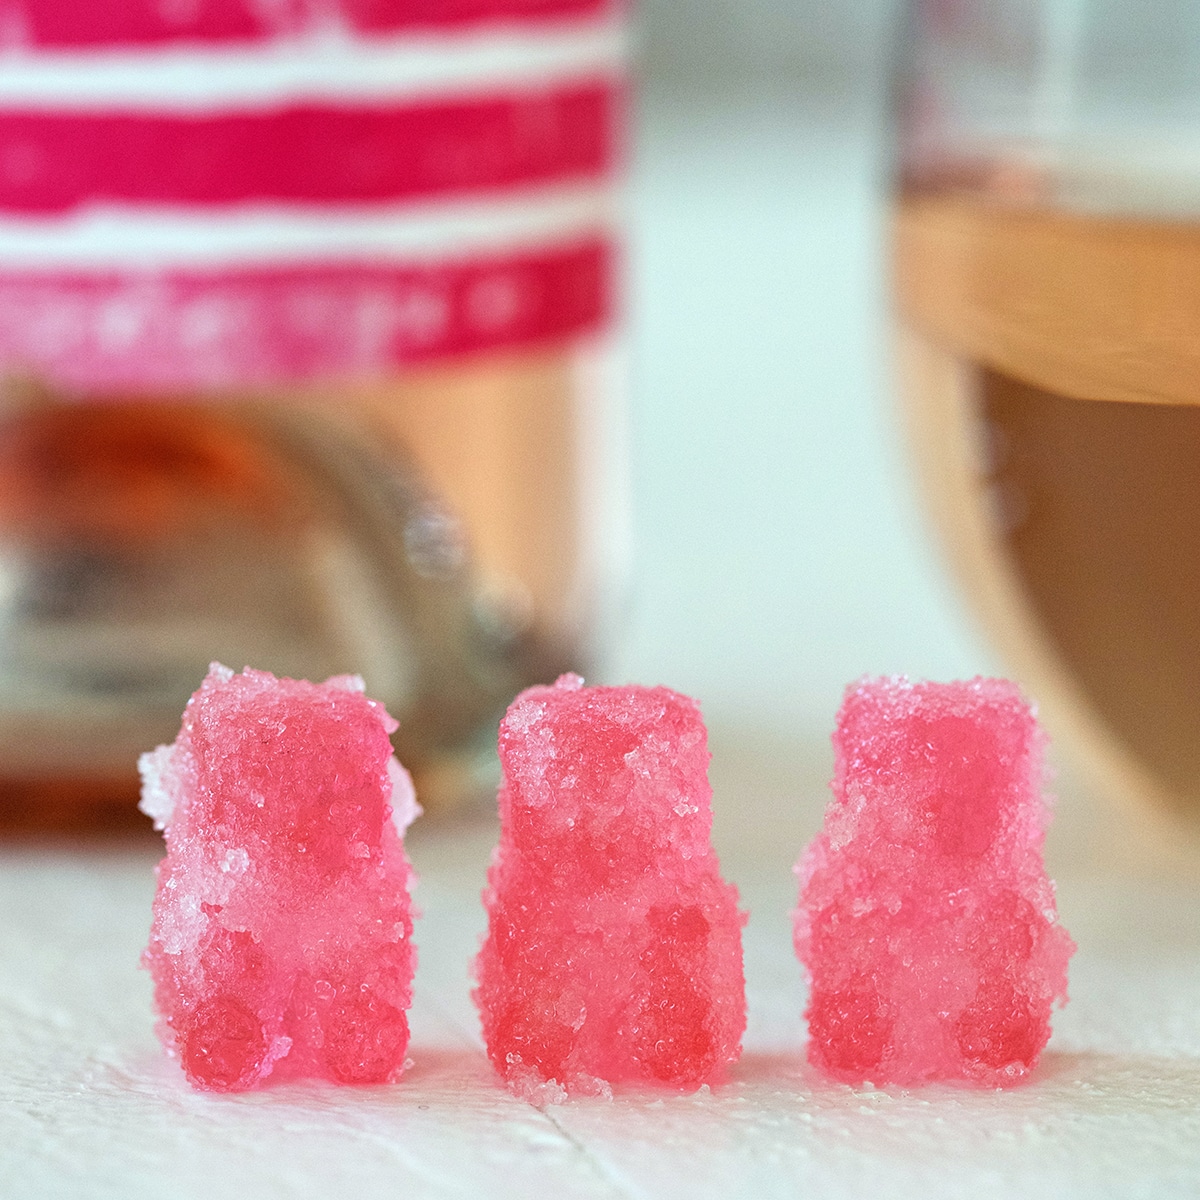
Rosé Sour Patch Kids
-
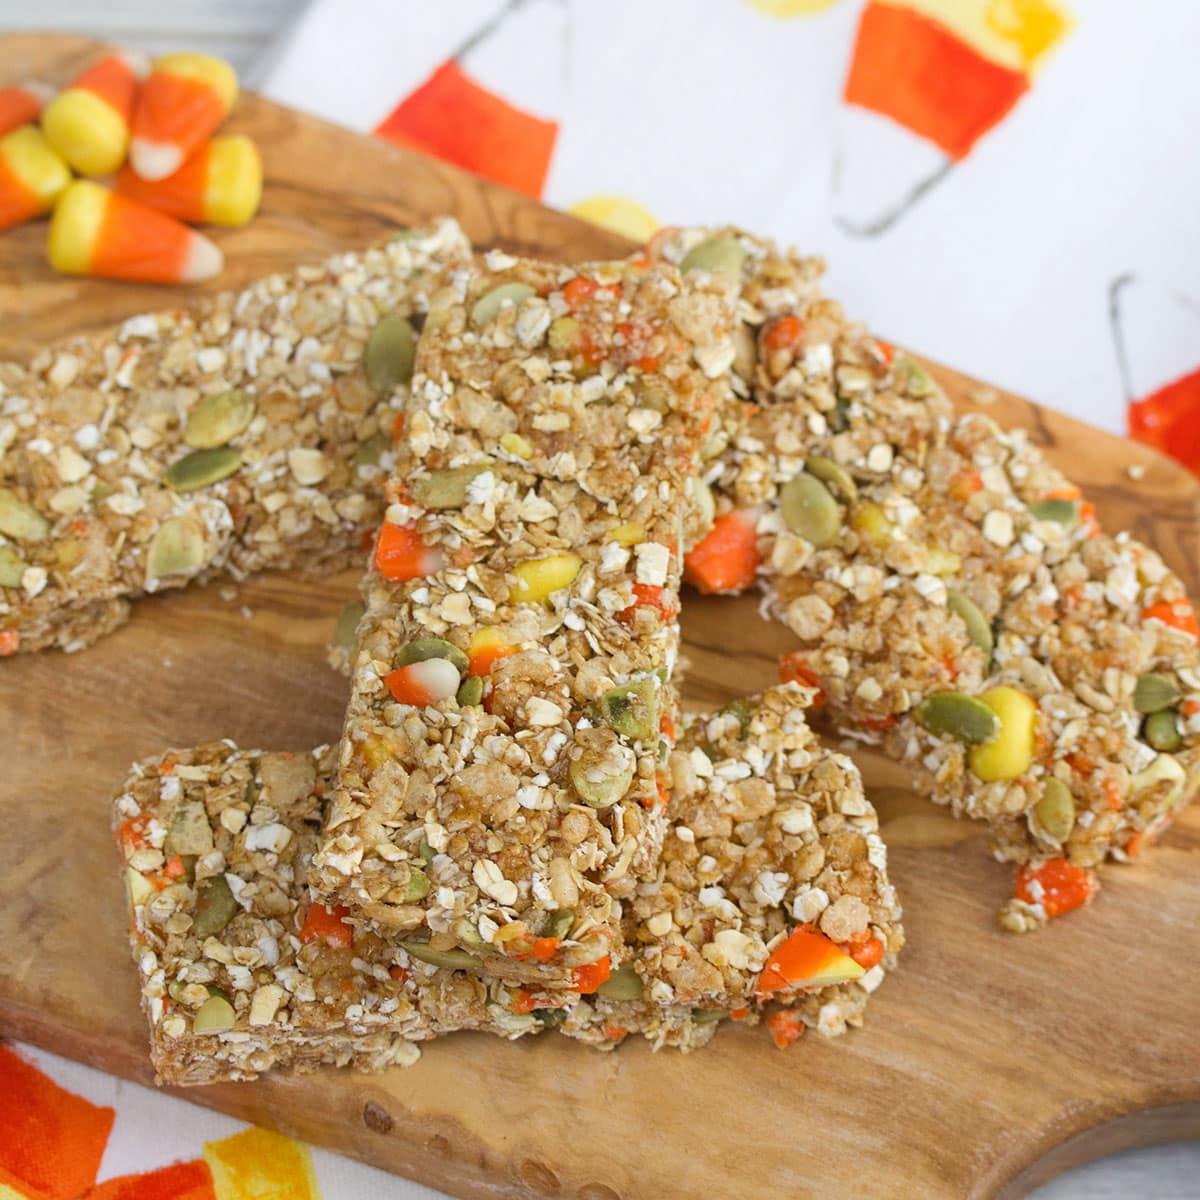
Candy Corn Granola Bars
-
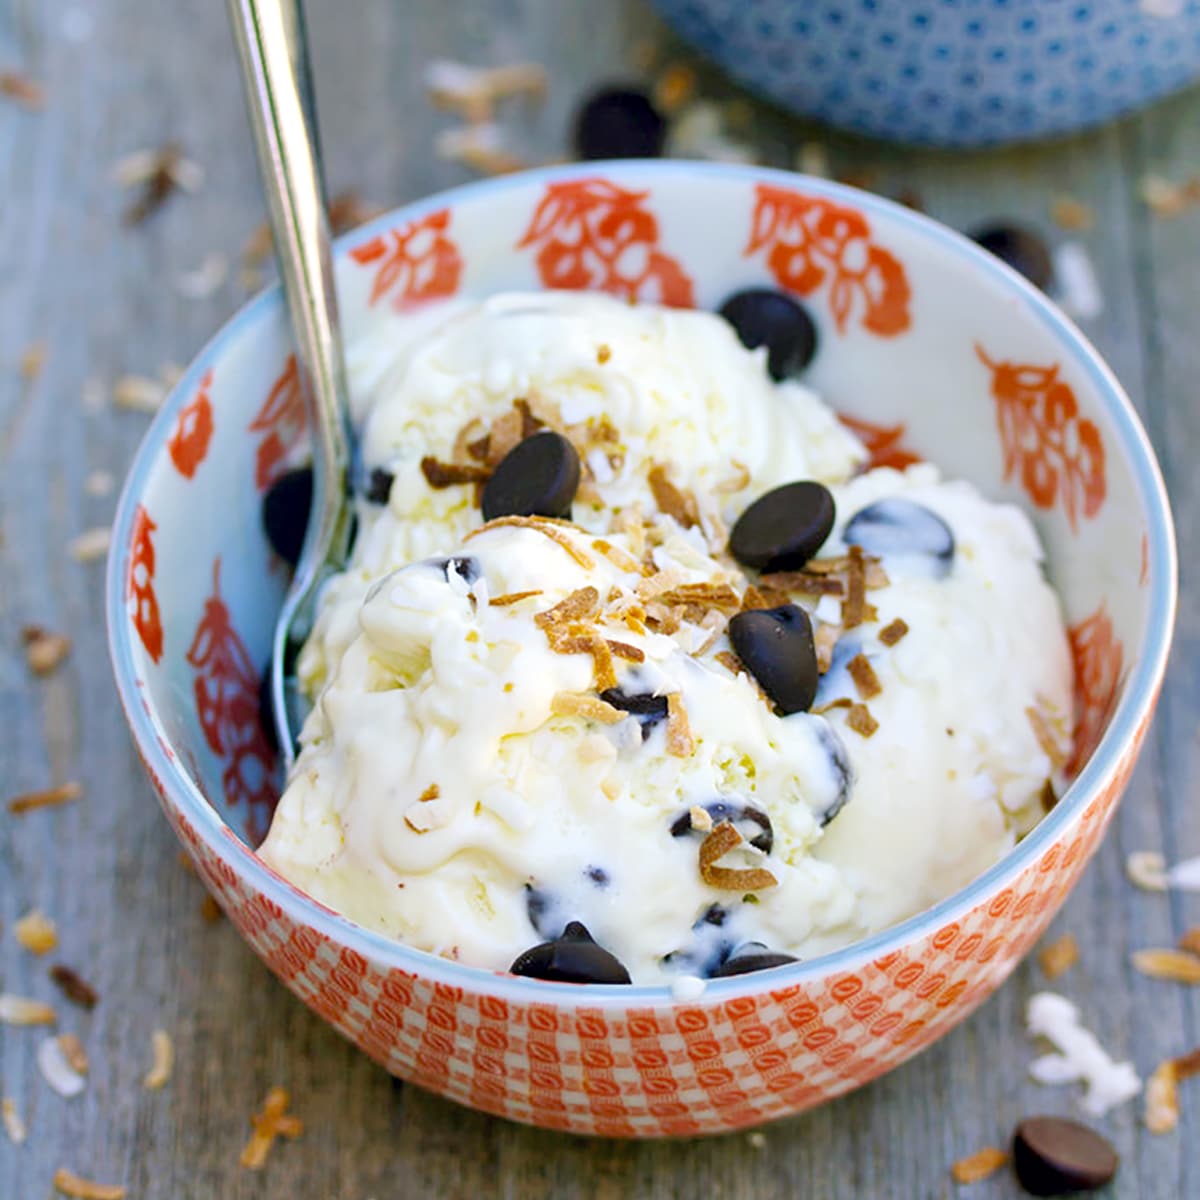
Mounds Bar Ice Cream
-
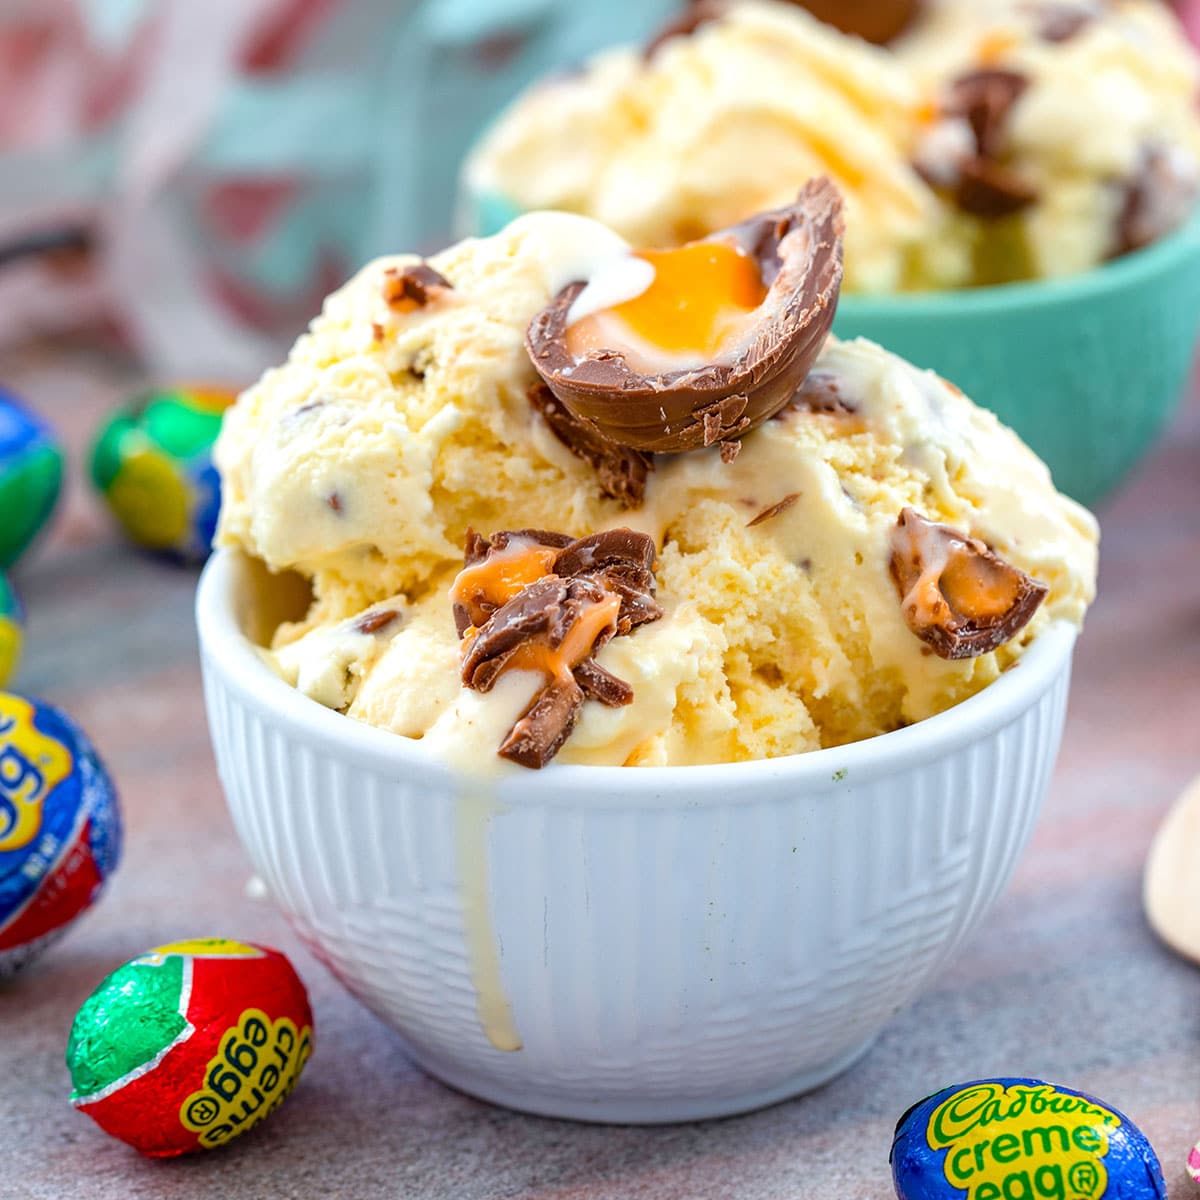
Cadbury Creme Egg Ice Cream
-
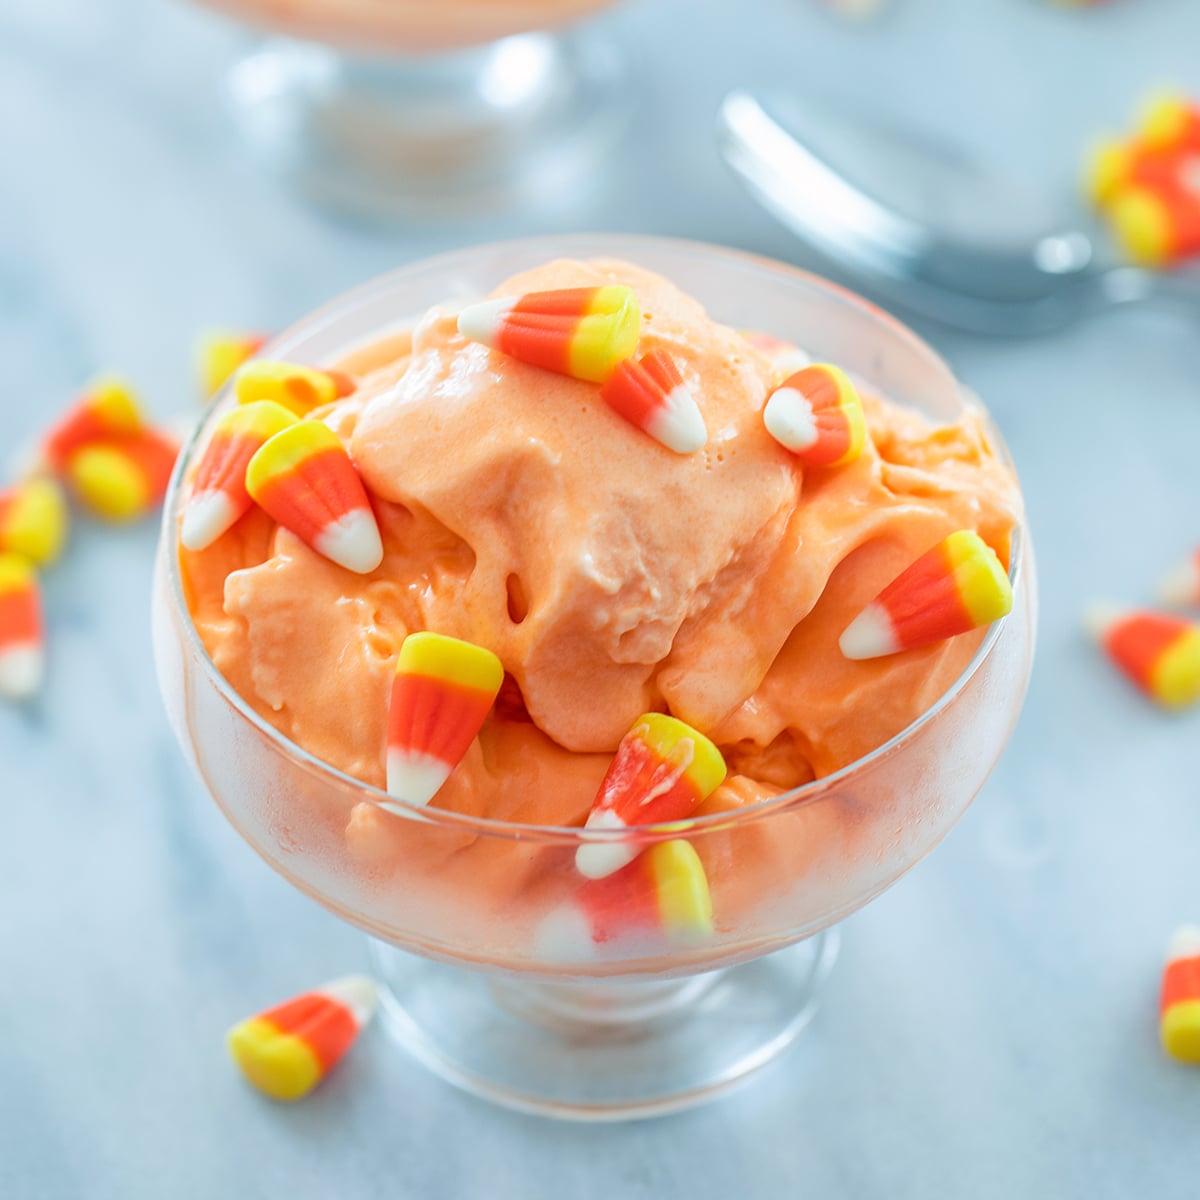
Candy Corn Ice Cream
-
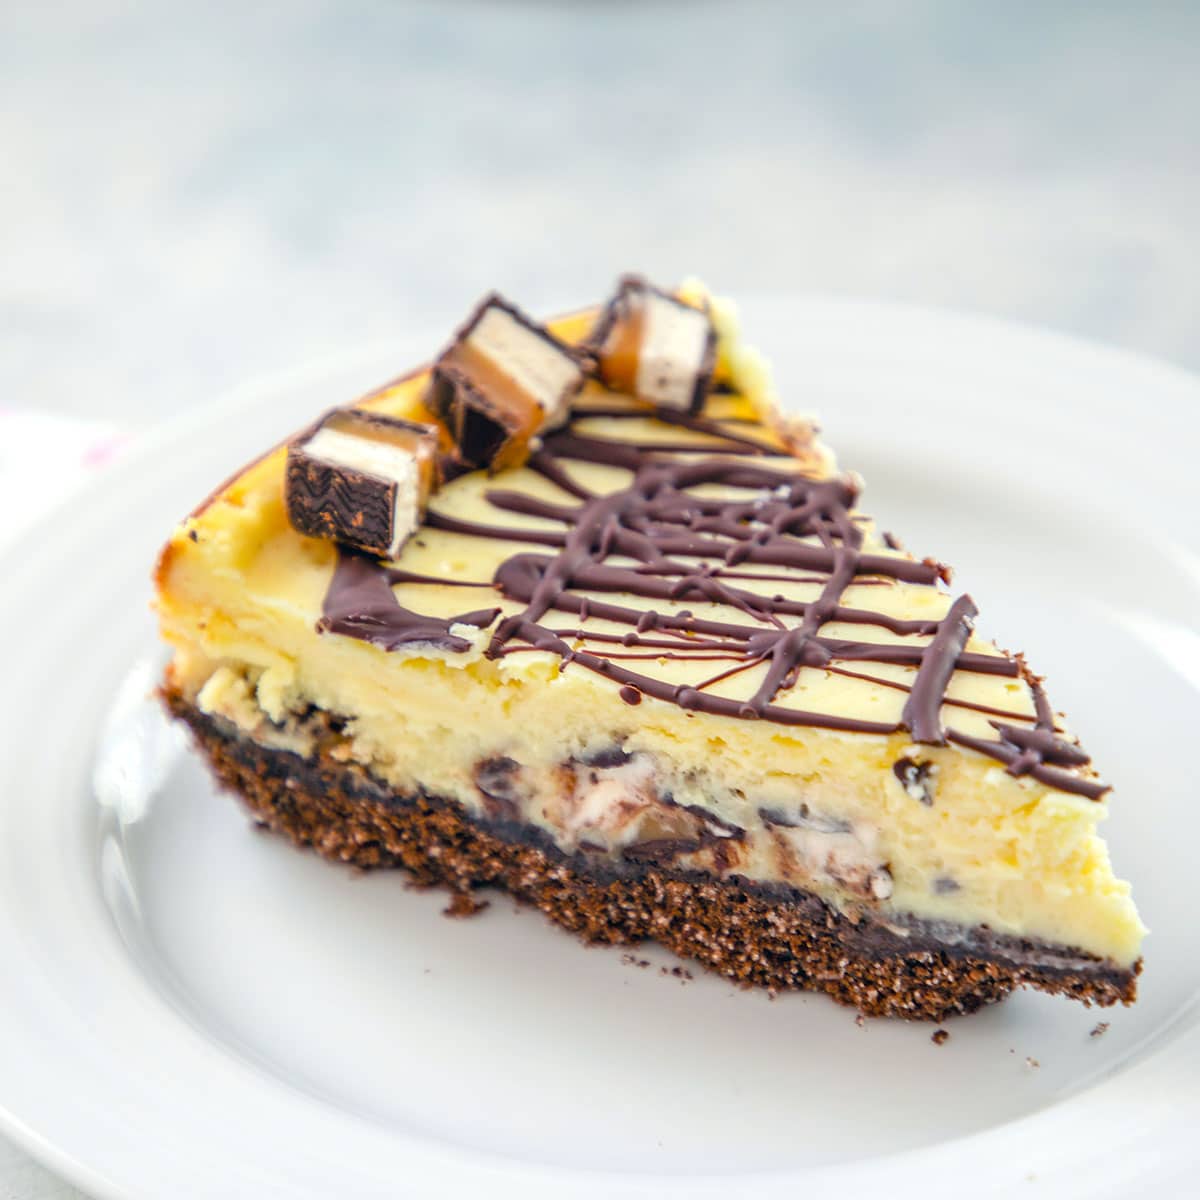
Milky Way Midnight Cheesecake
-
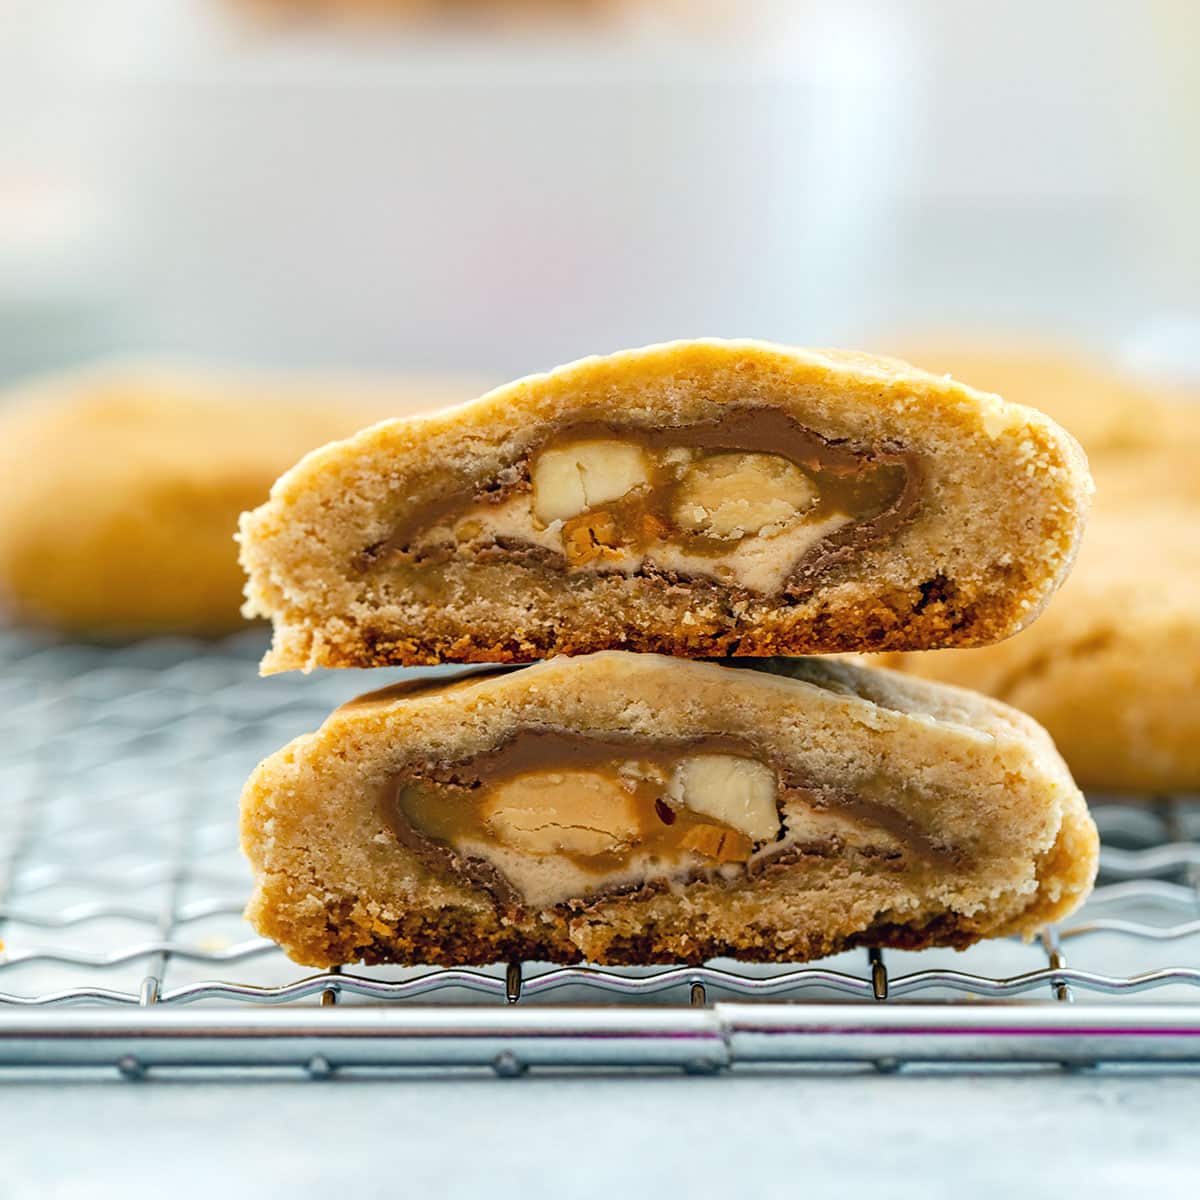
Peanut Butter Snickers Cookies