Marshmallows
-
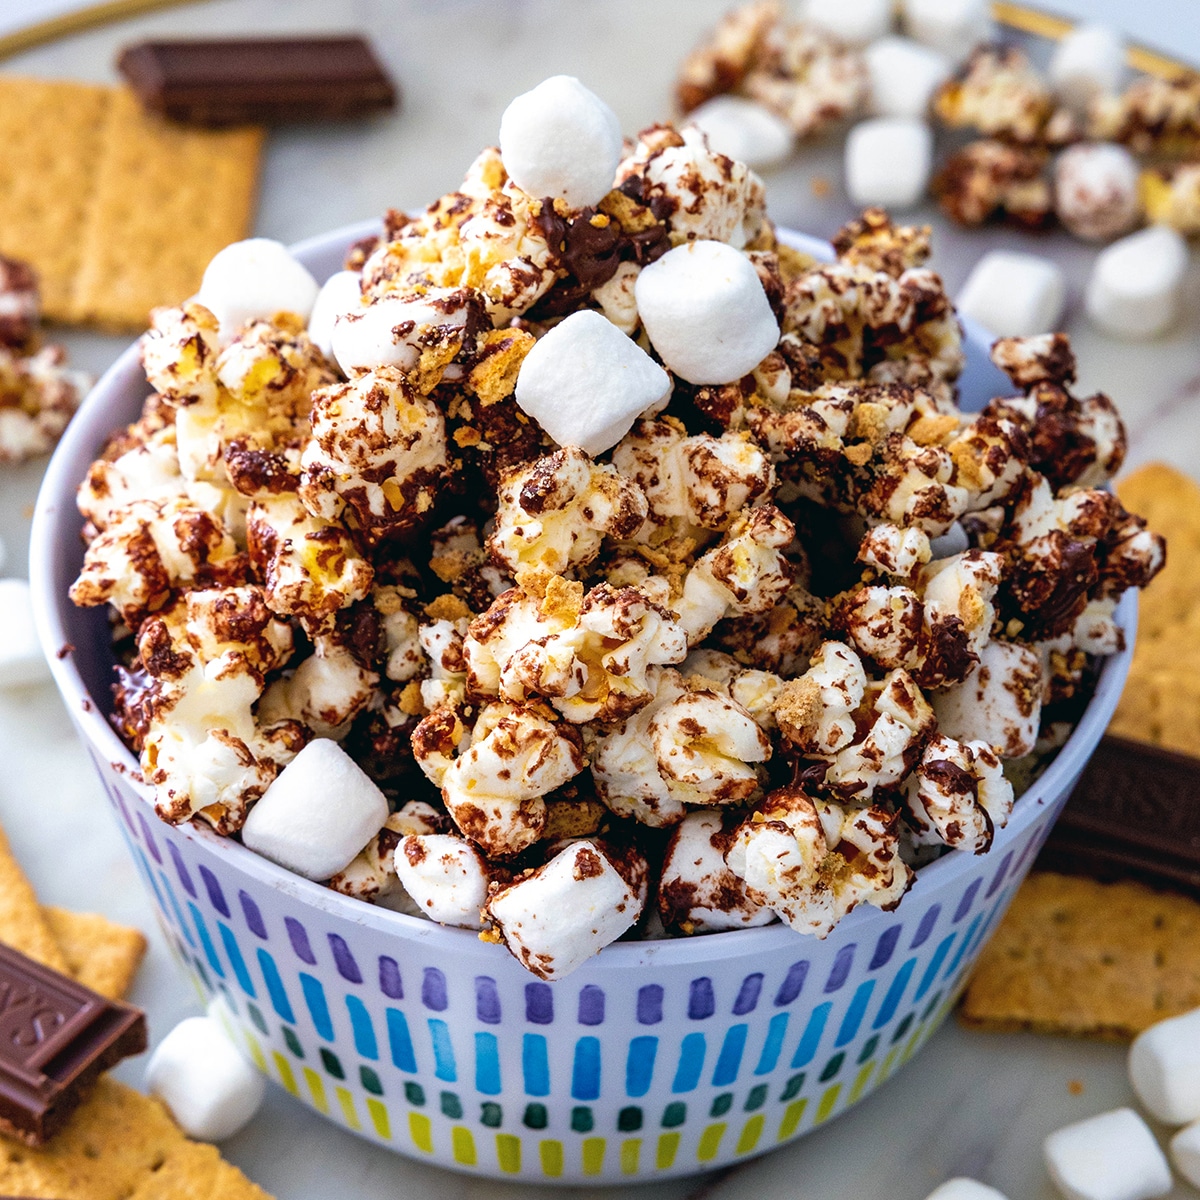
S'mores Popcorn
-
Lucky Charms Oatmeal
-
Lucky Charms Hot Chocolate
-
Lucky Charms Cookie Dough Bars {No-Bake}
-
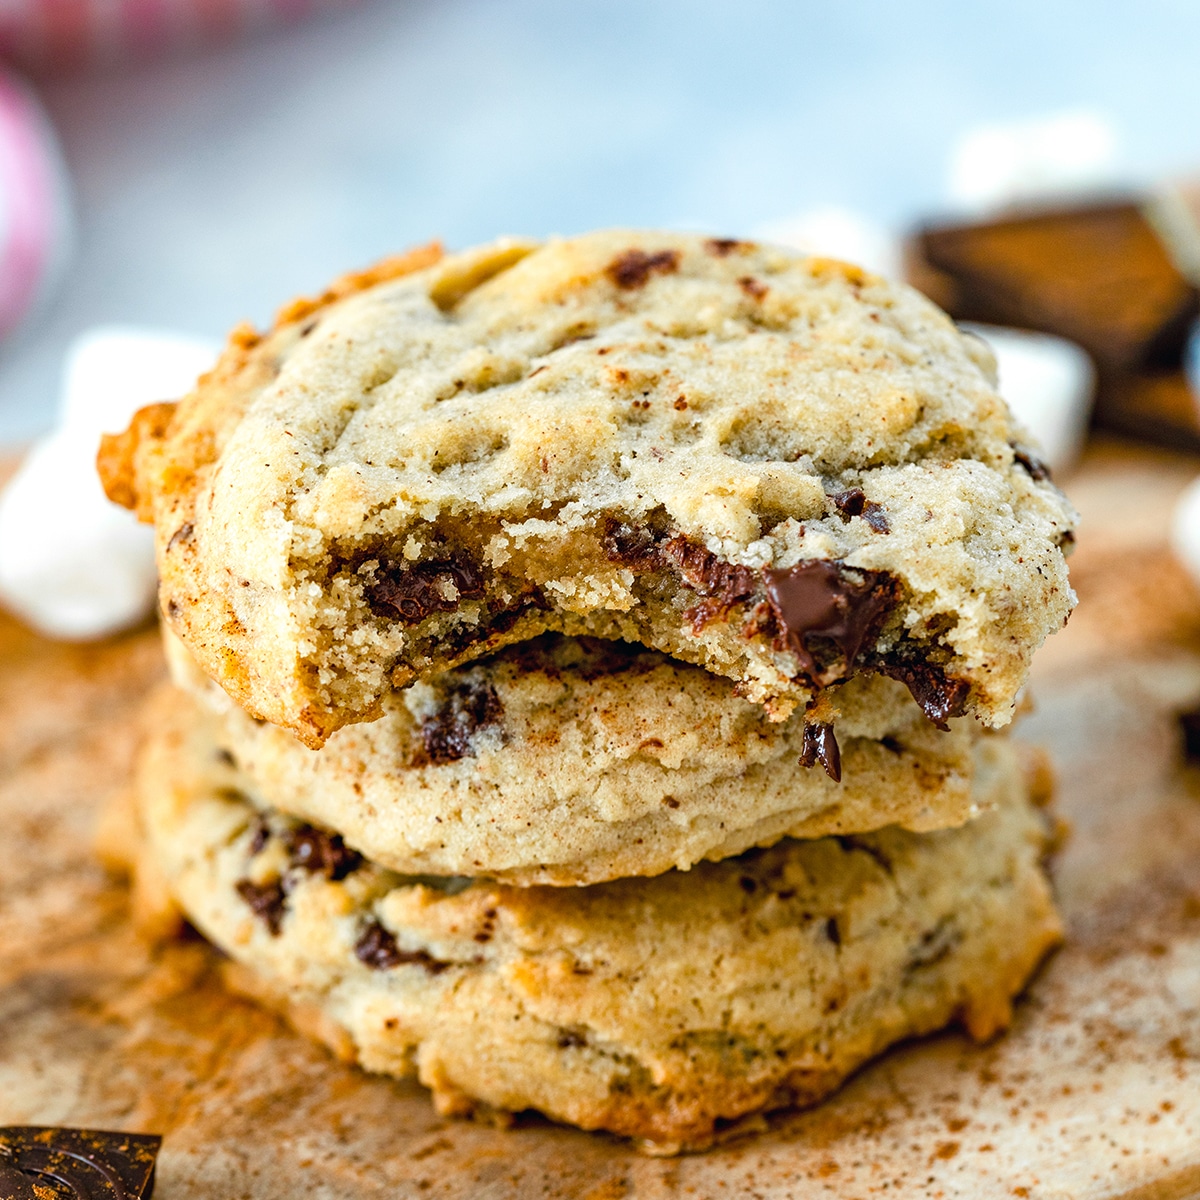
Mexican Chocolate Cookies
-
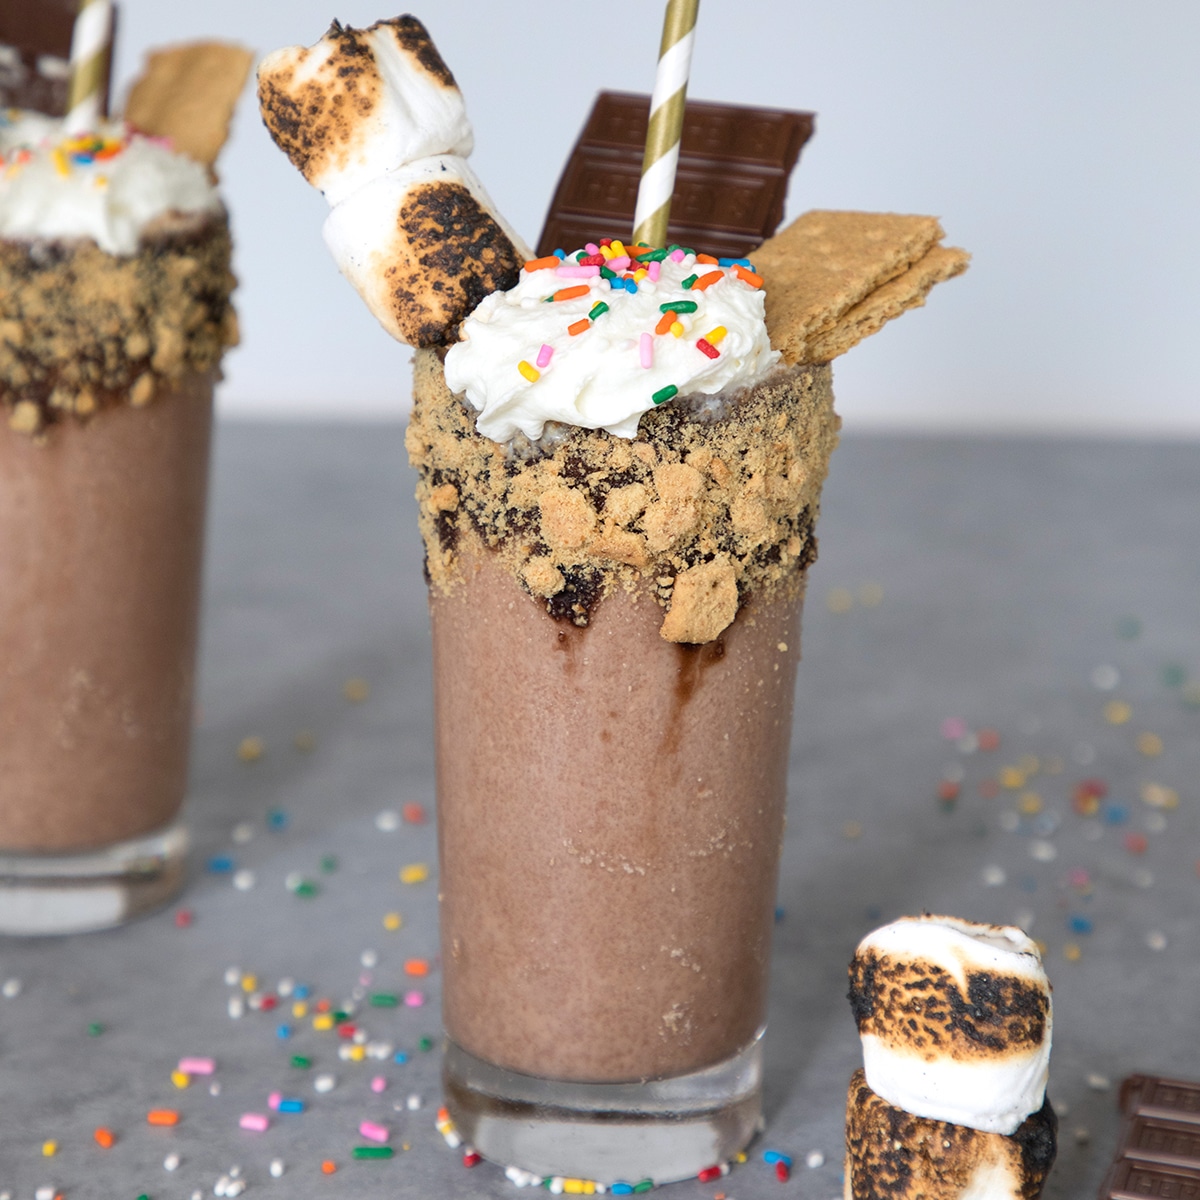
Bourbon S'mores Milkshake
-
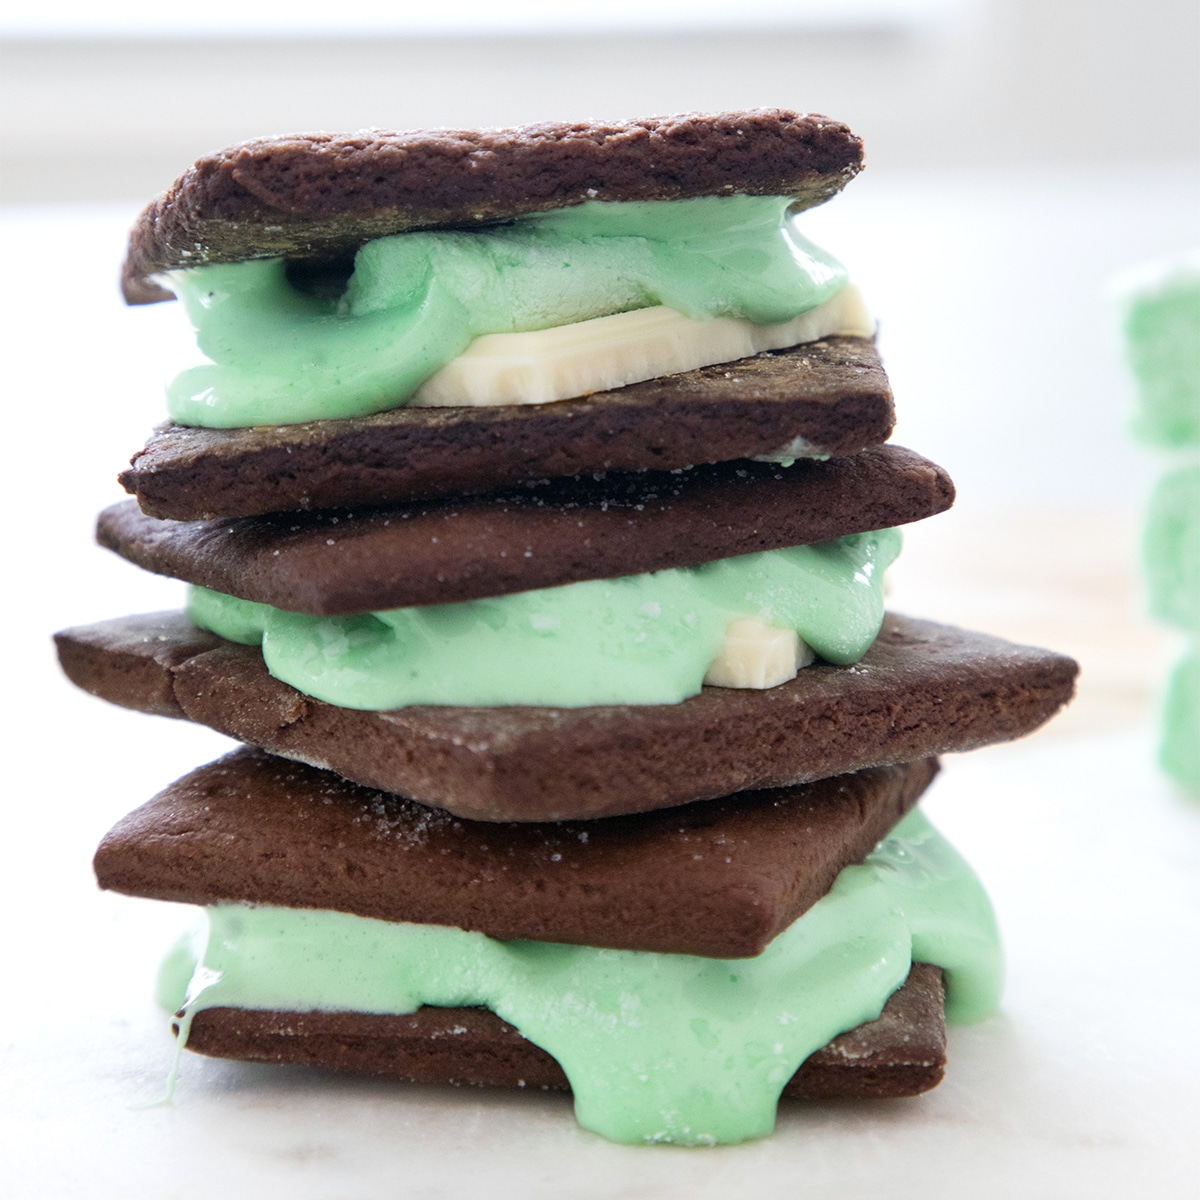
Mint White Chocolate S'mores
-
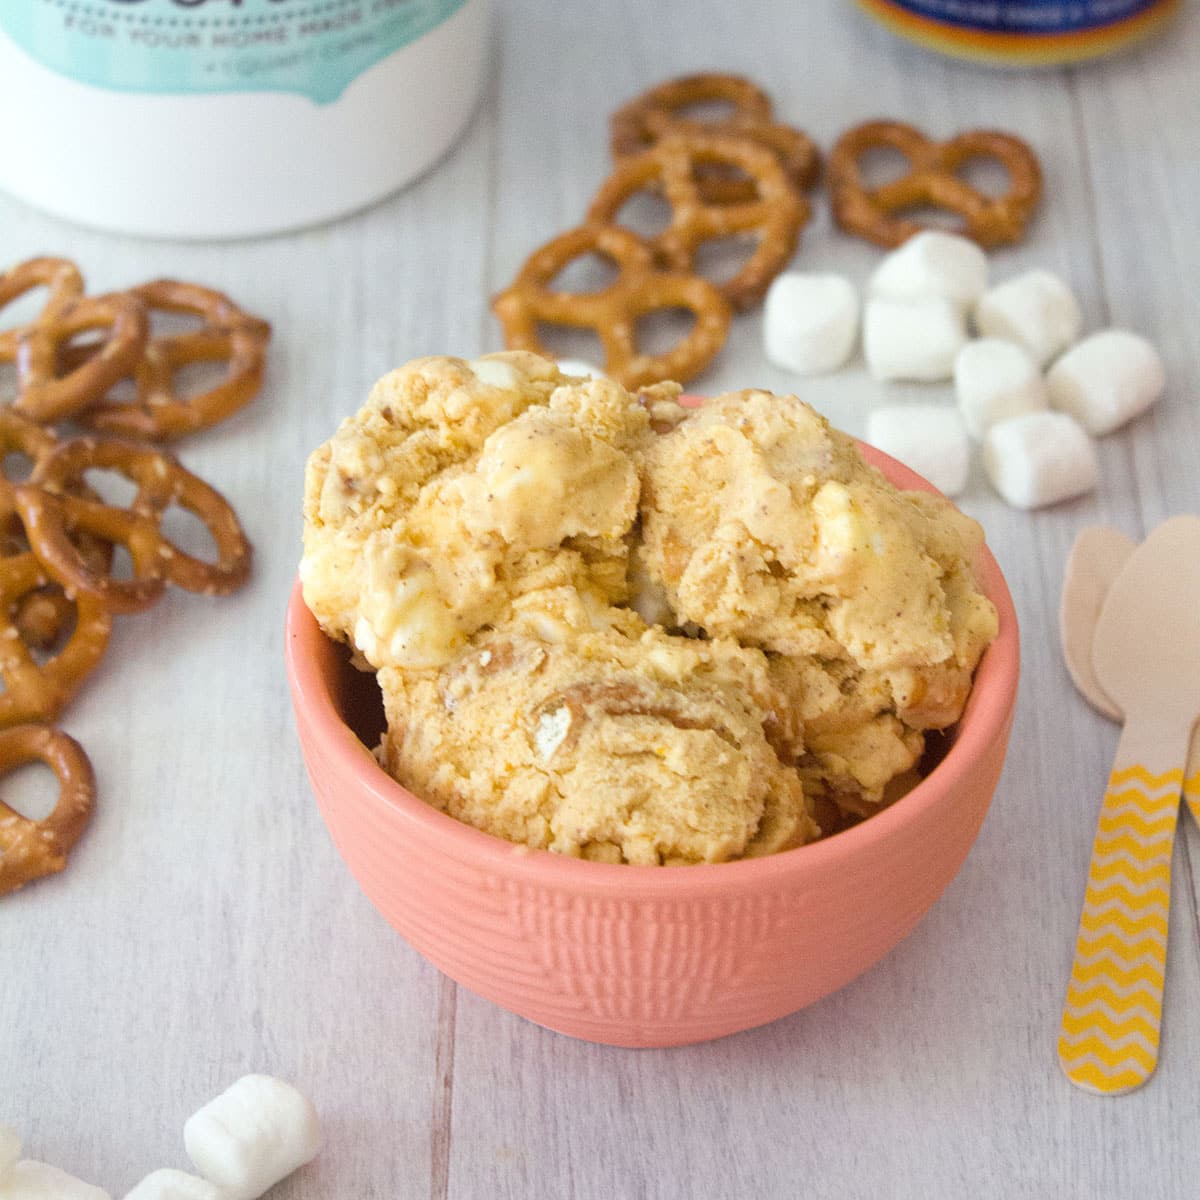
Pumpkin Beer Ice Cream with Pretzels and Marshmallows
-
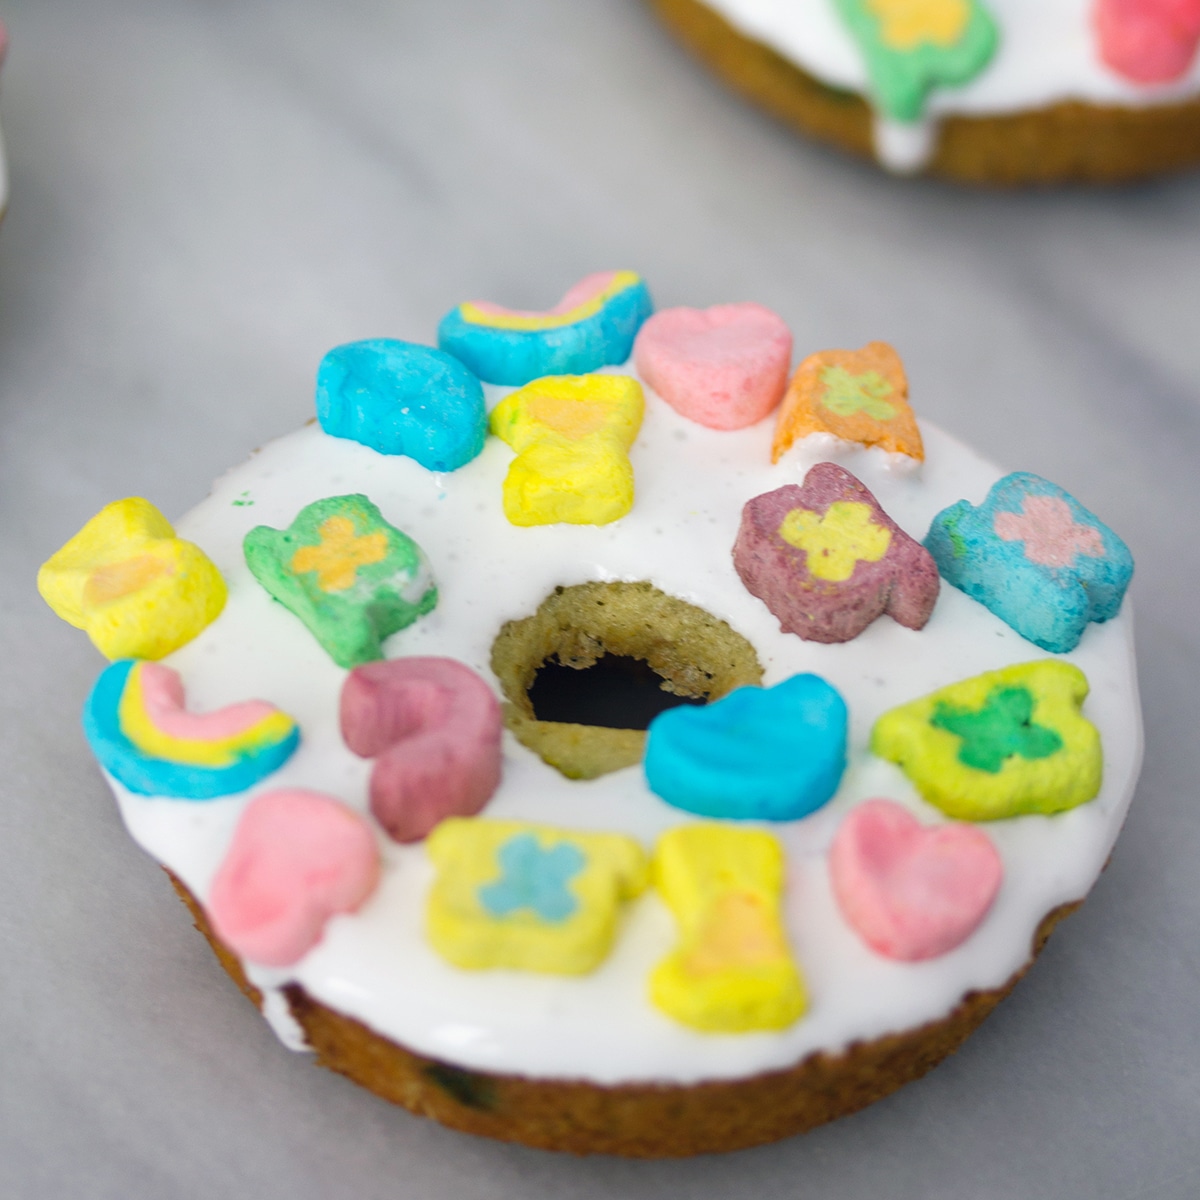
Lucky Charms Donuts
-
Chocolate-Dipped Peanut Butter Heart Cookies
-
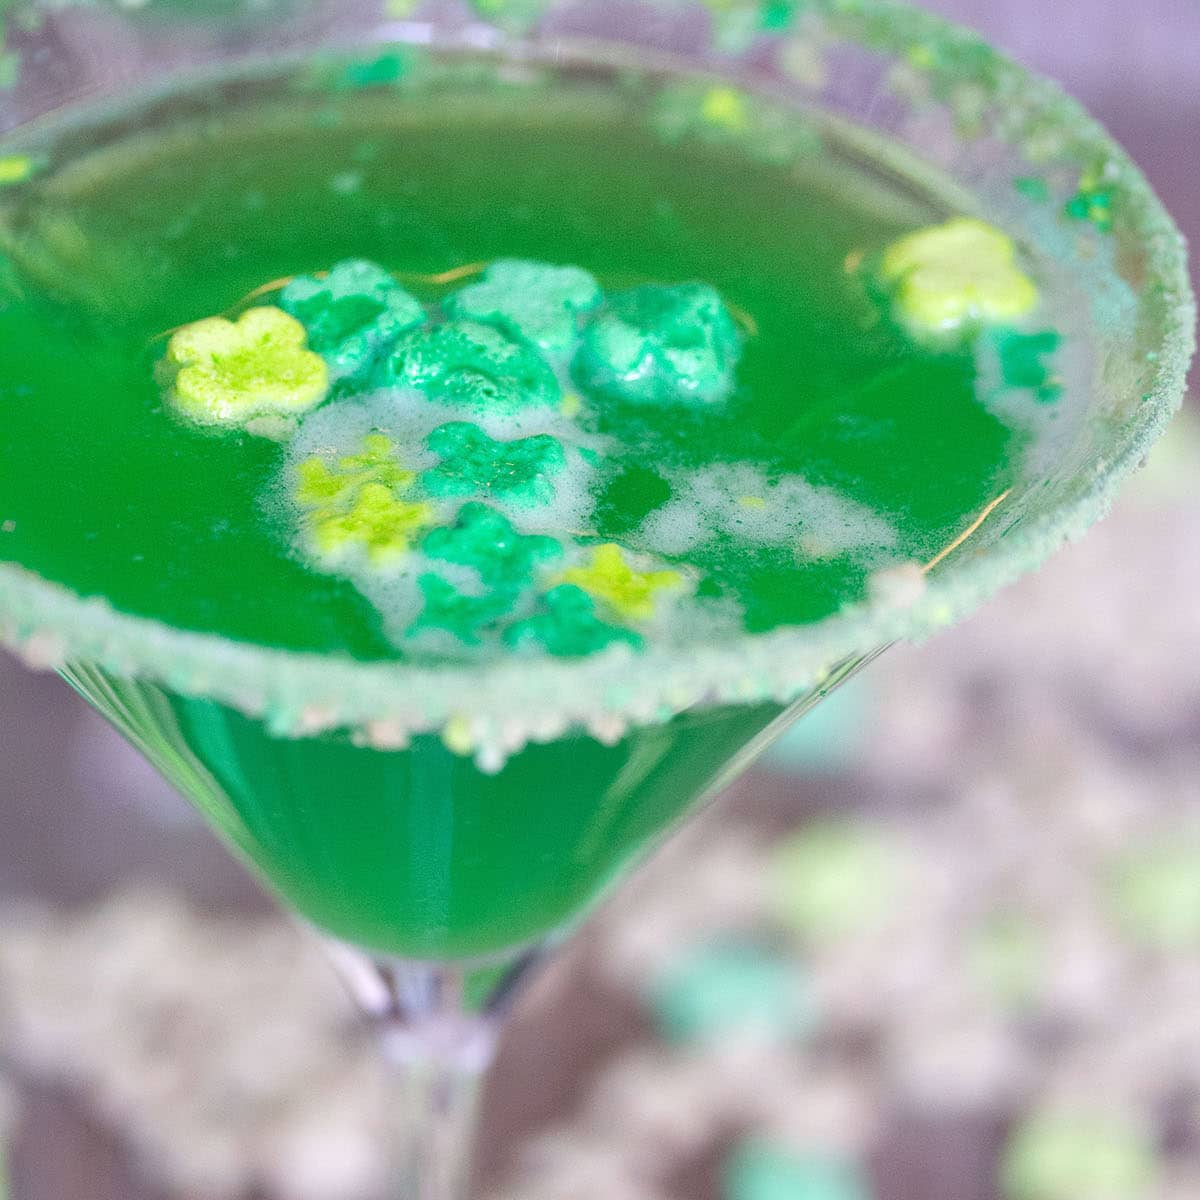
Lucky Charms Martini
-
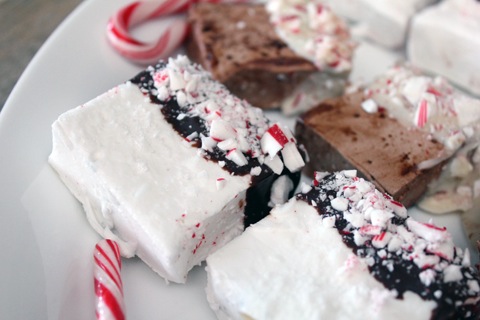
Chocolate-Covered Peppermint Marshmallows (and Chocolate Marshmallows)
-
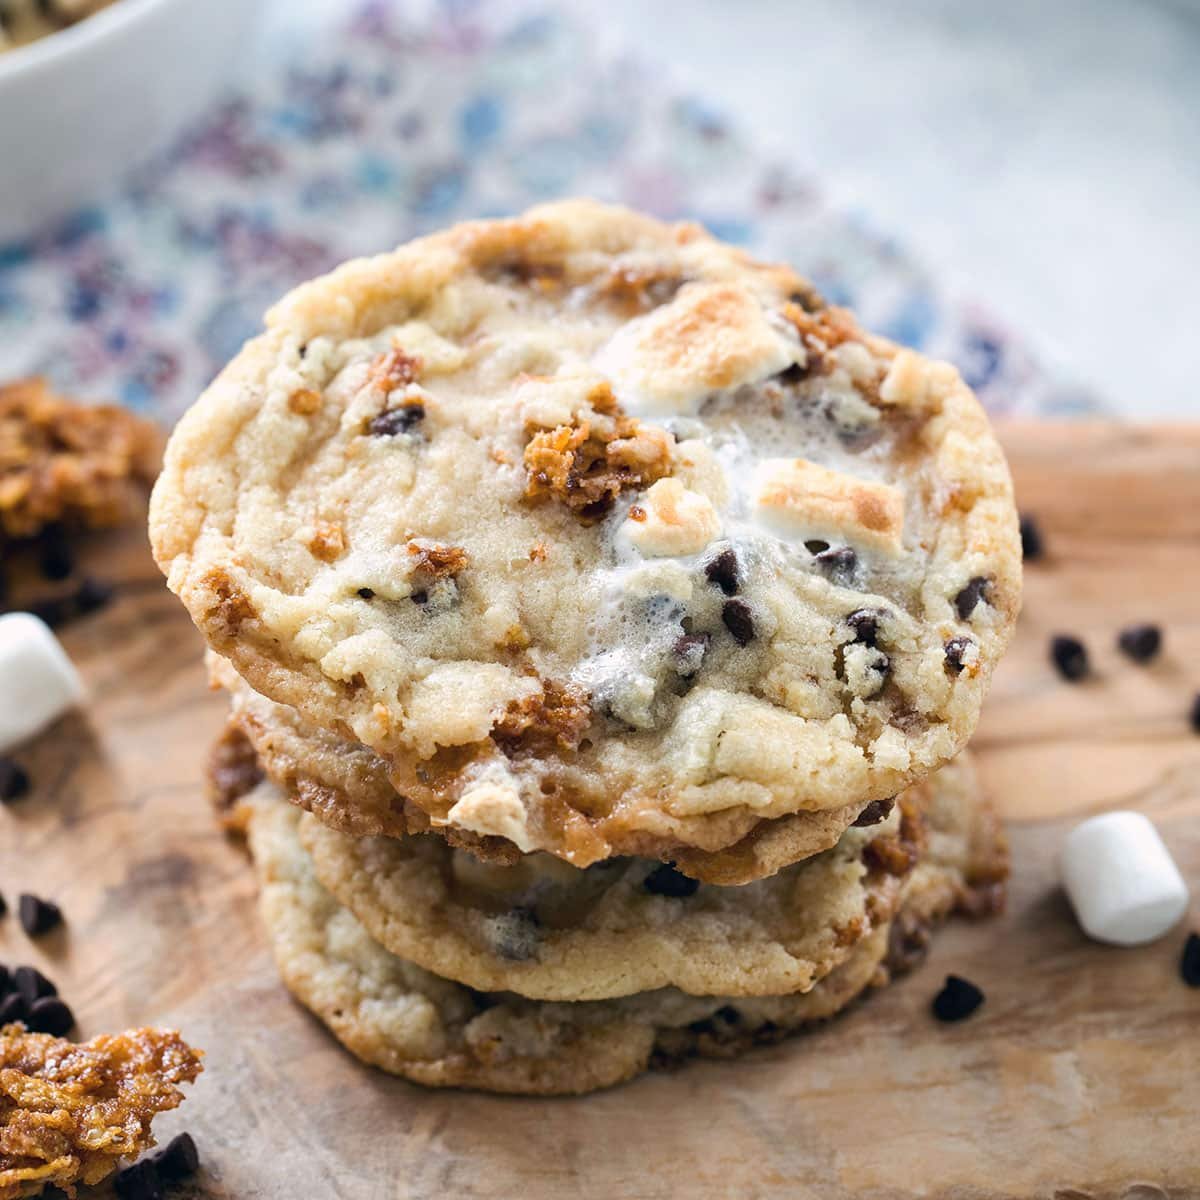
Momofuku Milk Bar's Cornflake Chocolate Chip Marshmallow Cookies
-
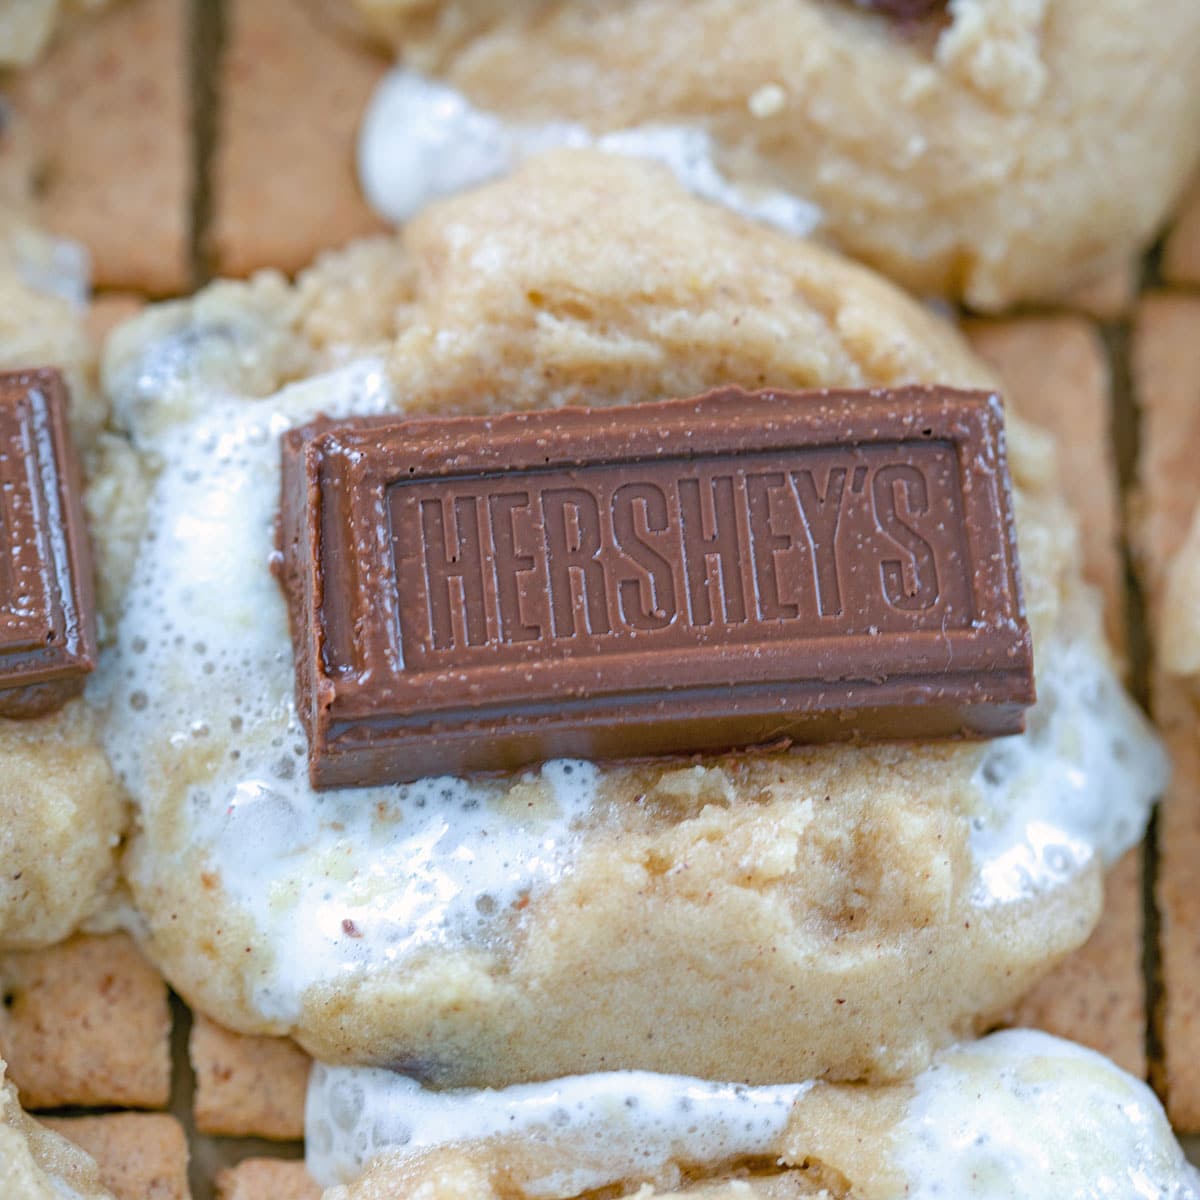
S'mores Cookie Bars
-
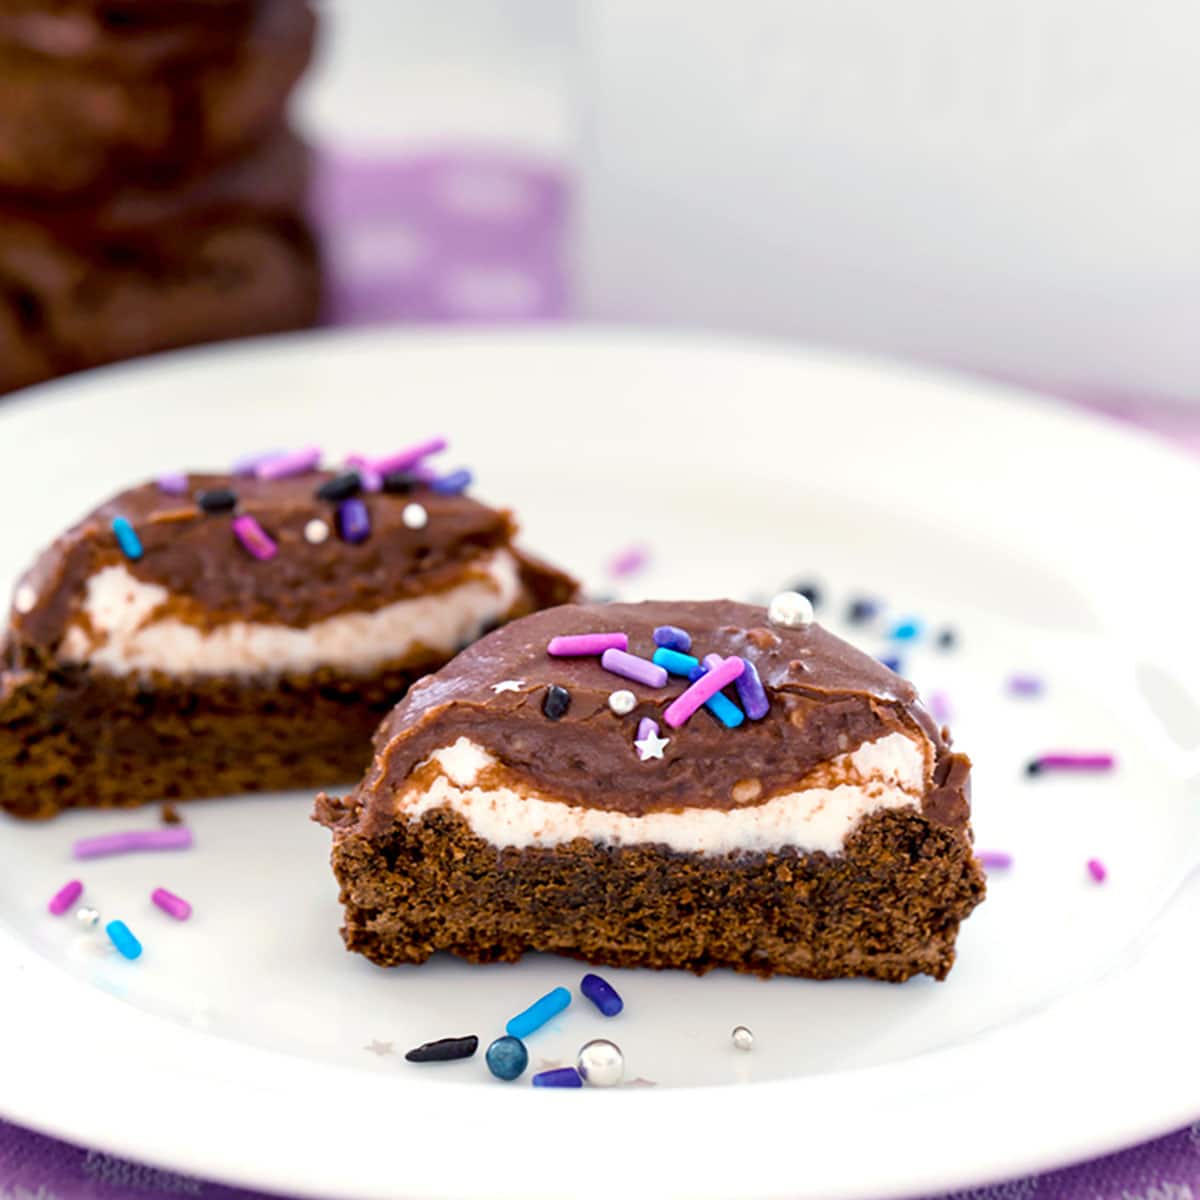
Chocolate Surprise Cookies