rum
-
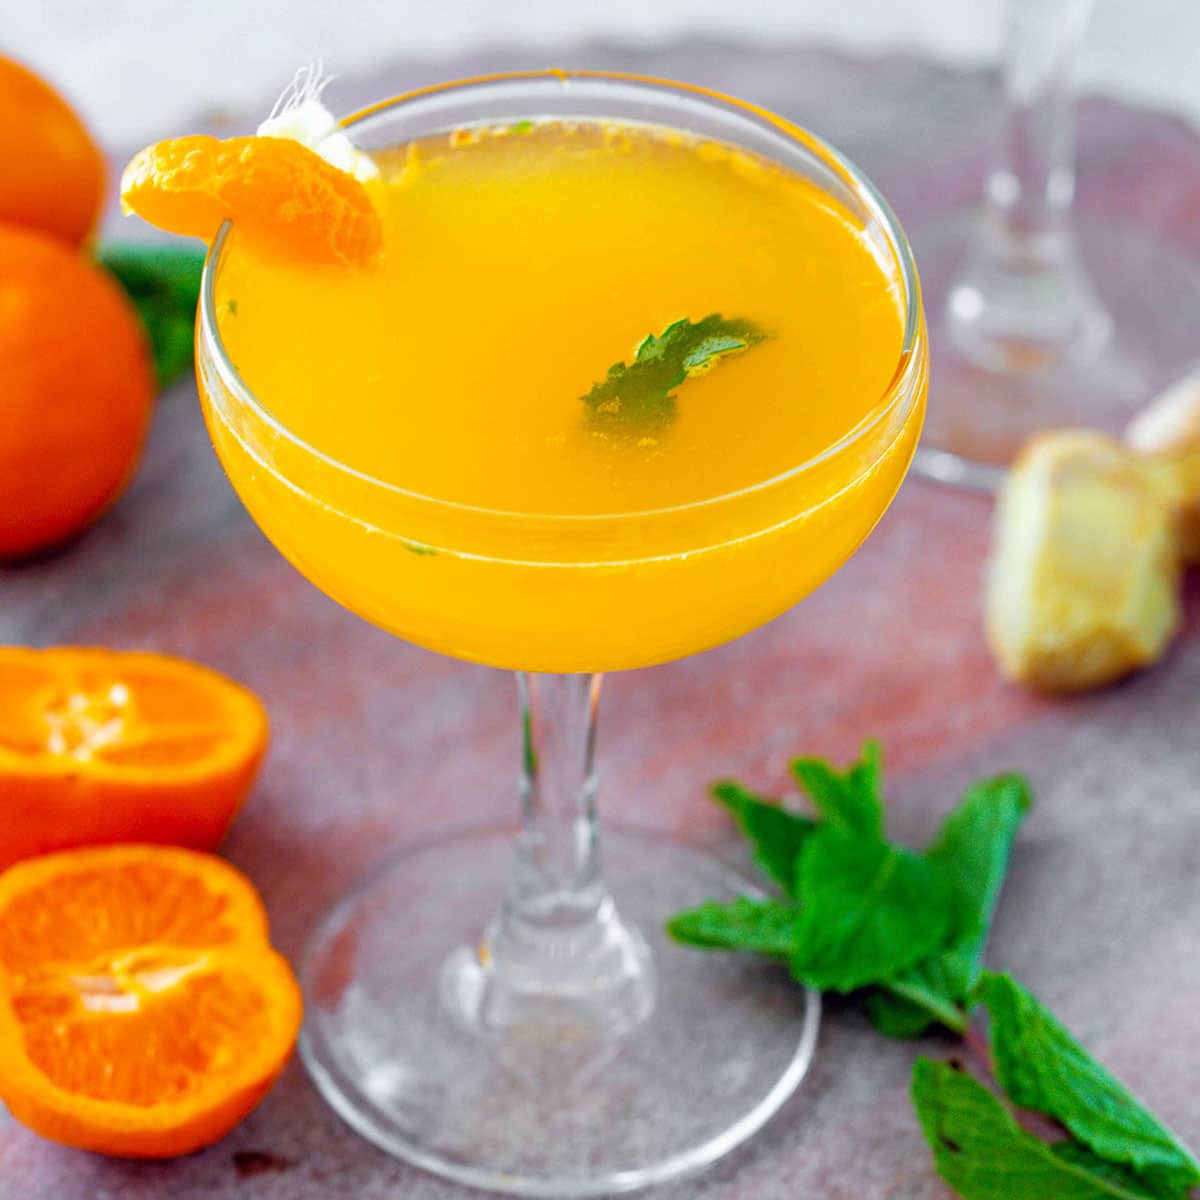
Clementine Ginger Cocktail
-
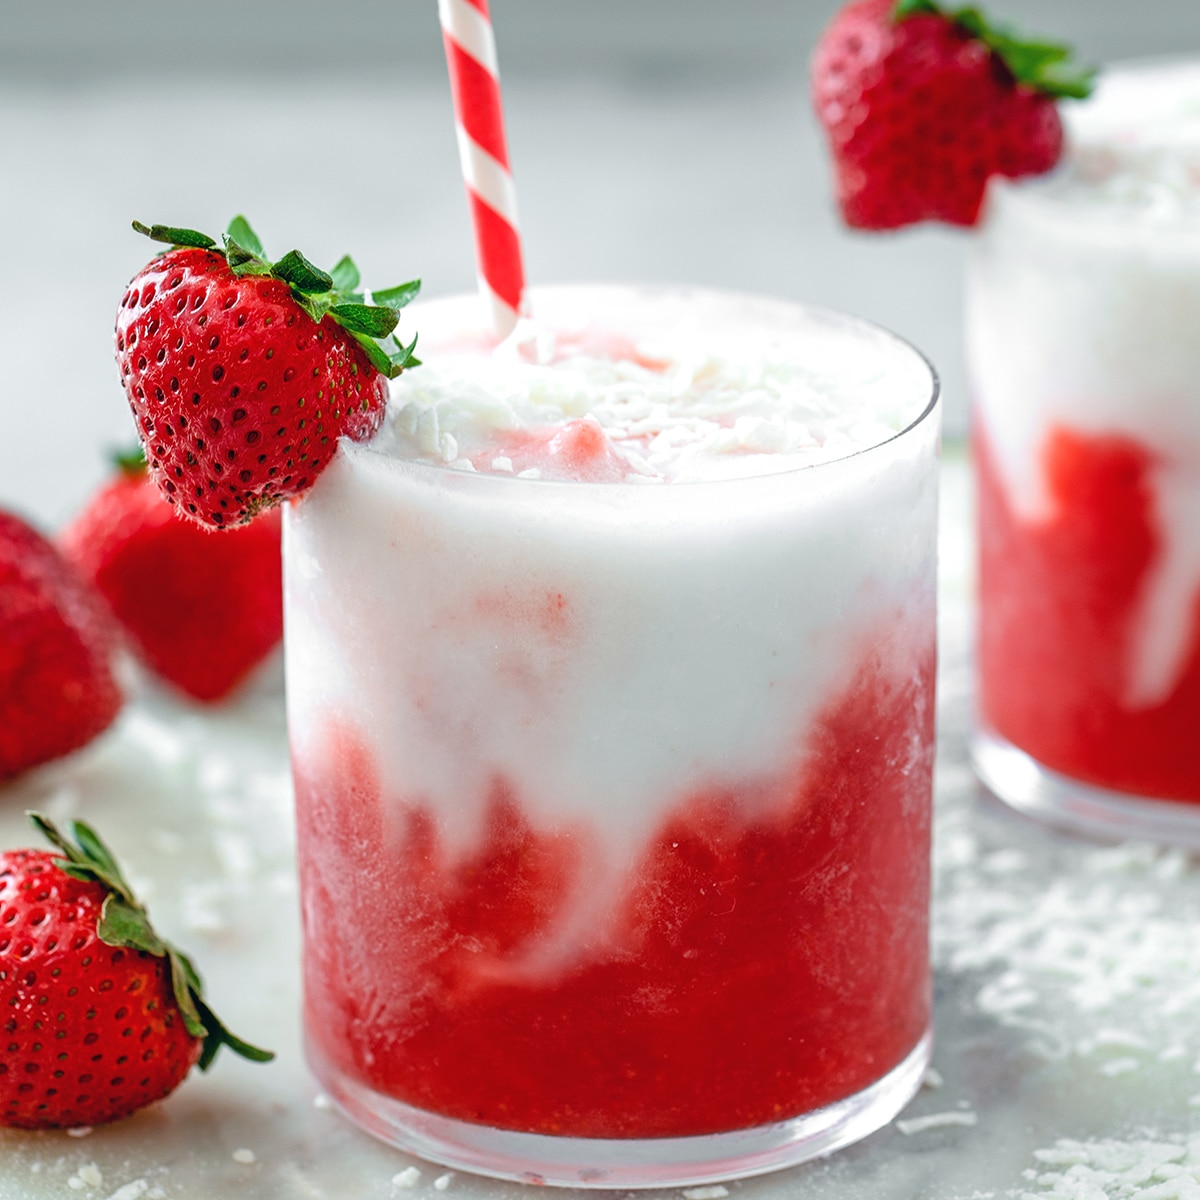
Strawberry Coconut Daiquiri
-
Spiked Eggnog Doughnuts
-
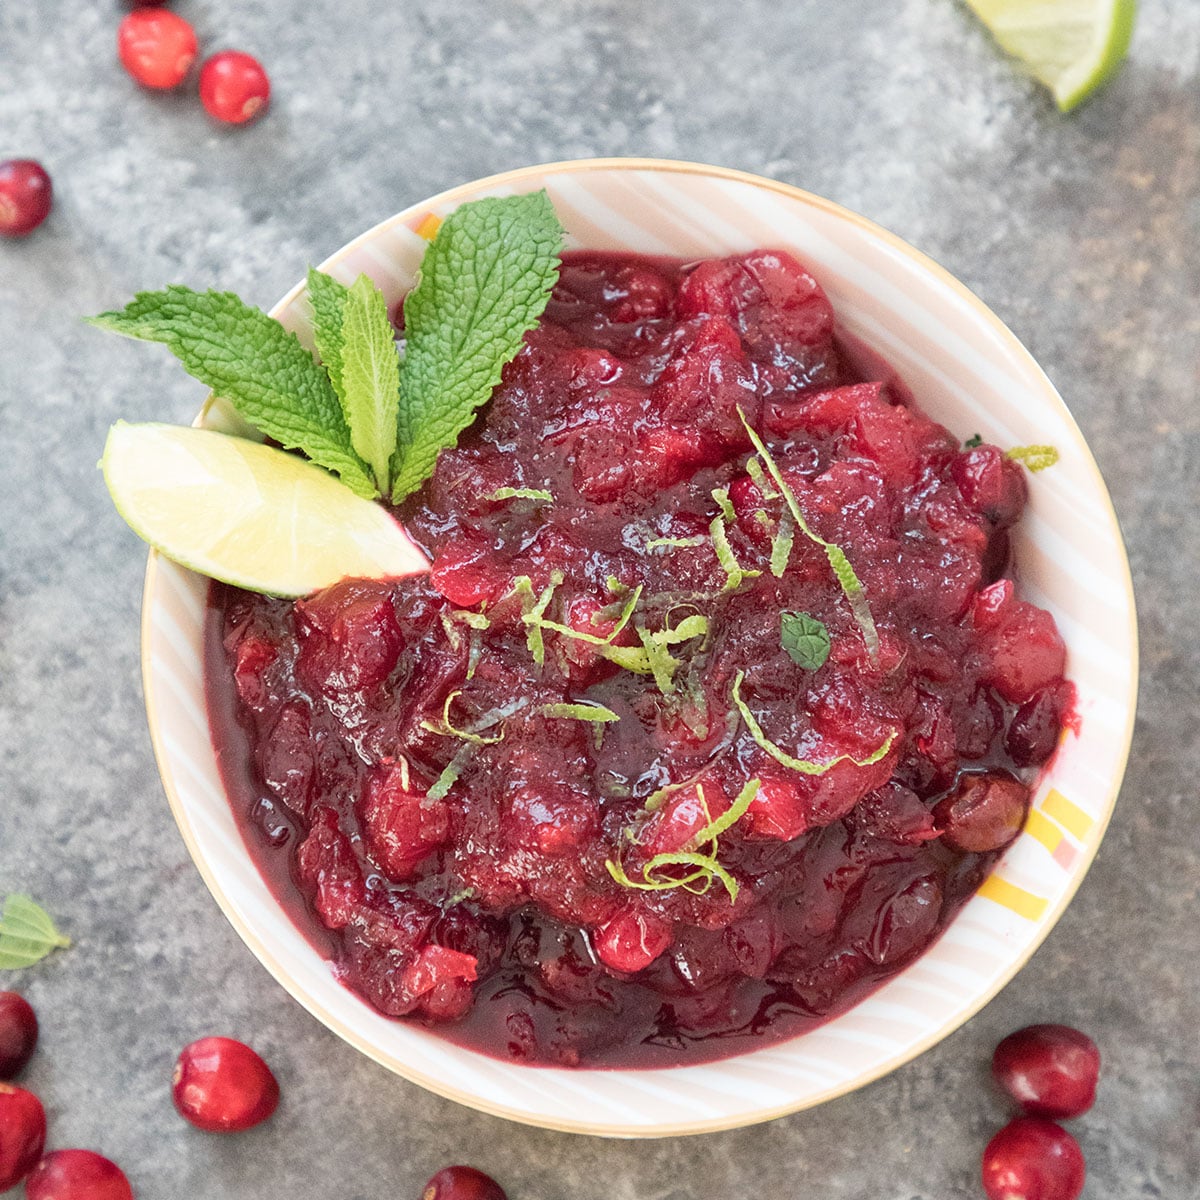
Mojito Cranberry Sauce
-
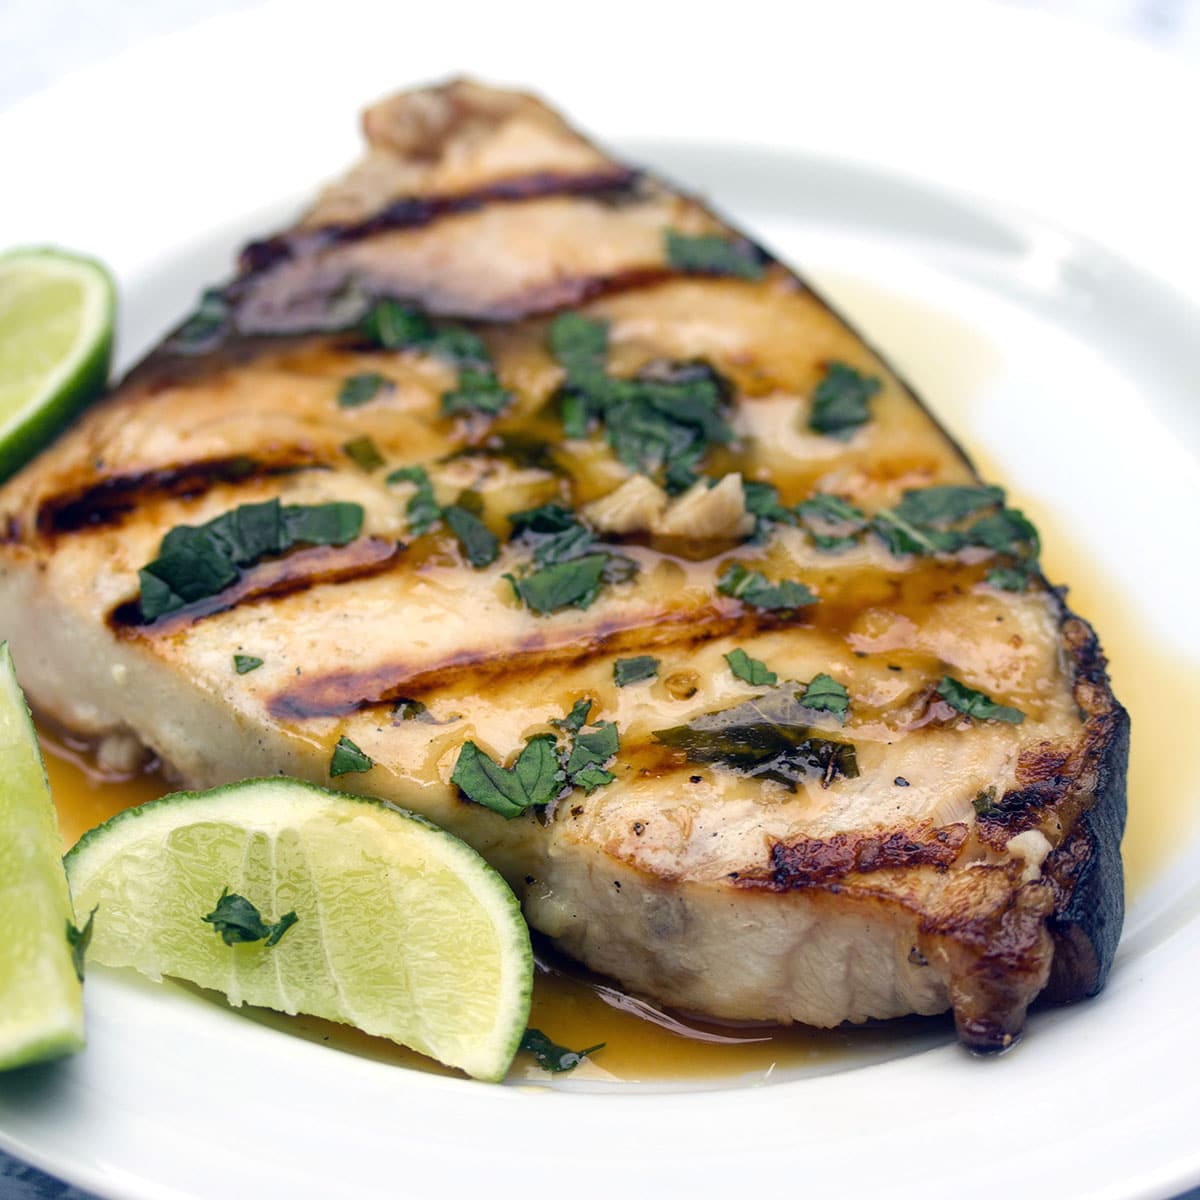
Grilled Mojito Swordfish
-
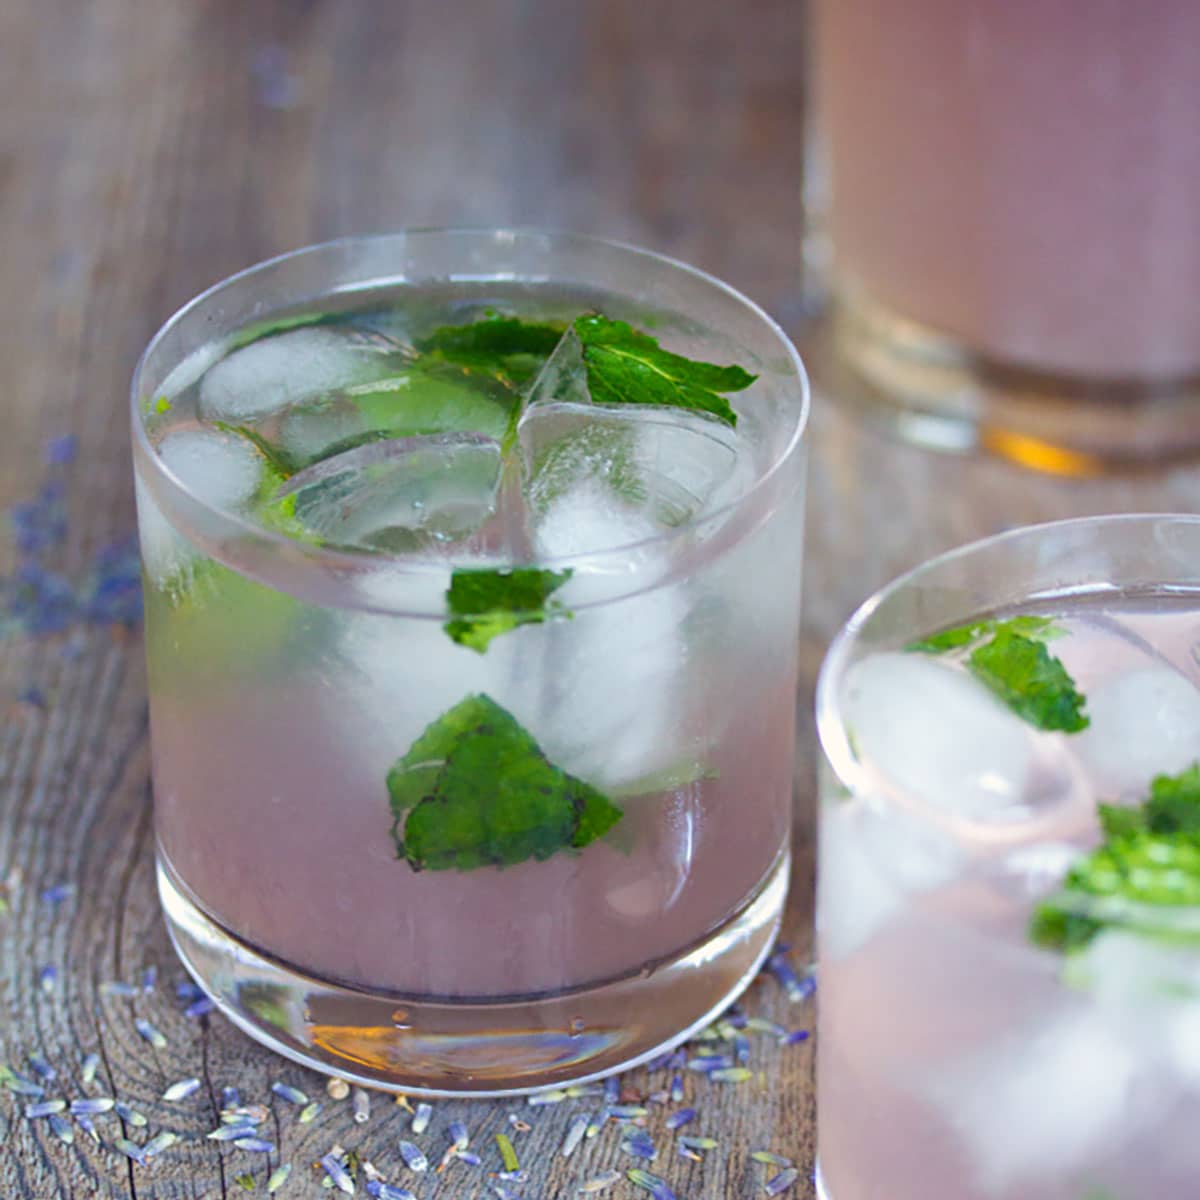
Meyer Lemon Lavender Mojito
-
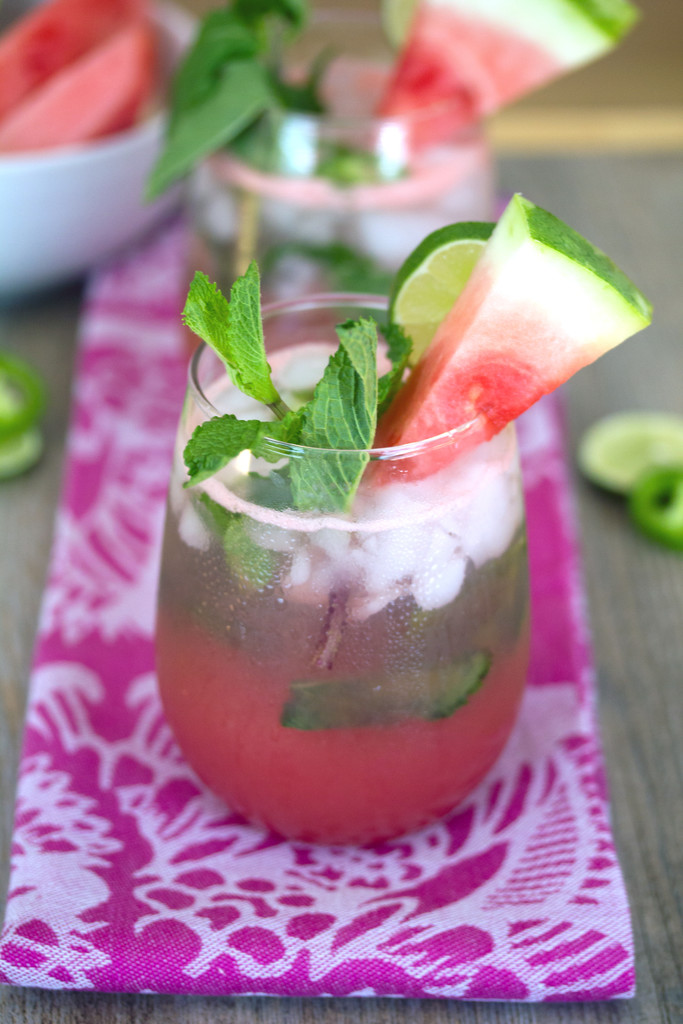
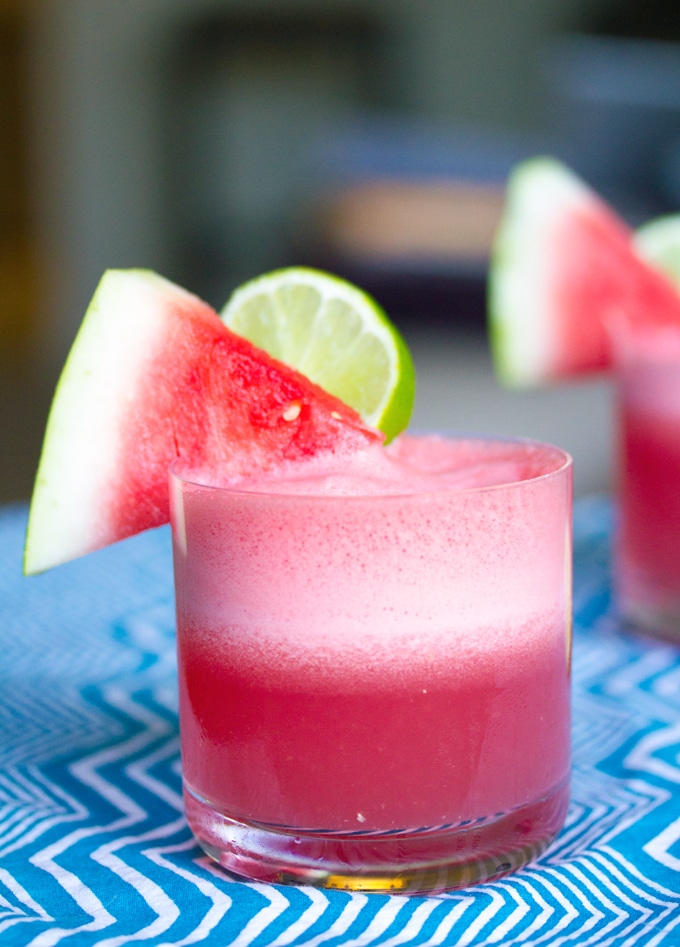
Watermelon Jalapeño Mojitos
-
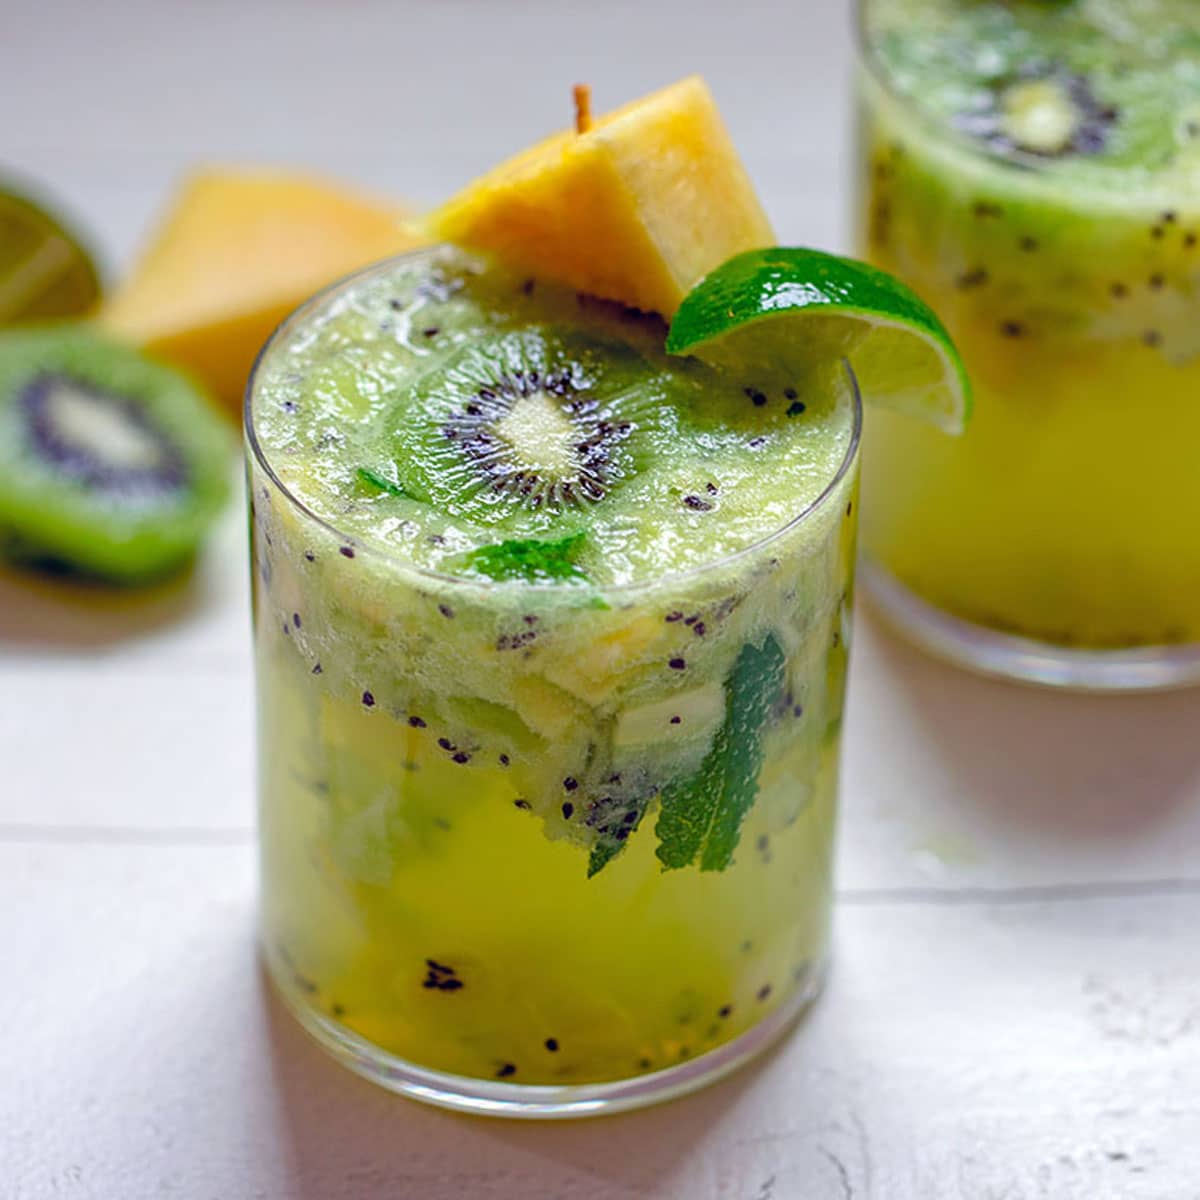
Pineapple Kiwi Mojito
-
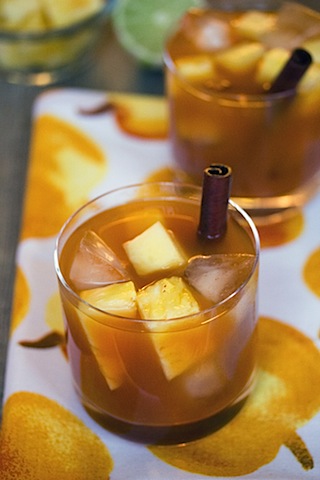
Mexican Pumpkin Punch
-
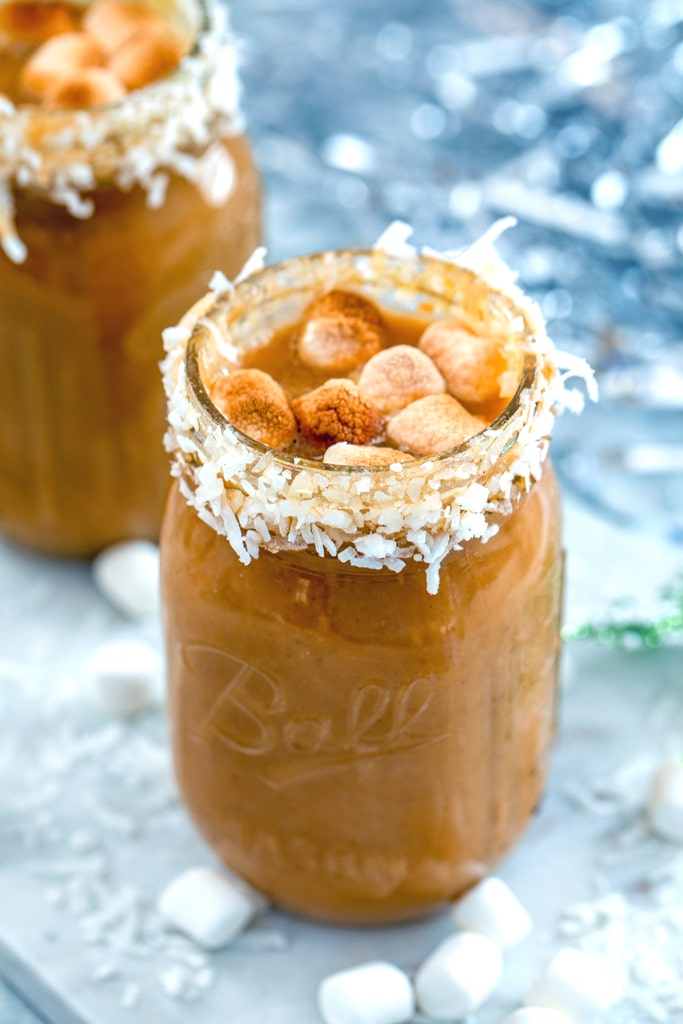
Pumpkin Hot Coconut
-
Watermelon Coconut Cocktail
-
Lavender Lemonade Mojitos
-
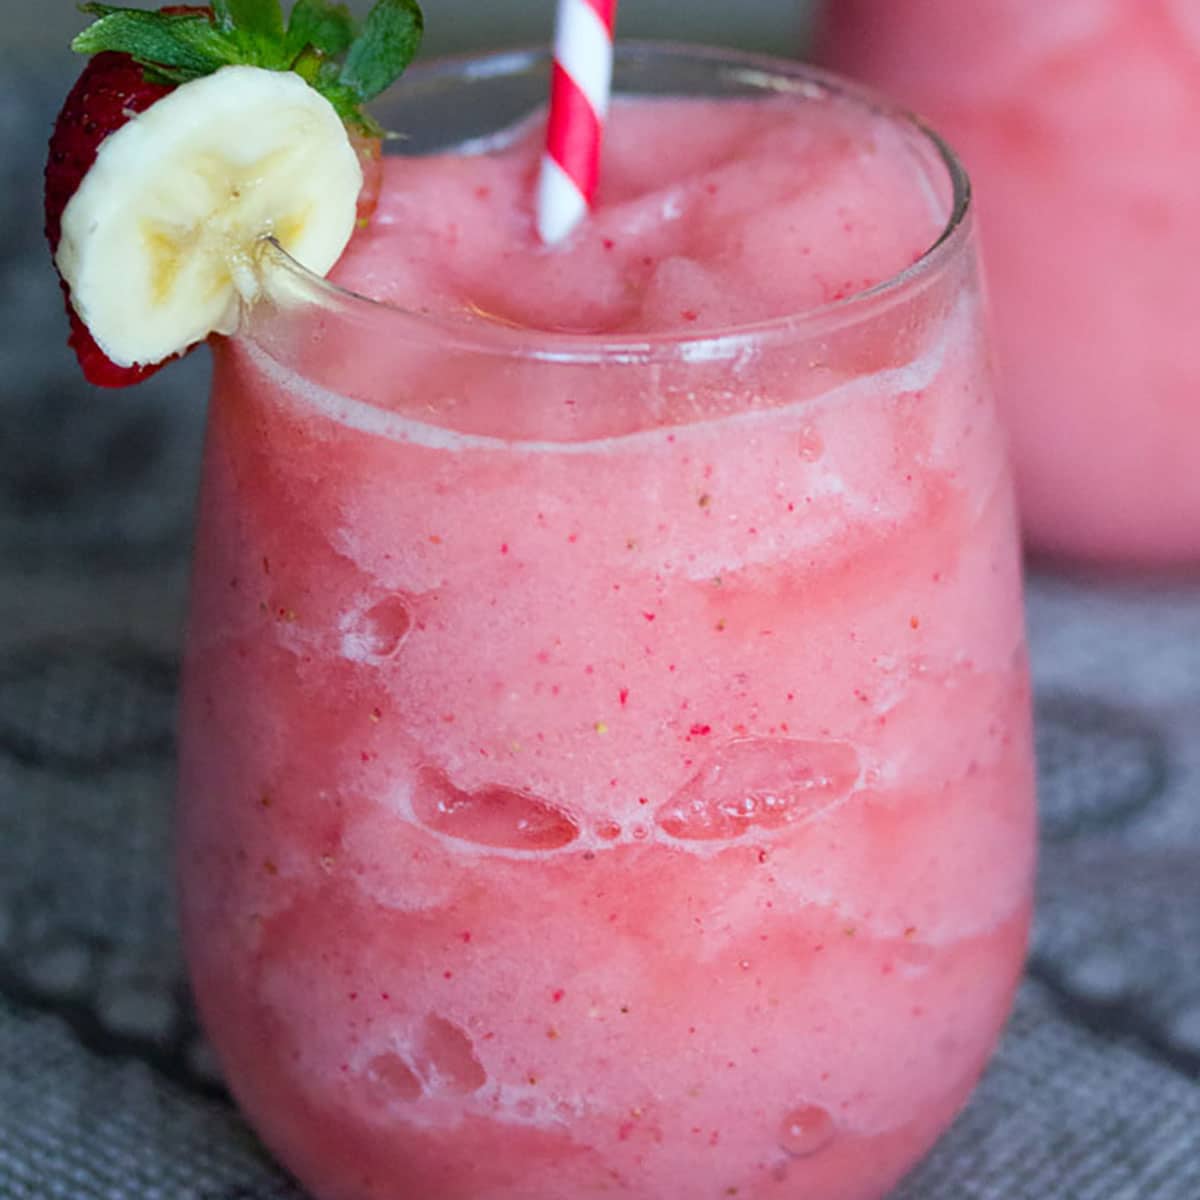
Strawberry Banana Daiquiri
-
Spiced Hot Buttered Rum
-
Eggnog Ice Cream Pie
-
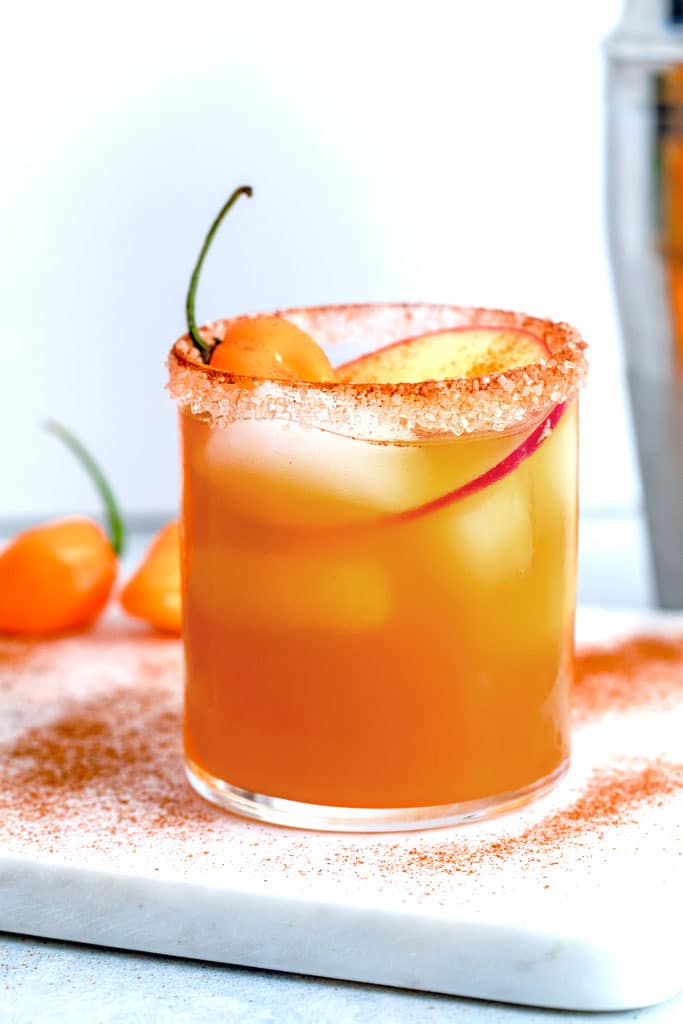
Habanero Ginger Apple Cider Cocktail
-
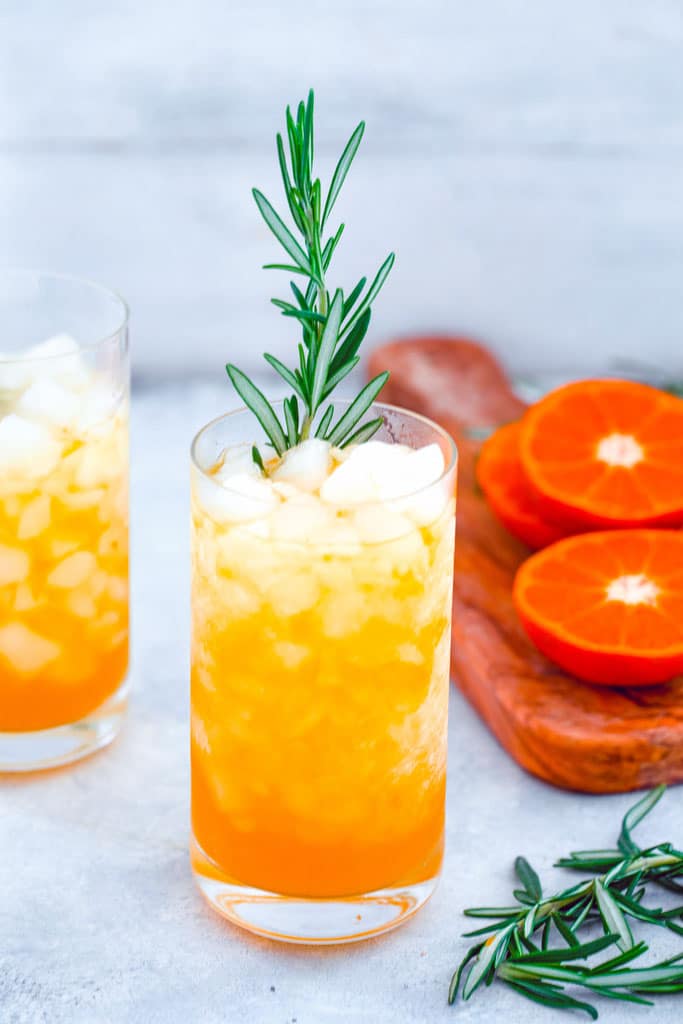
Rosemary Tangerine Cooler
-
Cranberry Mojitos
-
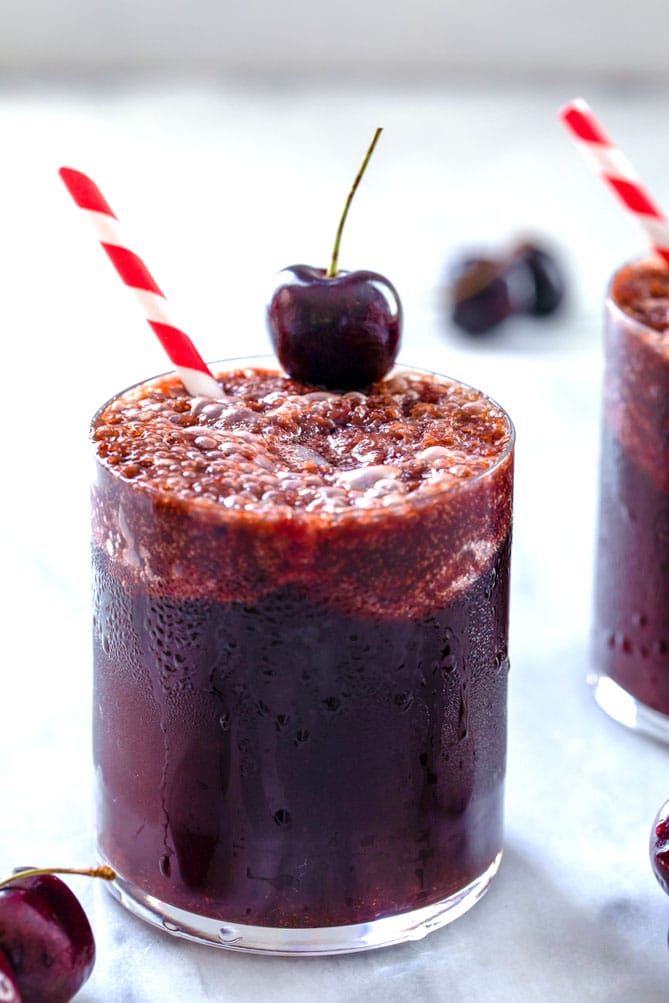
Cherry Rum and Coke
-
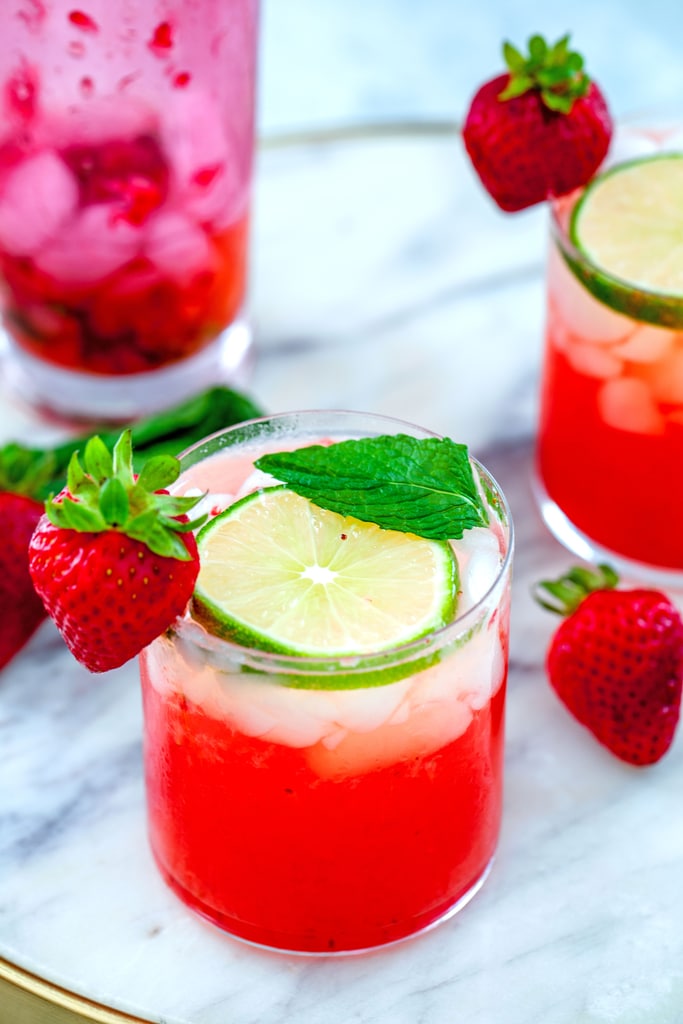
Strawberry Mojitos